In this post we can cover how to build multi-lingual Copilots in Copilot Studio by adding languages, managing localization files, and updating translations. We just need to learn to download localization files in JSON or RESX formats, utilize translation services, and implement changes which can work in real-time. This tutorial emphasizes the ease of enhancing conversational agents to support multiple languages.
Advantages:
- Wider Audience Reach: Engages users from diverse linguistic backgrounds.
- Improved User Experience: Enhances accessibility and understanding for users.
Sample Use Cases:
- Global Customer Support: Offer assistance in multiple languages for international clients.
- Internal Communication: Facilitate communication within multinational teams.
- E-Learning Platforms: Provide educational resources in various languages for learners worldwide.
How to Build:
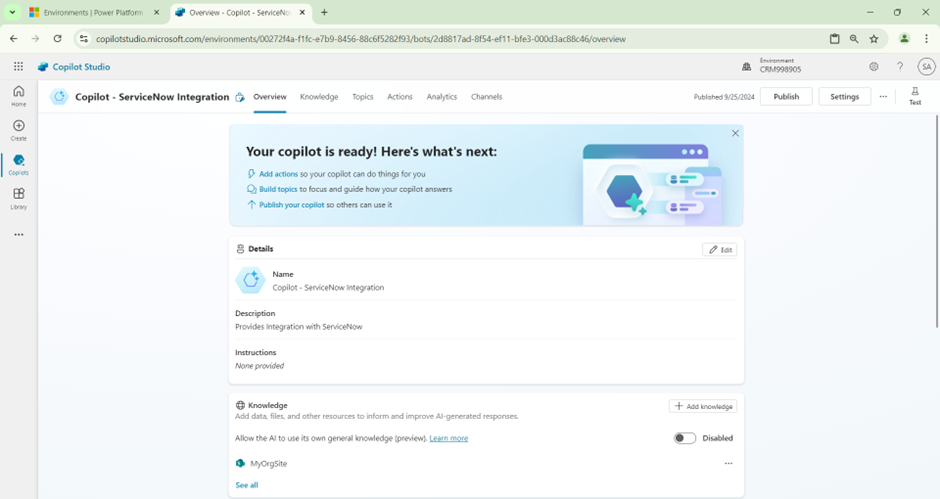
- Navigate to the Copilot Studio (https://copilotstudio.microsoft.com/).
- For this post, I’m just using an existing Copilot that we already built.
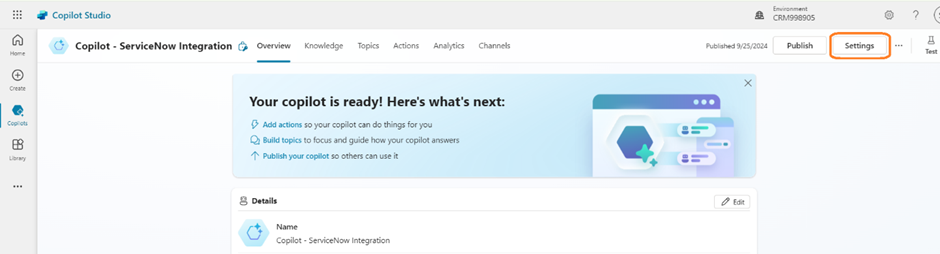
- Firstly, we need to navigate to the Copilot Settings.
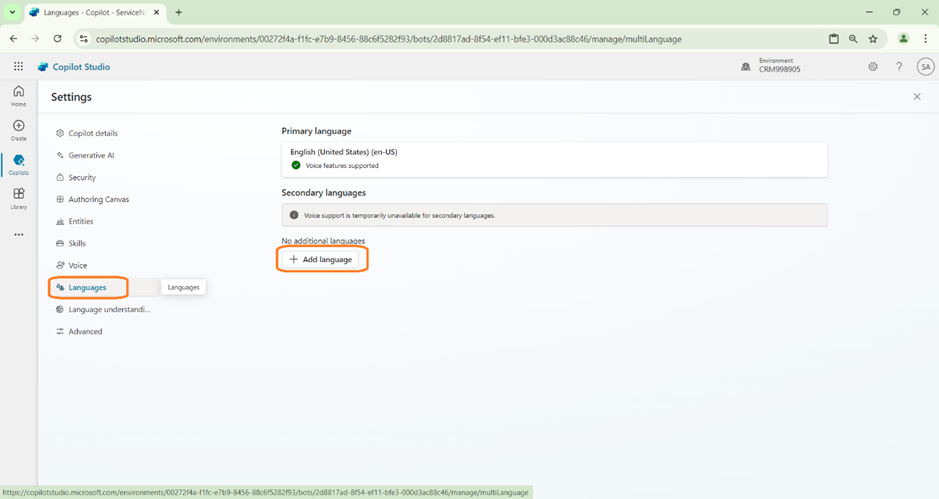
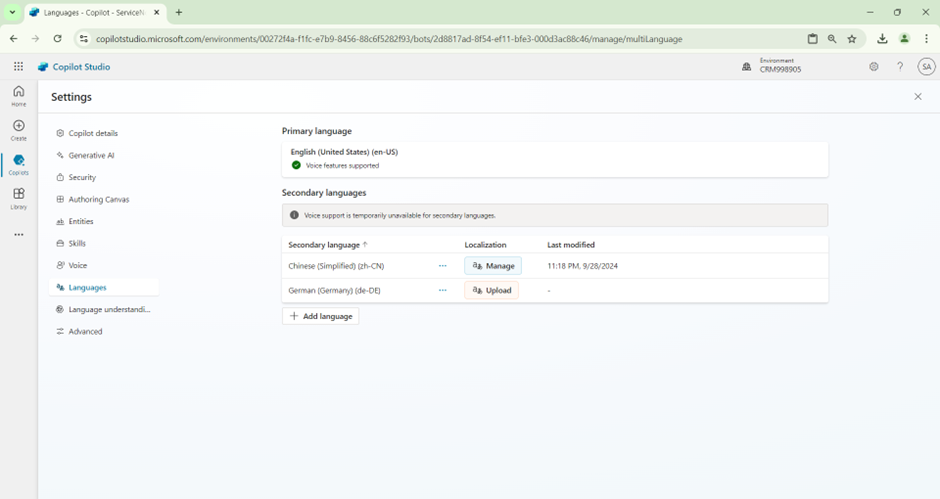
- Click on the Language tab. We can find the +Add Language button that helps add Secondary Languages.
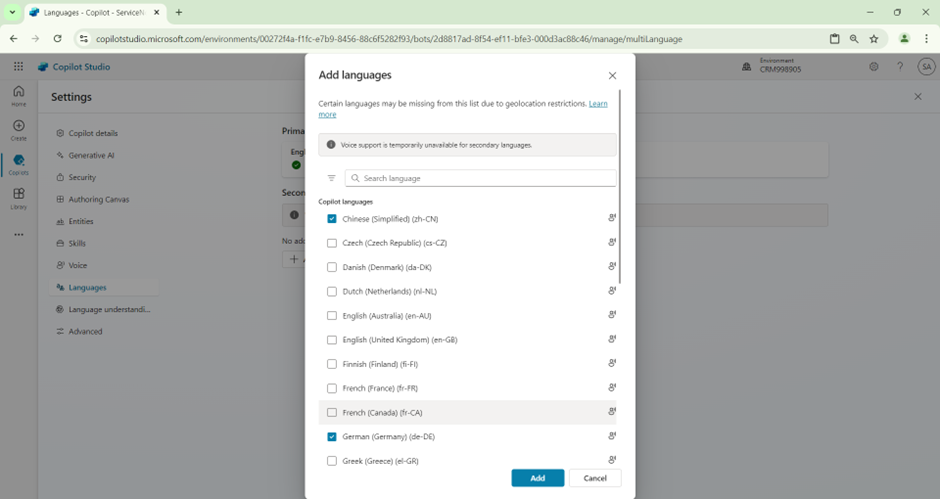
- Clicking on the button will open the Popup to choose the language that we require. In this scenario, I’m choosing Chinese and also German.
- Once the Languages are chosen, you can see them appear in the Secondary language section.

- Now click on the “Upload” button, which will open the Upload Localizations.
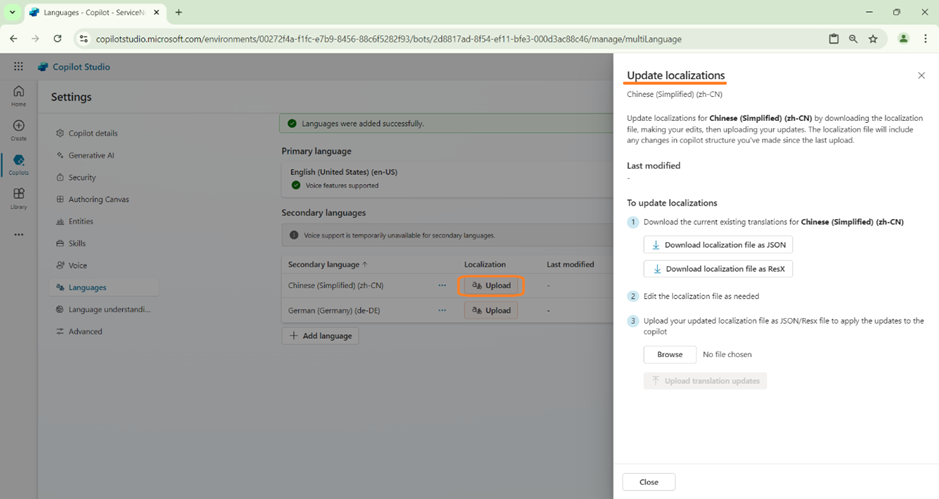
- As a next step, we would need to download the Localization file by clicking on the Download button.
- Once the file is downloaded, we need to update the Language.
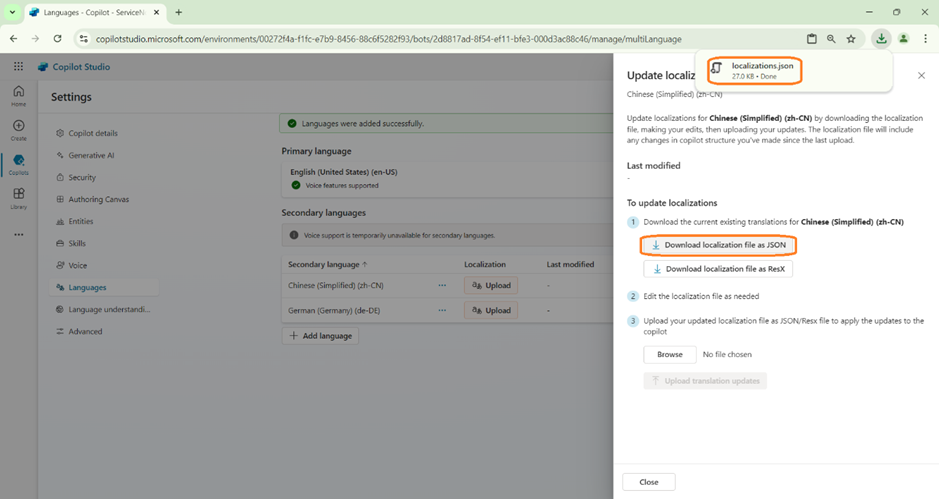
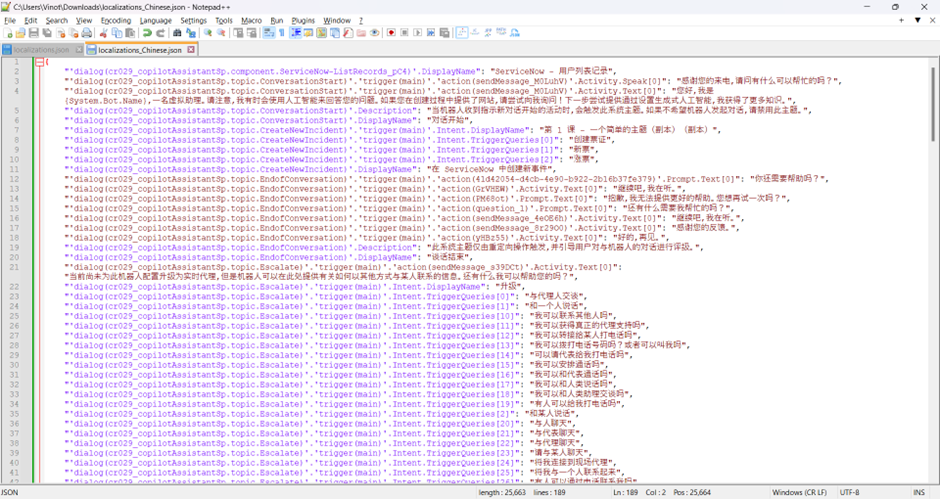
- The Downloaded Localization file looks as shown below. We have downloaded in JSON format. We also can use ResX format to perform the same steps.
- In the File, we can see all the list of Actions and Steps that has been used by the Copilot.

- Now we need to translate the values from English to Chinese for each node.
- We can make use some Google Or Microsoft Translator to perform the same.
- In this case, I have done it manually, by using Translator in Google Sheet online. But in real business scenario, this action will be performed by some dedicated team.
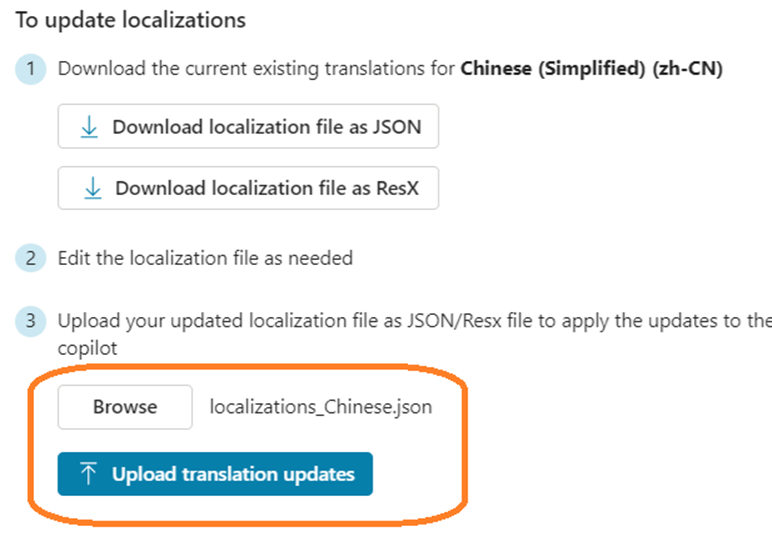
- Once the Localization file is ready, we are now ready to go back and upload them.
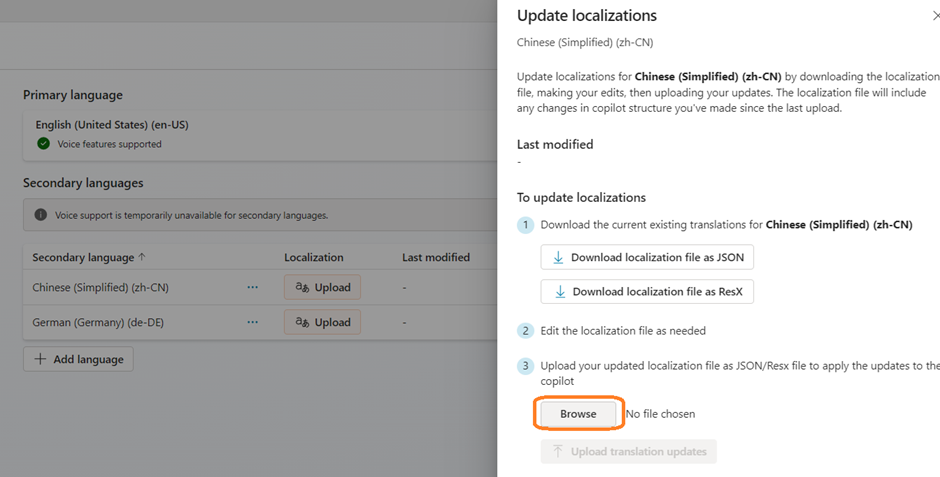
- Click on the Browse button. Choose the Localization file that we have in Chinese.
- Click on Upload translation updates.
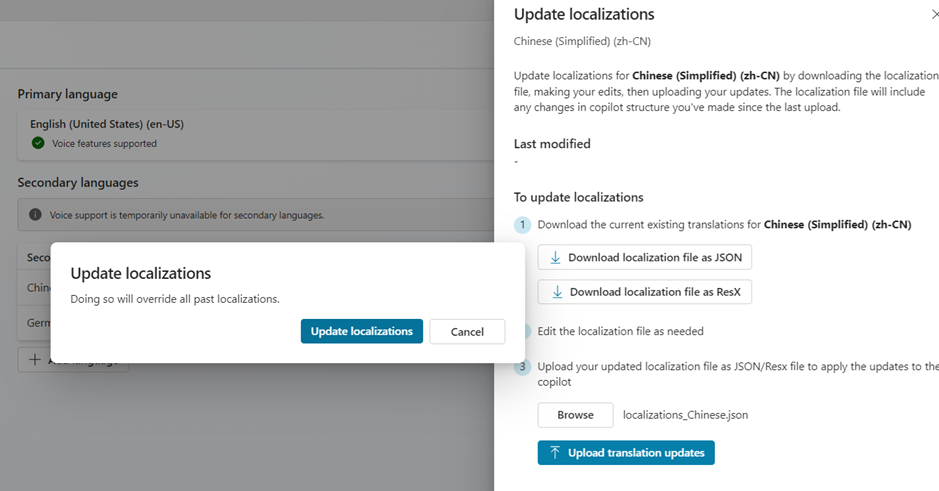
- The below warning message will be shown, click on Update localizations.
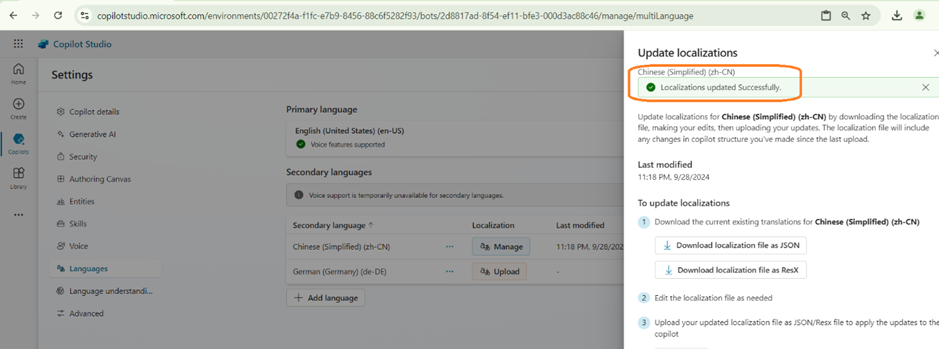
- Once the Upload is successful, we can see the success message displayed on the top.
- That’s it! Now its time to save and Publish the Copilot.
- For testing, click on the More options (…) -> Select Language -> Chinese.
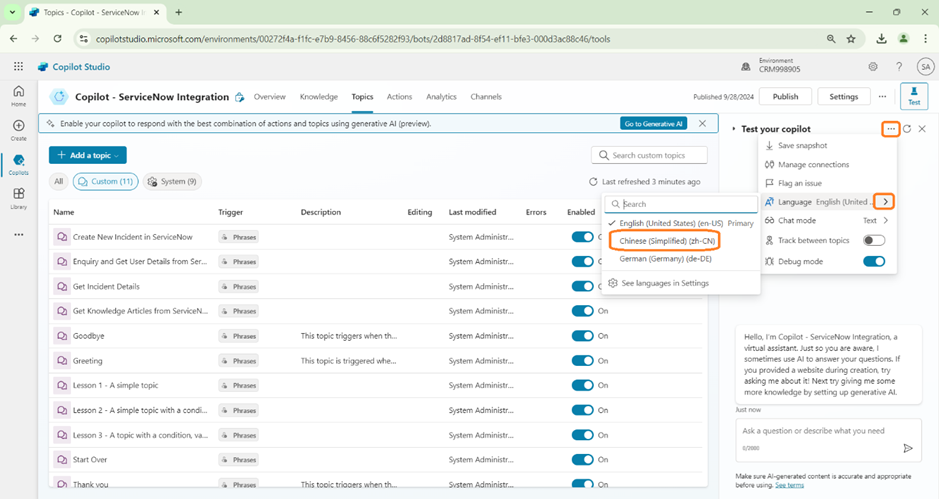
- Now we can see the bot changes its language to Chinese.
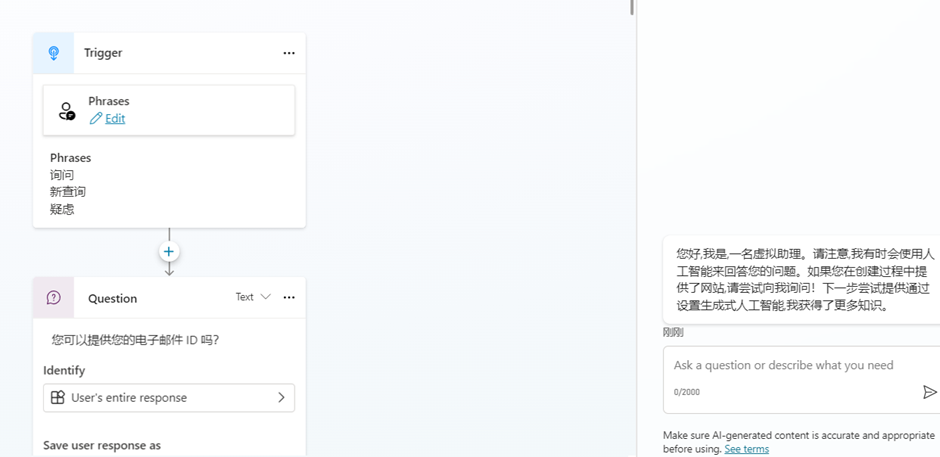
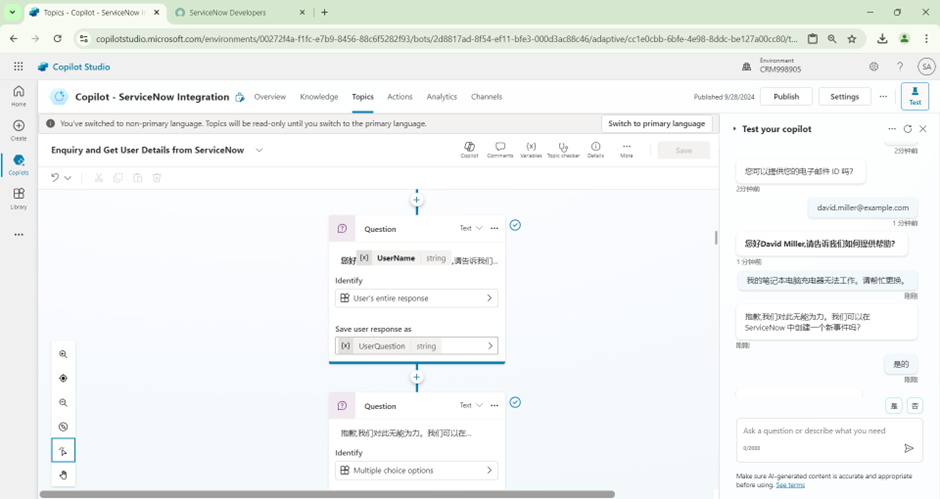
- For testing, I’m trying to trigger the topic by using the Chinese text.
- Copilot identifies them still and provides proper response.
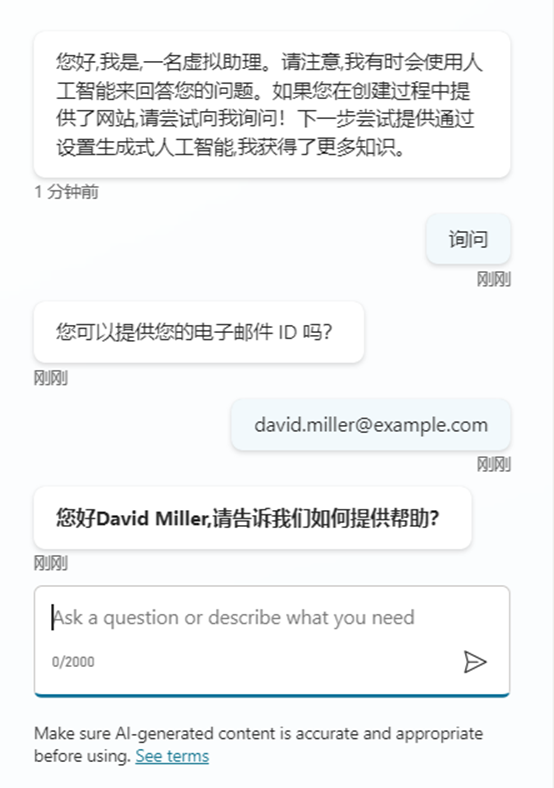
- Below is the response how copilot works in other language as expected.
- The corresponding English conversation is shown below for reference.
Happy Copiloting !!!