Why AI Builder Integration?
AI Builder integration within Microsoft Co-pilot Studio allows businesses to infuse powerful AI capabilities into their apps, workflows, and automation, without requiring deep coding or data science knowledge. AI Builder provides pre-built models and the ability to create custom AI models, which seamlessly integrate with Power Platform tools like Power Apps, Power Automate, and Dynamics 365. Before we go into the steps, just wanted to make sure that it’s understood that AI Builder is just another part of the power platform, just like power apps or power automate. Since AI builder itself is a separate learning, I would encourage you to go out and explore this on your own
In this Post, we shall understand the Simplest AI Builder Prompt – Sentiment Analysis of text. This is a Pre-build model readily available and can be used straight away,
- As a first step, navigate to the Power Apps maker portal (https://make.powerapps.com/).
- The AI Hub might not be displayed since it is not Pinned from the Menu. To make it visible, click on the More button and pin the AI Hub option.
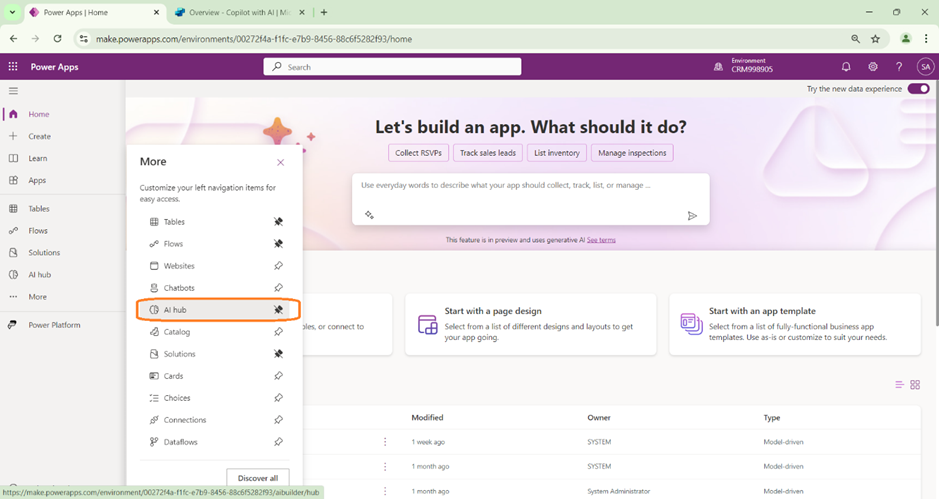
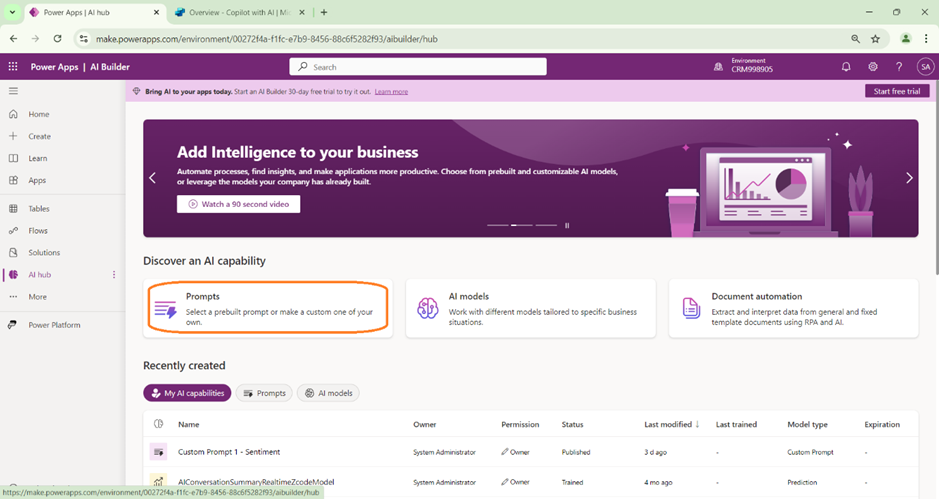
- Click on the AI Hub option. The AI builder page opens as shown below.
- In this exercise we are going to try Prompts.
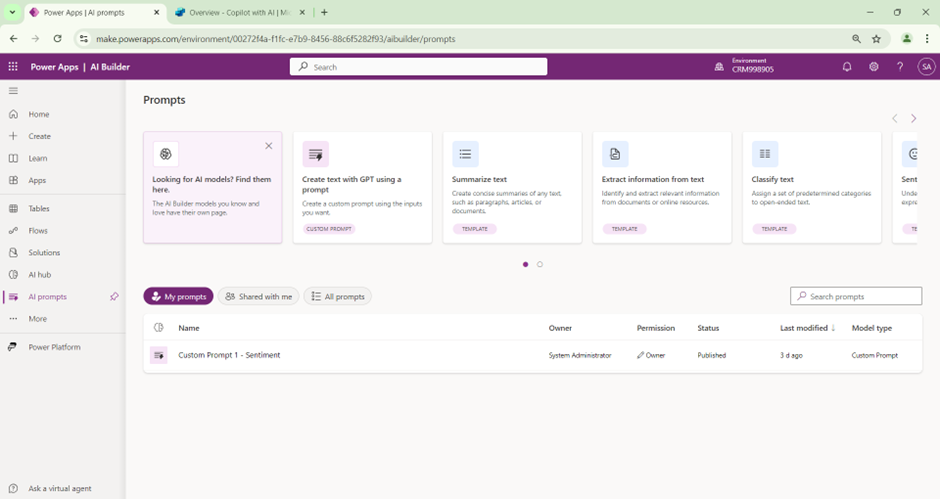
- The Prompts page is displayed where we can find the list of Pre-Build AI models that are available.
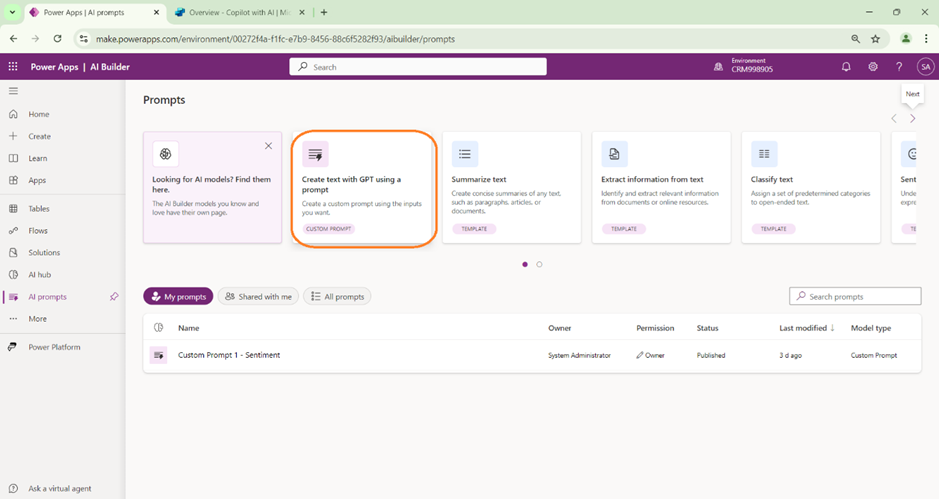
- For testing the AI integration, we are going to use the “Create text with GPT using the Prompt”.
- You can see few different options available by default which can be used for our Prompt. I would suggest everyone to try each thing separately.
- In this scenario, we are going to go with “Sentiment Analysis of text”.
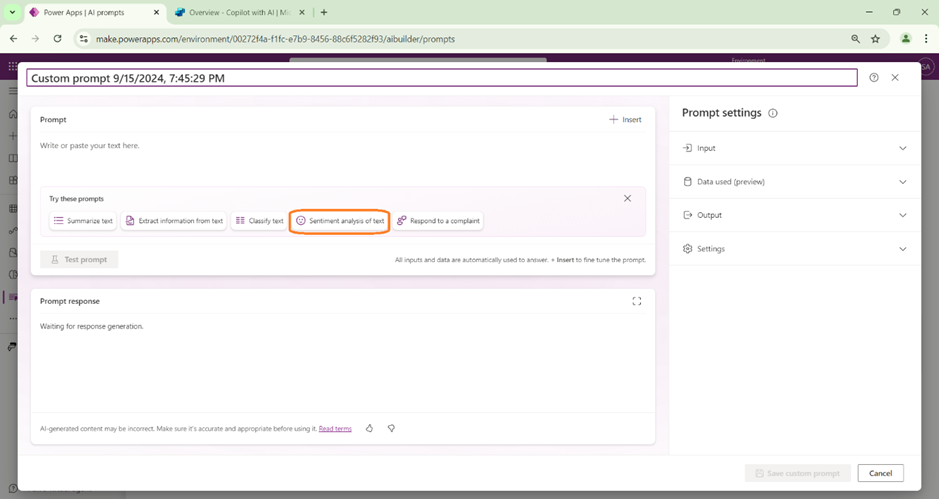
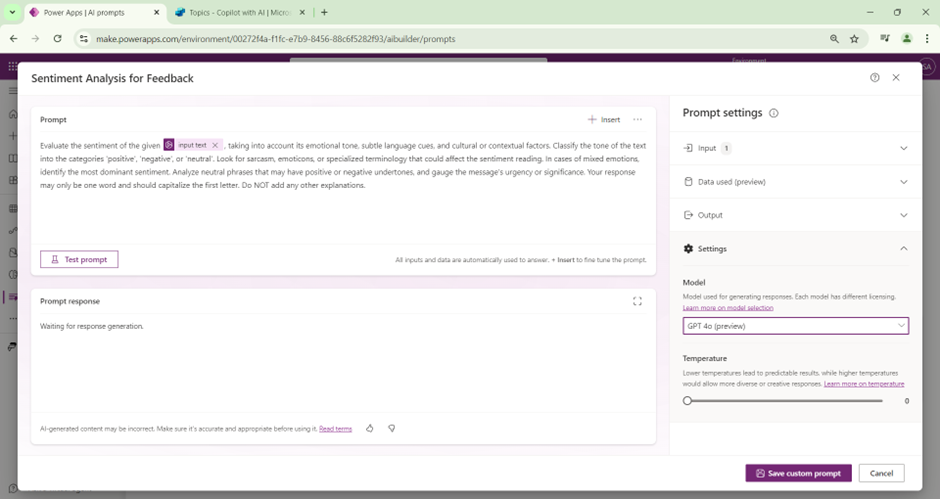
- Clicking on that will provide a default prompt. When reading through, you can understand the prompt that will be used to call GPT model. For testing purposes, we can still use the same prompt without any changes.
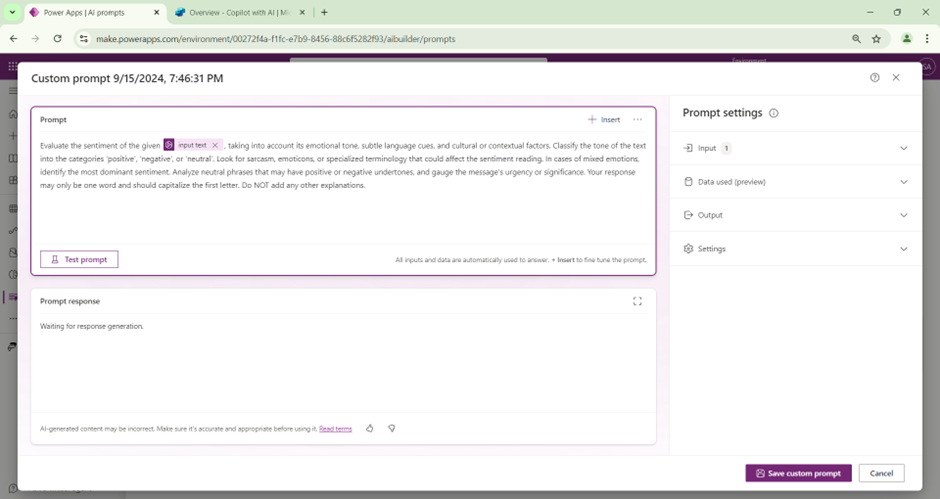
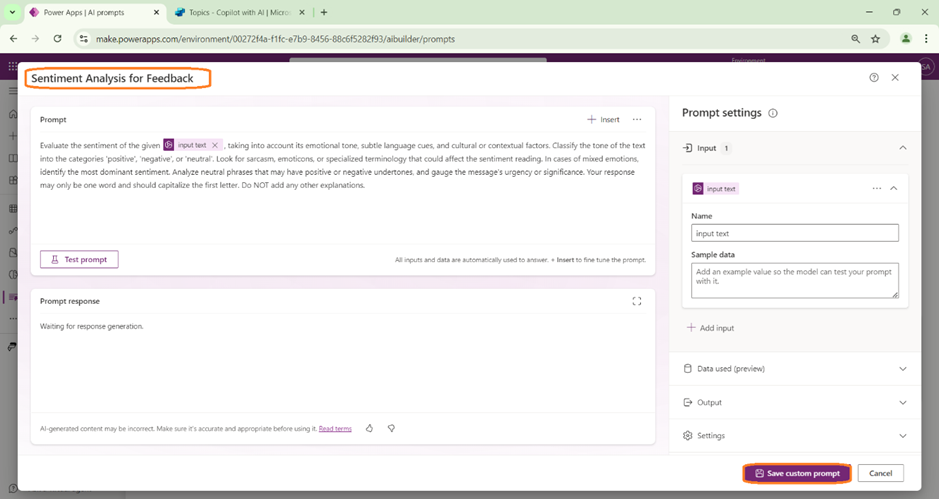
- The Right tab has the Input, Output, Data Used and Settings section.
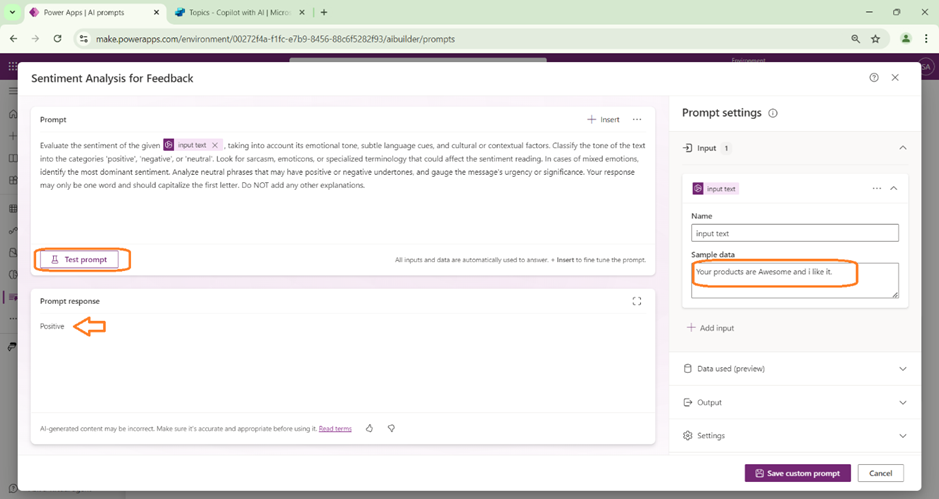
- For Testing the Model, you can just provide some Sample data and click on Test Prompt button as shown below.
- This model is for Sentiment Analysis and so the AI analyses the input from the user and provides response whether it is Positive or Negative.
- In this testing, we are trying to provide Positive feedback. Click on Test Prompt and we can the see the response as Positive.
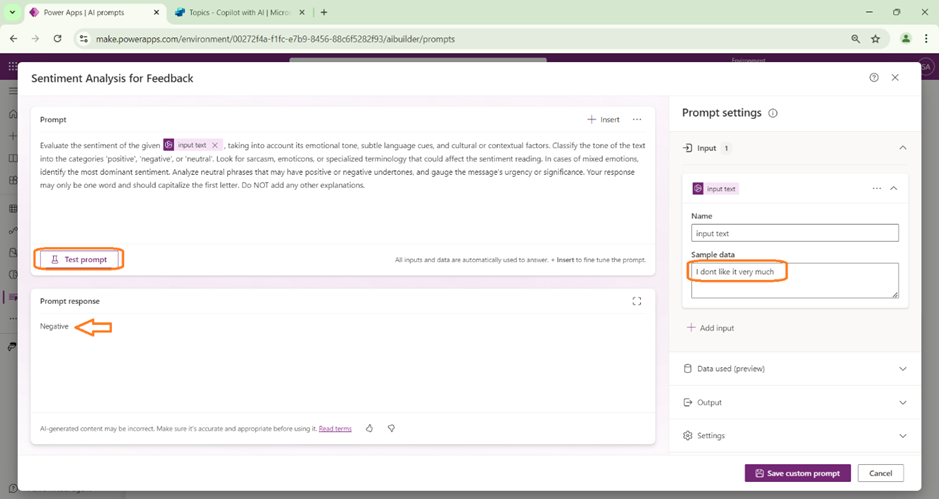
- Same testing is done to check on the negative scenario.
- In the Settings section, we can choose the GPT model that is to be used by our prompt to provide response. GPT 3.5 is the default model and GPT 4.0 is still in preview stage.
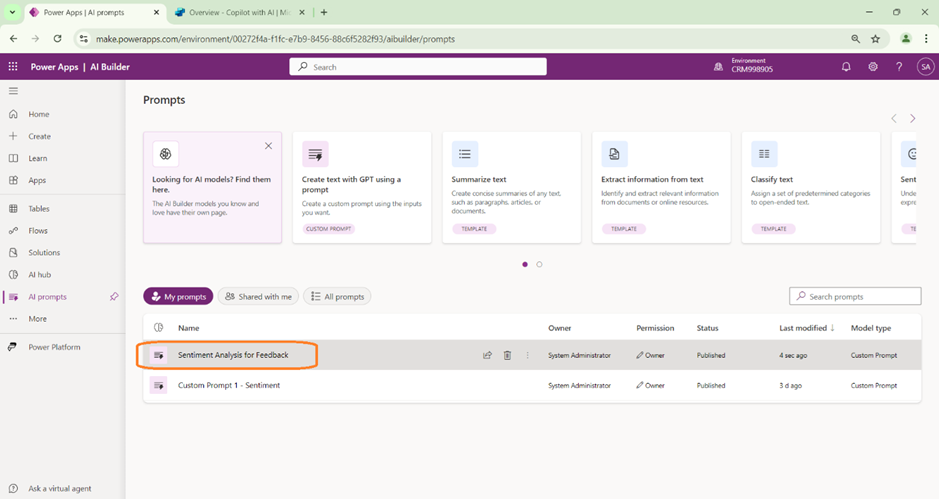
- Once the configurations are done, provide the Name for the model and click on “Save Custom prompt”.
- The Custom Prompt will be now saved and available to be used in the Co-pilot.
Happy Copiloting!!!
[…] The First Two Steps are already discussed in the previous blog. Kindly read through the below post before proceeding to the next steps.https://msdcentral.site/co-pilot-studio-introduction-to-ai-builder/ […]