Inputs on topics in Copilot Studio are used to capture information directly from users to dynamically guide the conversation and provide personalized answers. These inputs allow you to define fields where users can enter specific data during a conversation flow, which the Co-pilot uses to generate tailored responses based on that input.
This Feature of having inputs and outputs on topics is the same concept that we have inside of actions. We might no longer have to create Question nodes in a custom topic to get user inputs. We will be able to use an LLM to be able to go into your entity extraction and we’re going to be able to go extract inputs from user response dynamically.
Consider the below Problem Scenario:
- Consider the Scenario where we are building a Copilot that can extract the Information about a Case from Dataverse.
- In General, we create a new Topic, then create a Question node to get the Case number input from the user as shown below.
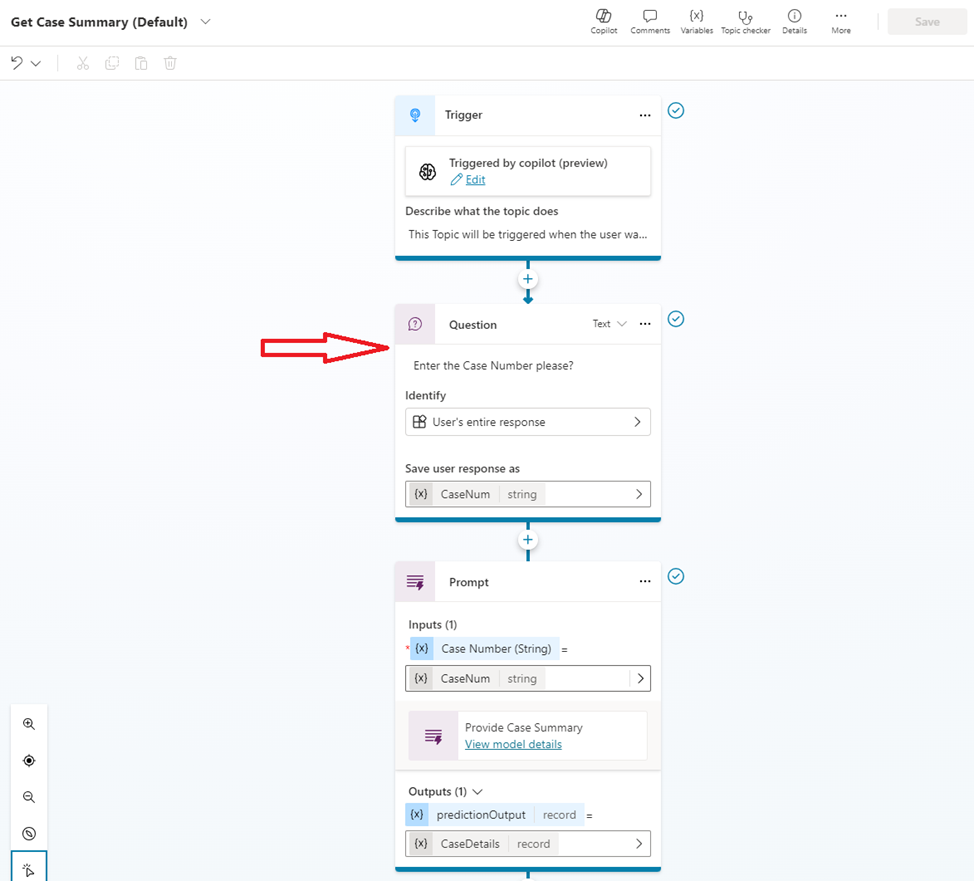
- In this example, we are just using a Custom Prompt that will provide the Case Summary when we input the Case Number.
- So we get the user input Case number in the above step and pass as input to the Custom prompt to get the response.
- This is how the overall Conversation look like.
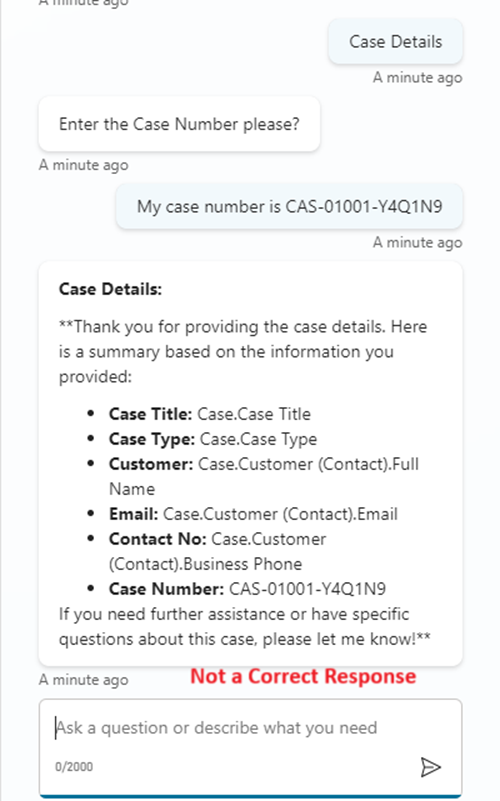
- Now Consider the scenario where user inputs a response like below. Instead of providing the Case Number, user mention as “My Case Number is CAS-XXXXXX”.
- In this Case, the whole of the User Response cannot be taken as Case Number. It is required to Extract the Case Number from the User Response. Else the response will not be proper as expected.
Note:
Please Note that since this is a sample scenario, I have not added any validations before we pass input to the Custom prompt. The purpose of this post is to understand how the Inputs on Topics work.
Configure Inputs on Topics:
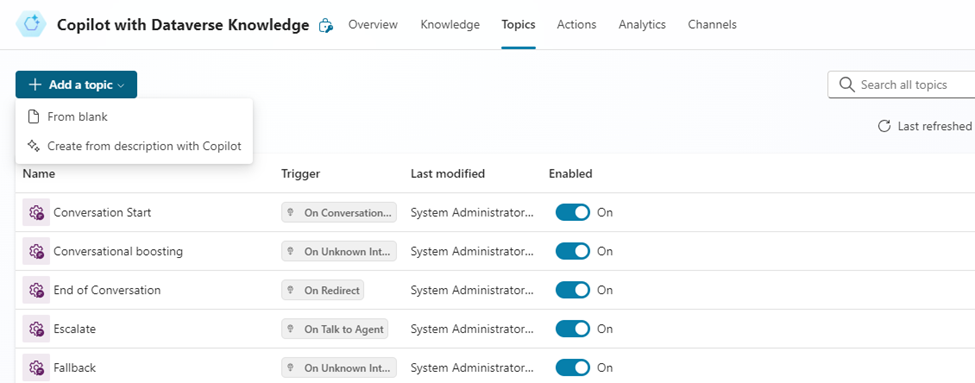
- We will Create a new Topic in our Copilot Studio.
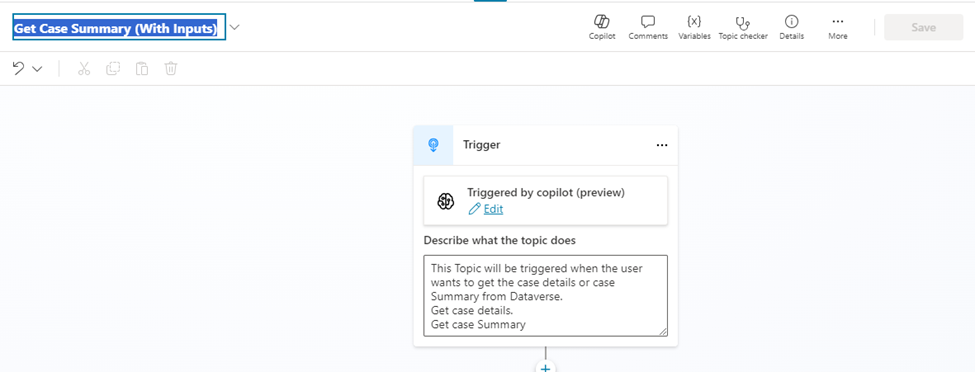
- Provide a Relevant Topic Name. Most importantly please provide a meaningful description of What the topic does. This is more important since the Conversations will be automatically redirected to this topic only if the description is proper.
- In the Topic main menu, Click on the “Details” button.
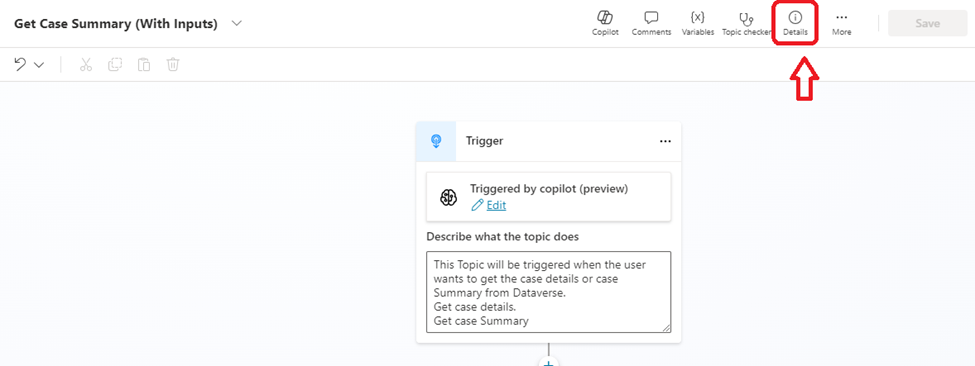
- A new window appears in the Side pane where we need to Specify the Topic details, Inputs and Output.
- In the Topic details, provide the required information.

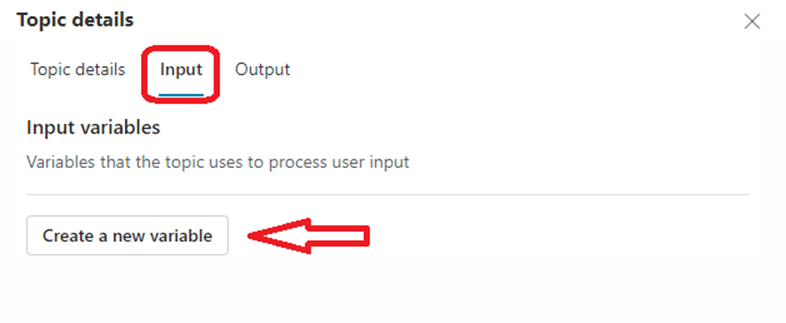
- Now Click on the “Inputs” tab.
- We can see a button ‘Create a new variable”.
- A new variable form opens as shown below. Need to provide the necessary details.
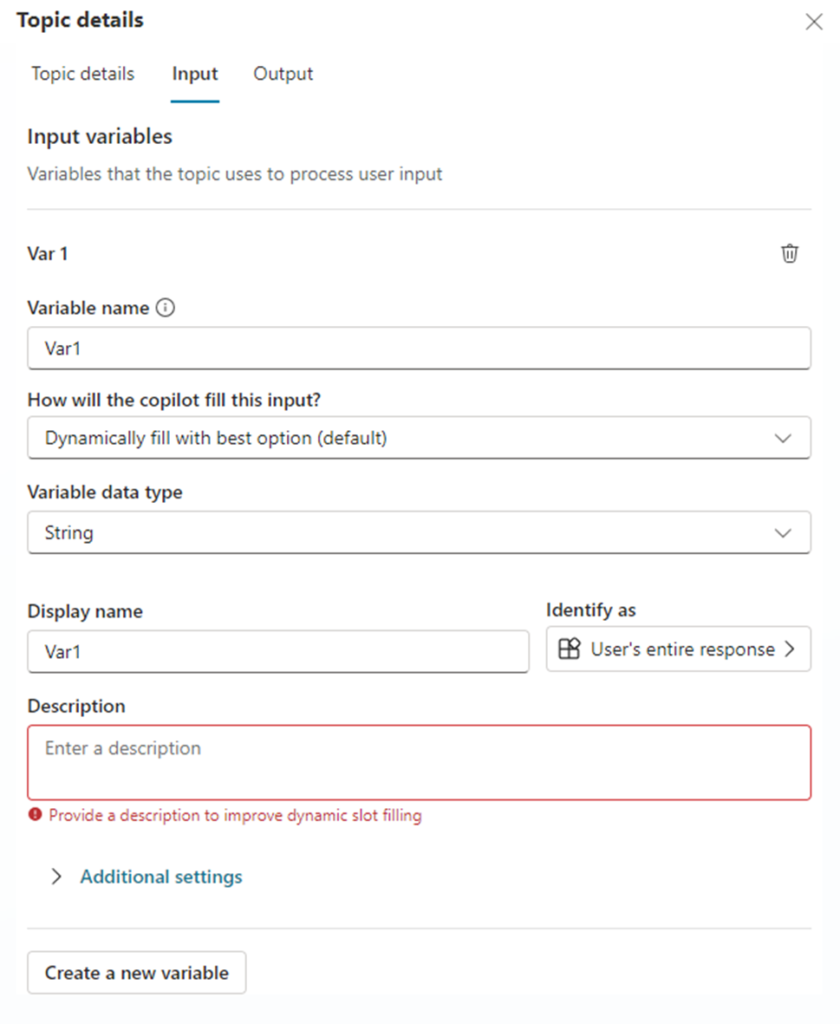
- While configuring, we can define input fields like text, numbers, dates, or even options from which users can choose. These inputs help collect the required data from users before processing their request or providing a response.
- In this scenario,
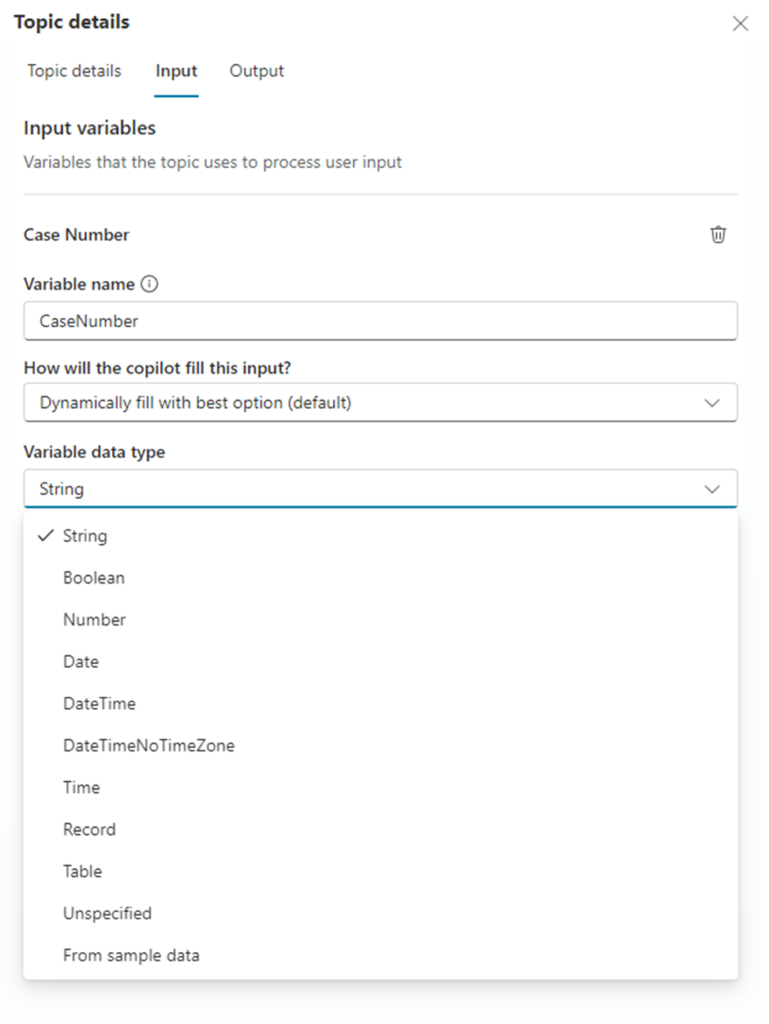
- Variable Name: We can use Case Number as the variable name.
- How will the copilot fill this input : Select “Dynamically fill with best option”.
- Variable Data type: We are going to use String Variable.
- The Description is the most important part when creating Input to the variable. The LLM uses the description provided here to identify the variable from the user response.
- In our scenario, I have described how the Case number will look like and the Format of the Case Number.
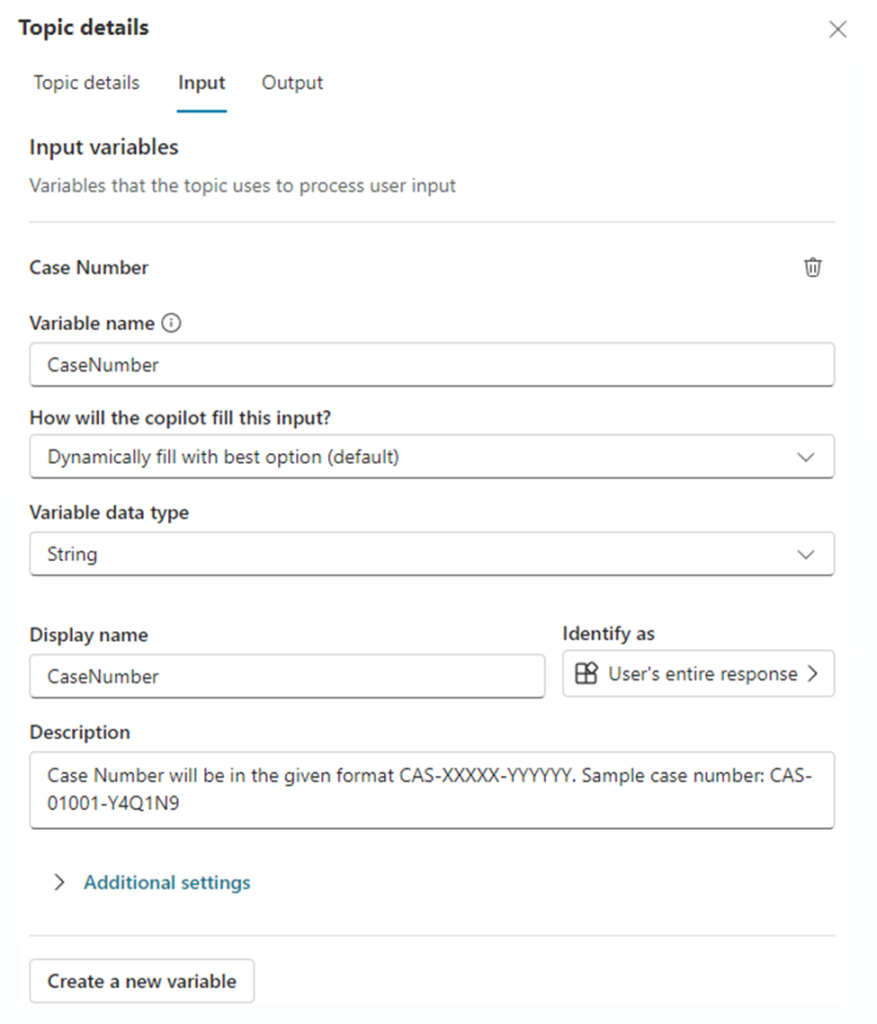
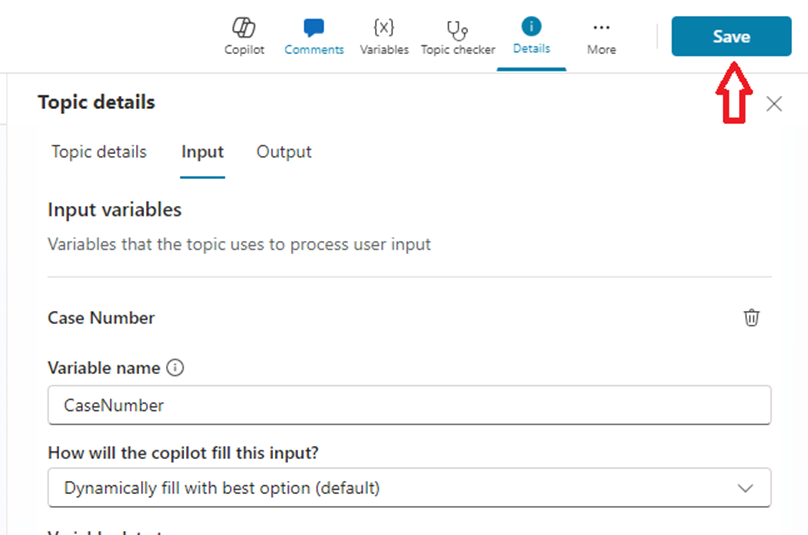
- Once the details are provided, click on Save button.
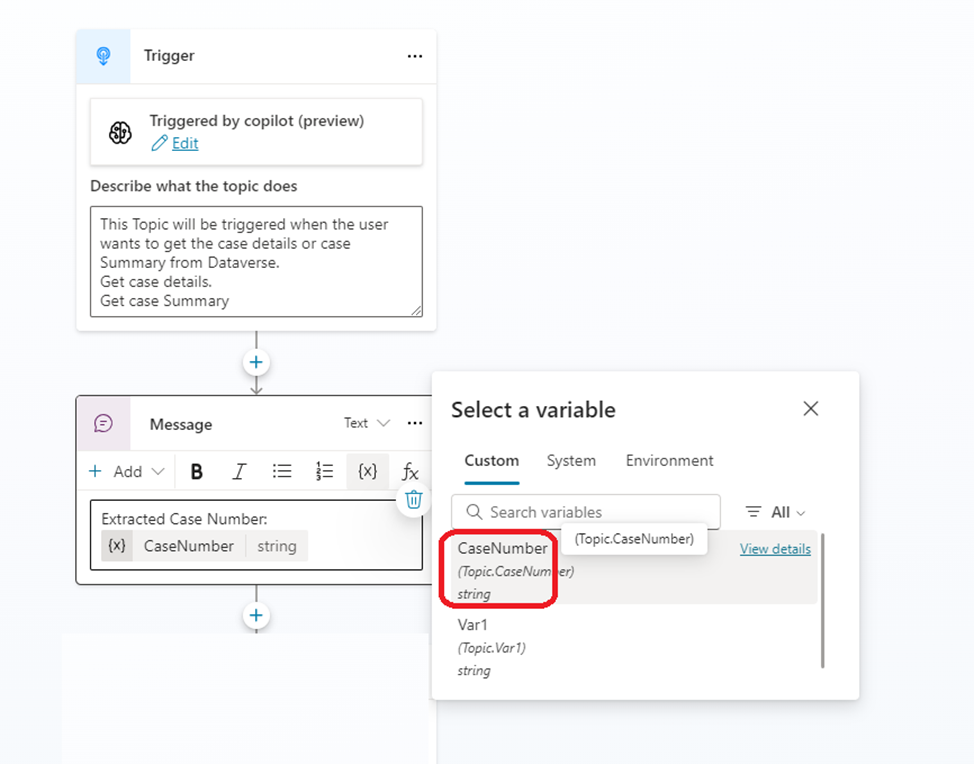
- Once an input field is defined, Co-pilot Studio allows you to map that input to specific responses or actions. For example, you can use the user’s input to trigger different parts of the knowledge sources, fetch data, or respond with information tailored to the user’s request.
- In this case, just for testing purpose we can just display the input variable in Message node.
- To the Custom Prompt, we pass the Input variable directly.
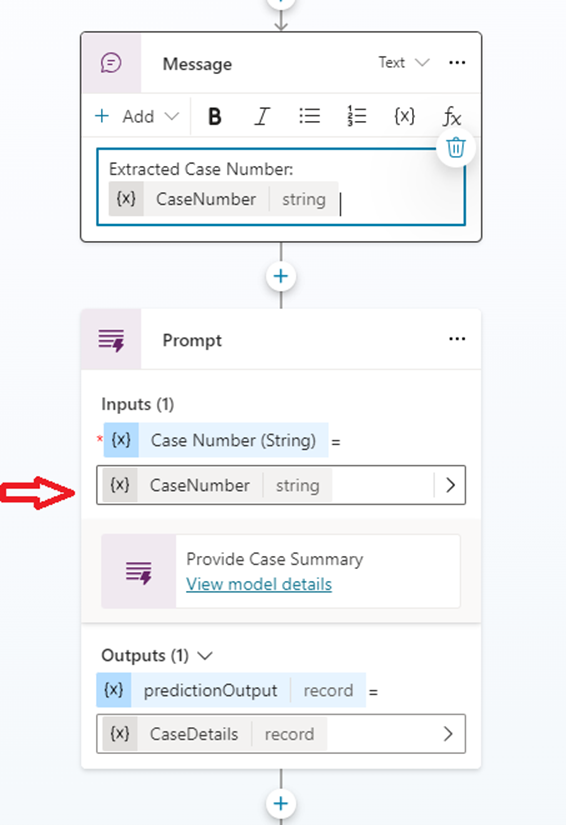
- So overall, the topic looks as shown below. Save and Publish the Topic.
Testing the Topic:
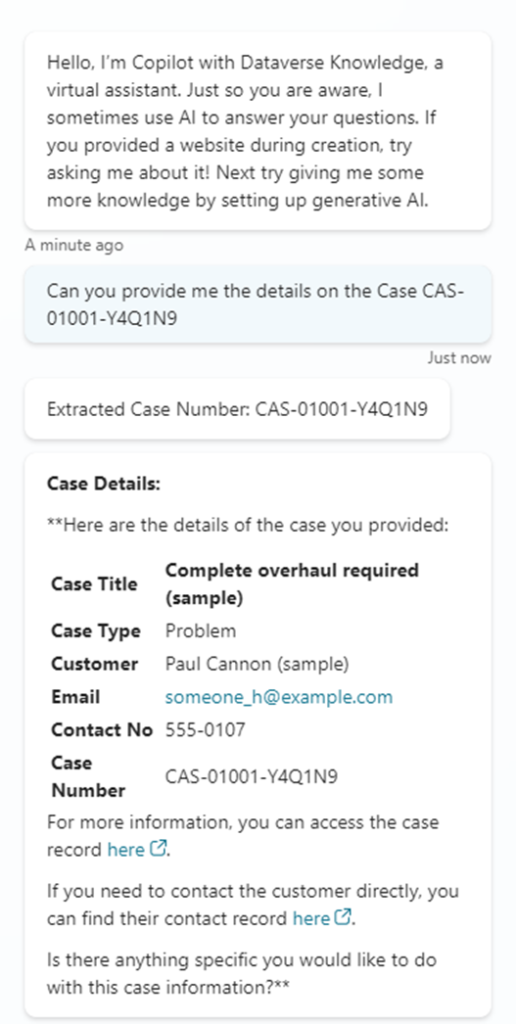
- User is proving the below prompt straightaway: “Can you provide me the details on the Case CAS-01001-Y4Q1N9”.
- Copilot can extract the Case Number from the user response based on the Inputs.
- It is passed through the Custom prompt and response is received as expected.
- Inputs also allow you to create dynamic conversations where Co-pilot asks follow-up questions based on the user’s previous input, creating a more personalized and interactive experience.
- Consider the User is typing something without the Case number. Copilot will be able to provide a response asking the user to enter the Case Number.
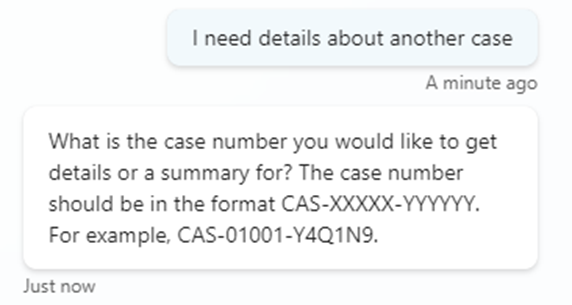
- This Response which Copilot is auto generating is based on the description that we provide when we configure the Input.
- When the user continues to provide the Case Number, the response is received as follows.

Happy Copiloting !