Integrating ServiceNow with Copilot Studio using the ServiceNow connector enables automatic incident creation. By configuring the “Create Record” action within the ServiceNow connector, Copilot can collect user inputs, like issue descriptions and priorities, and map them directly to ServiceNow fields. This integration streamlines the incident management process, reducing manual input and accelerating response times.
Real-World Use Cases:
- IT Helpdesk Automation: Automate ticket creation when users report issues via chatbots, reducing manual entry.
- Customer Support: Quickly log customer issues and route them to appropriate teams.
- Employee Self-Service: Employees can report incidents directly through a bot, enhancing internal support operations.
This integration simplifies workflows, enhances user experience, and improves overall service efficiency.
Creating a ServiceNow Trial Instance:
Please find the below steps to create a Trial Instance for ServiceNow.
- Navigate to the developer site.
https://developer.servicenow.com/dev.do
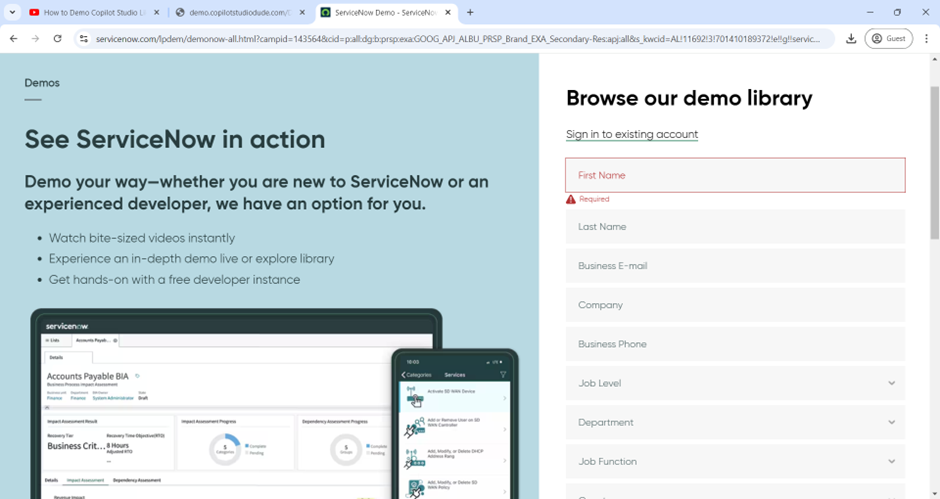
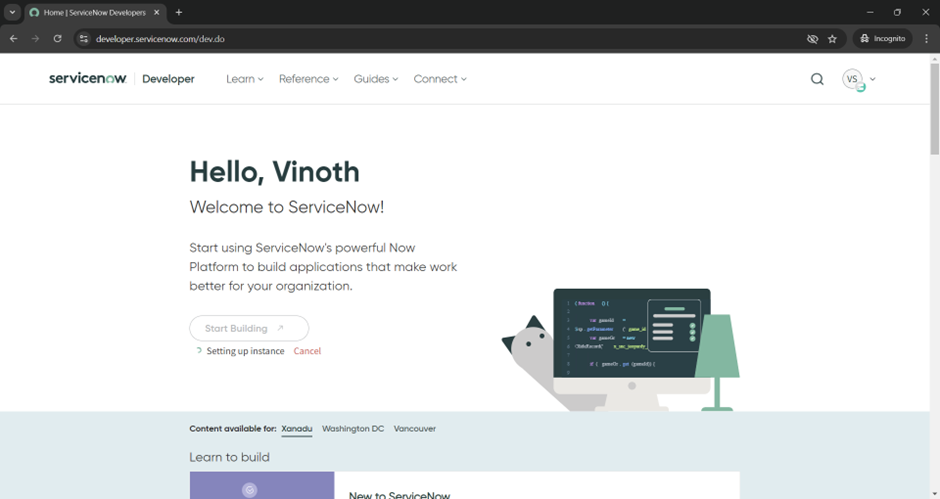
- Enter the required details to Sign up for the instance.
- Once done, the instance will be setup in few minutes. Wait until the Instance is ready.
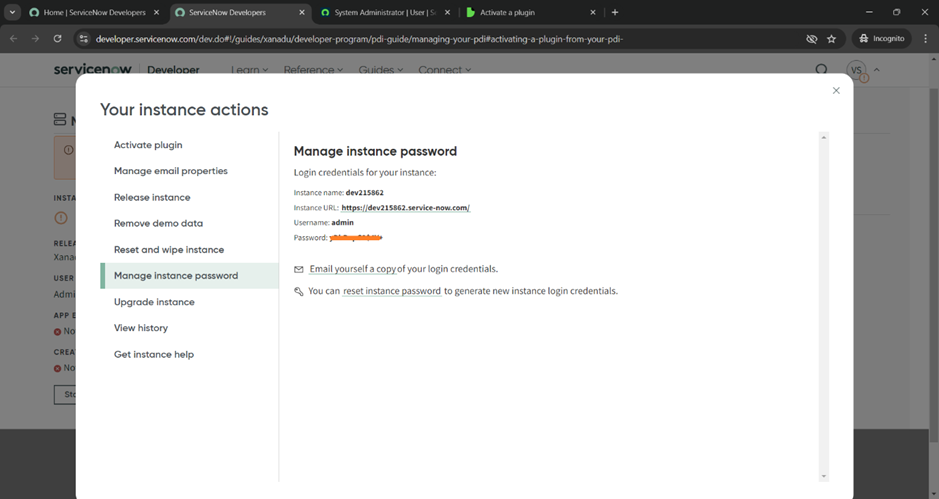
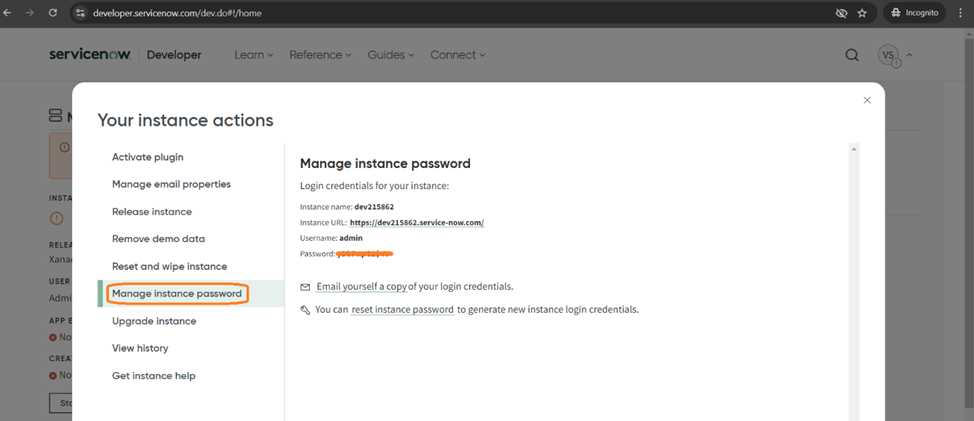
- When the Instance is ready, you can navigate to profile section and click on Manage Instance Password. We will get the Instance details as shown below.
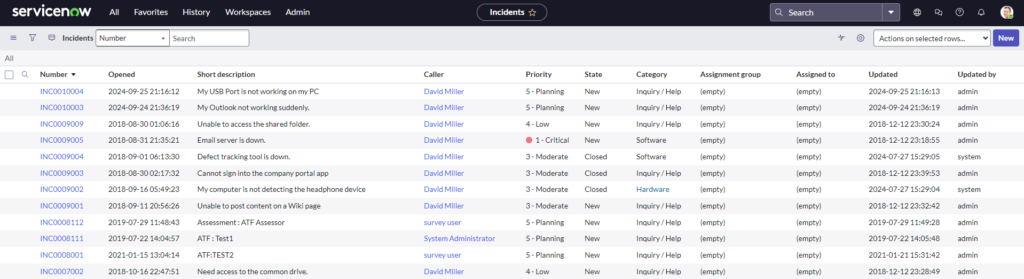
- You can open the instance, click on All to search for the required.
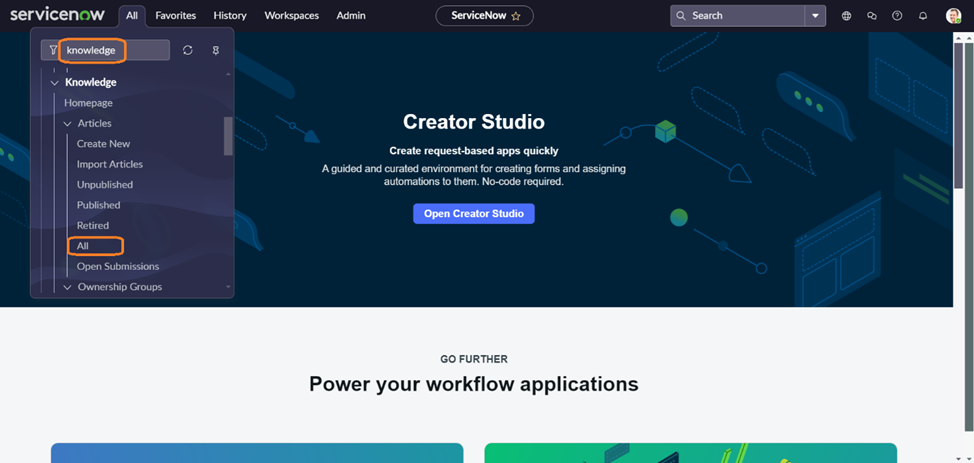
- In our scenario, we just make sure Incidents are available.
- We need to Perform one final step before proceeding to Copilot Studio. Need to Enable the Knowledge API.
- Search and Look for Plugins inside ServiceNow.
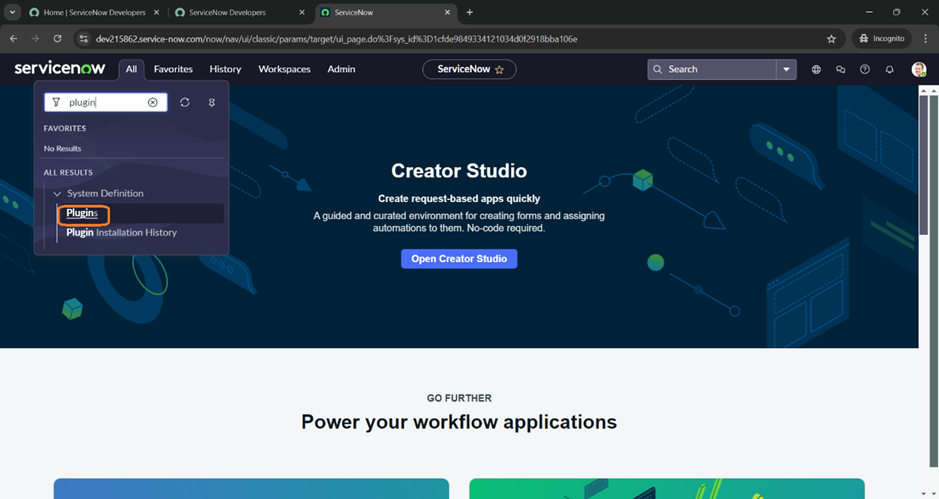
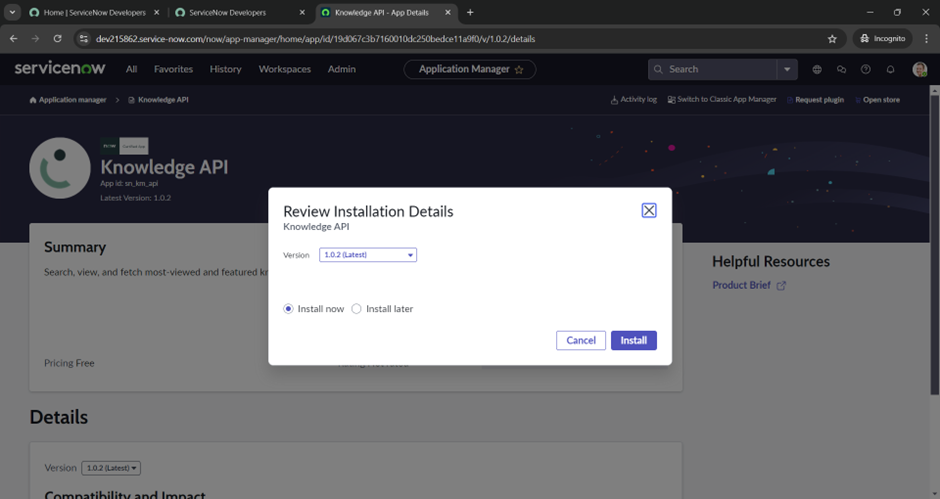
- Search for the Knowledge API Plugin and Install the Latest version.
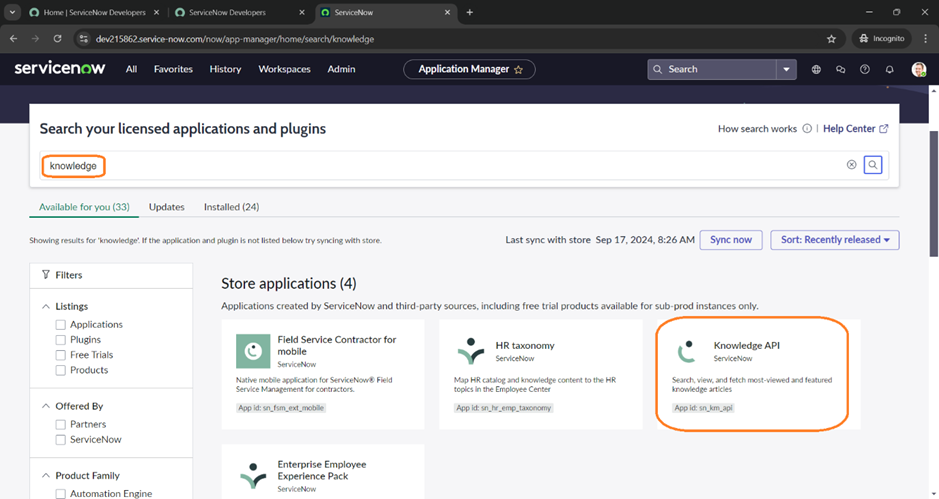
- Install the Latest version of the API inside ServiceNow.
Using ServiceNow Connector Action in Copilot Studio:
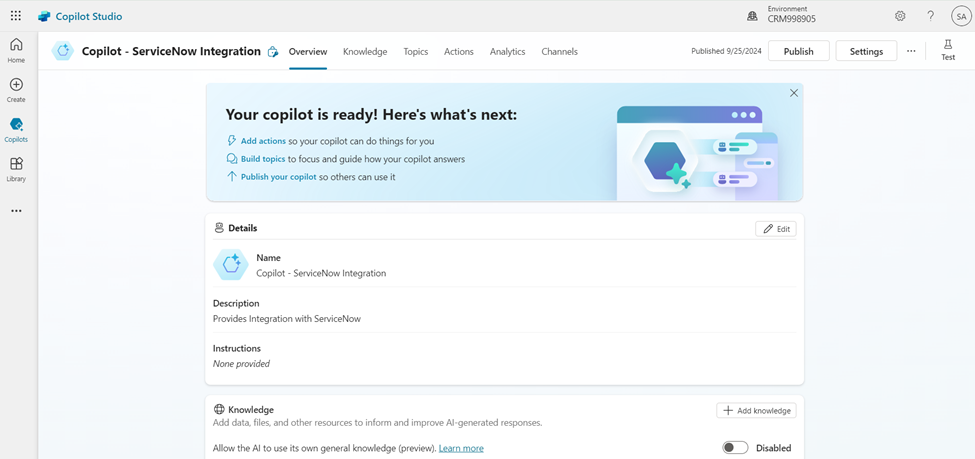
- Navigate to the Co-Pilot Studio (https://copilotstudio.microsoft.com/).
- We can develop a basic Co-Pilot to test the ServiceNow Integration.
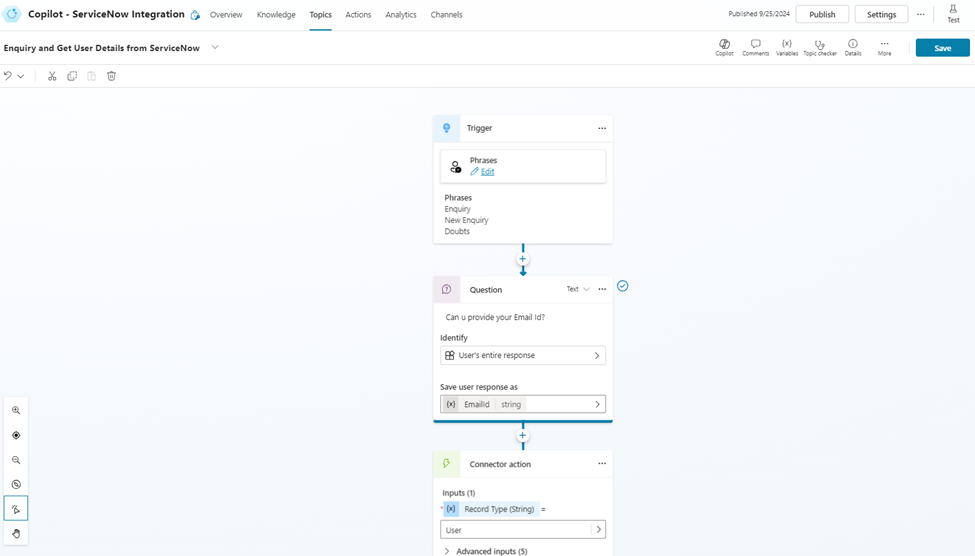
- Create a new Topic. We can Start from a blank or can also describe to Co-pilot which helps in creating the skeleton.
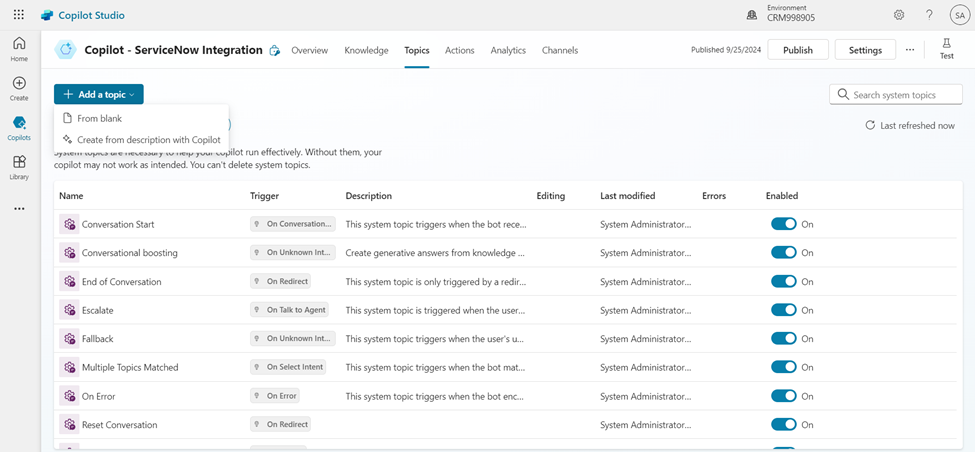
- Provide a valid name to the Topic. Now we can Start with editing the Trigger Phases.
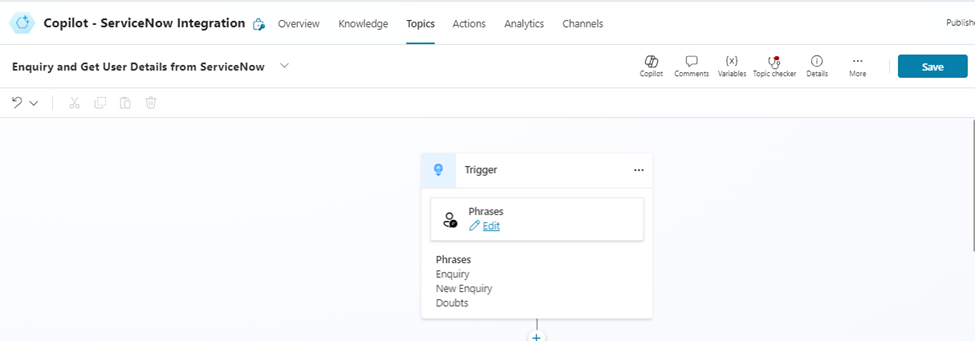
- In this Scenario, we can just provide trigger phases as KB or KB Articles etc.
- This is a very simple scenario and so we just test the trigger based on the Trigger Phrases. In real world, we can Use Generative AI to respond with the best combination of actions, topics, and knowledge.
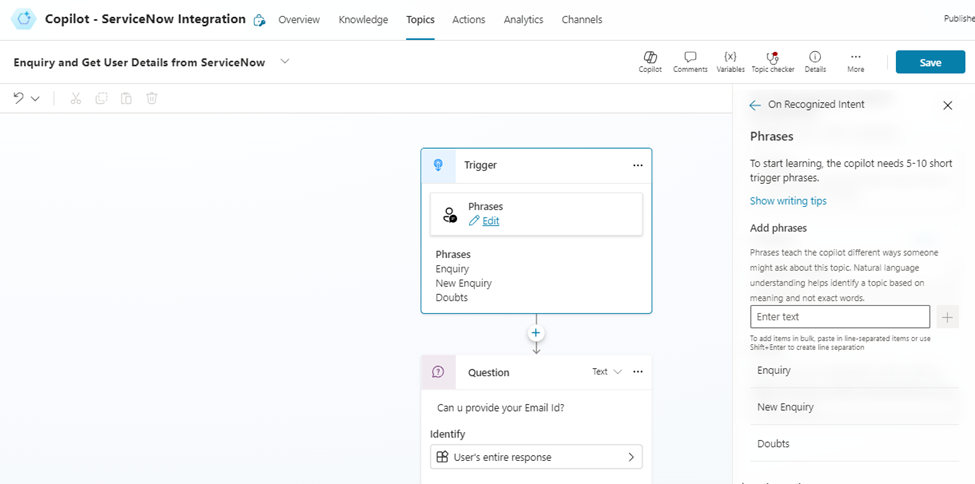
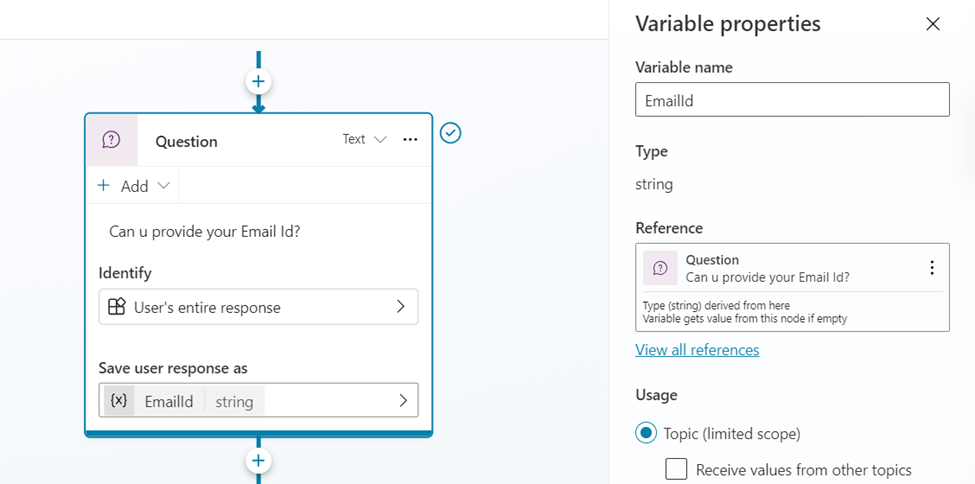
- Next step we add a Question action to get the Input from the User. The user is expected to provide the Email id in this step.
- Store the User Response in a Variable (EmailId).
- Now we shall use the Email id of the user and try to find if the user has access to Service Now. For this Post, let me show you how to retrieve the User Name from User Table inside ServiceNow.
- In real scenario, in this point we can validate of the user (if he has access to Service now or not).
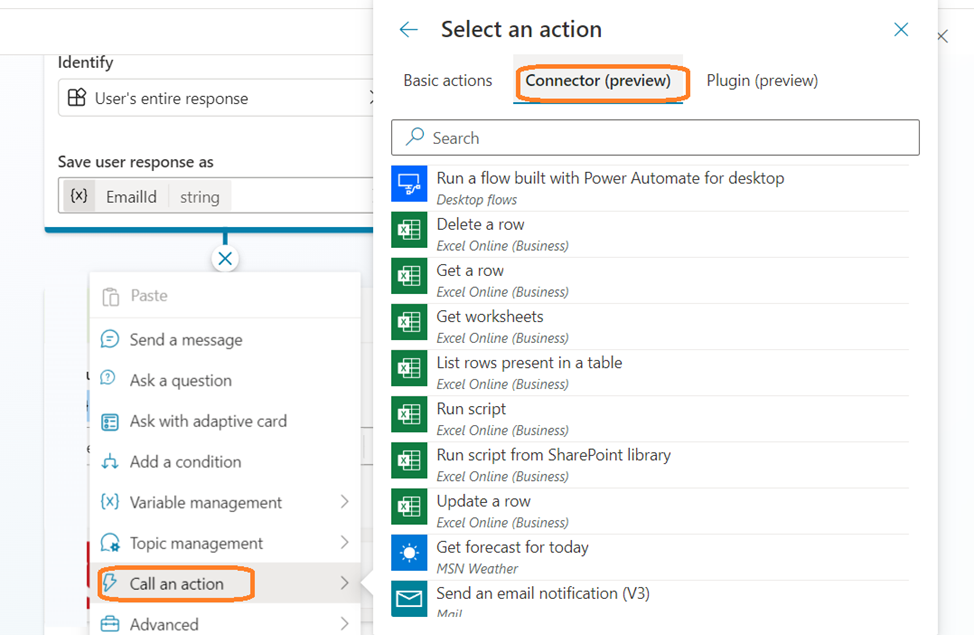
- Next step, we will Call an Action. In the actions menu, click on Connector (preview).
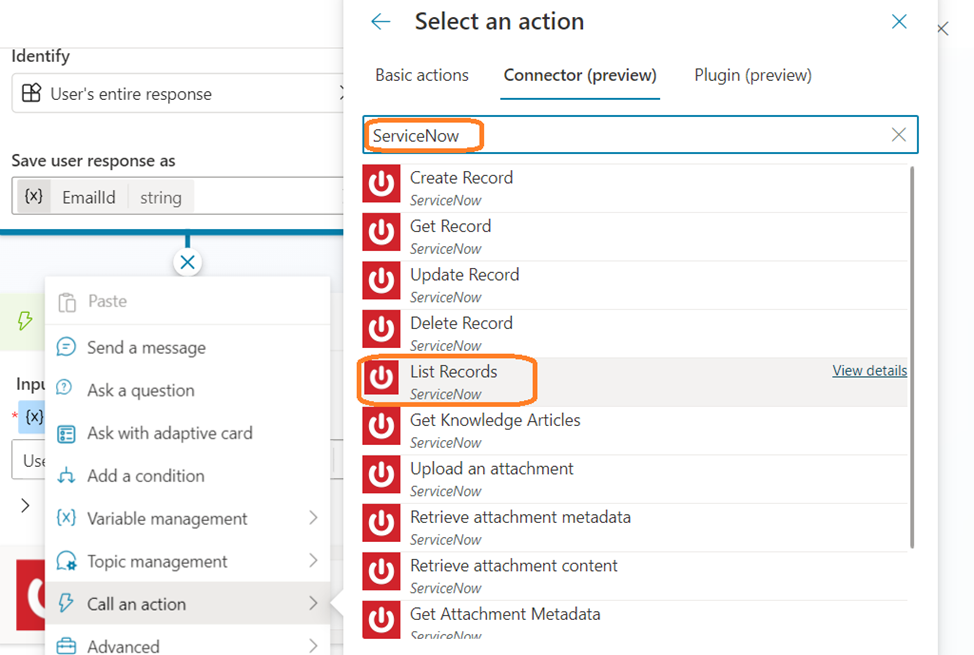
- Search as “Service Now” and select the “List Records” action.
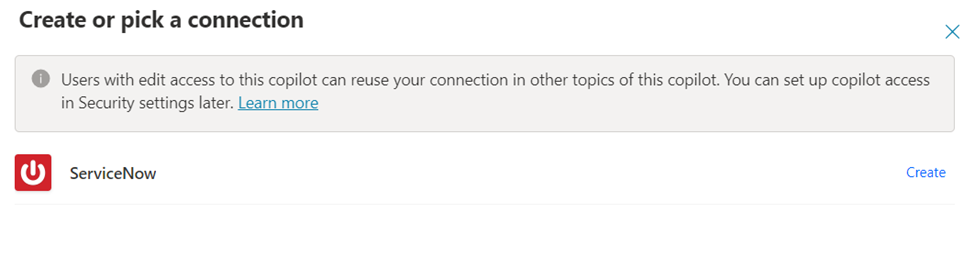
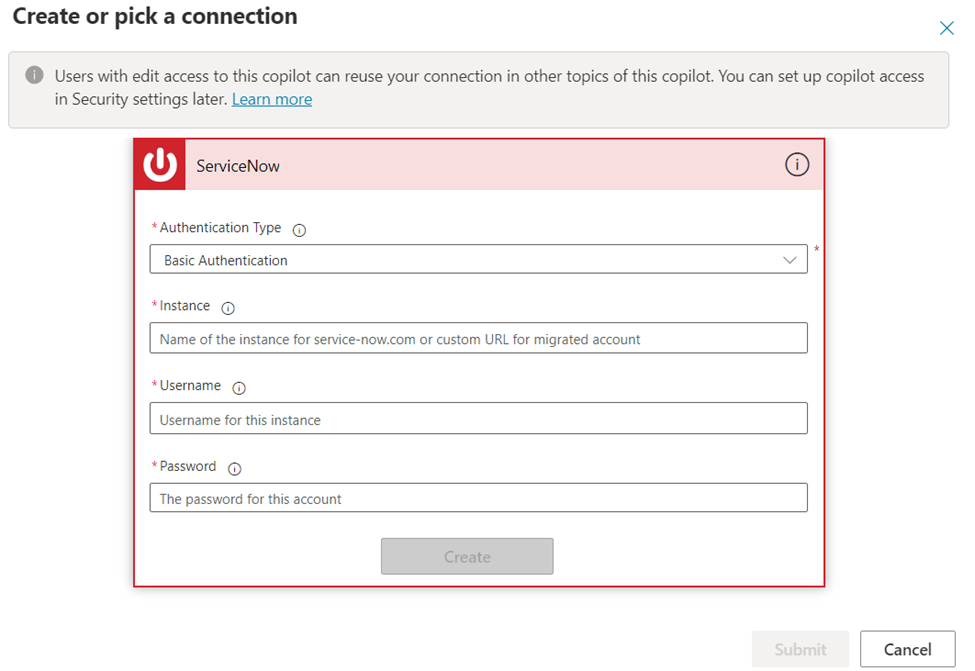
- Since this is the first time connection, we can see the below popup appears.
- Click on the Create icon.
- This is the place where we set up the connection to ServiceNow. We need to provide the credentials to connect to ServiceNow.
- To Find the Instance credentials, you can go to the Profile section. Click on “Manage Instance Password”.
- Provide the required credentials and click on “Create” button.
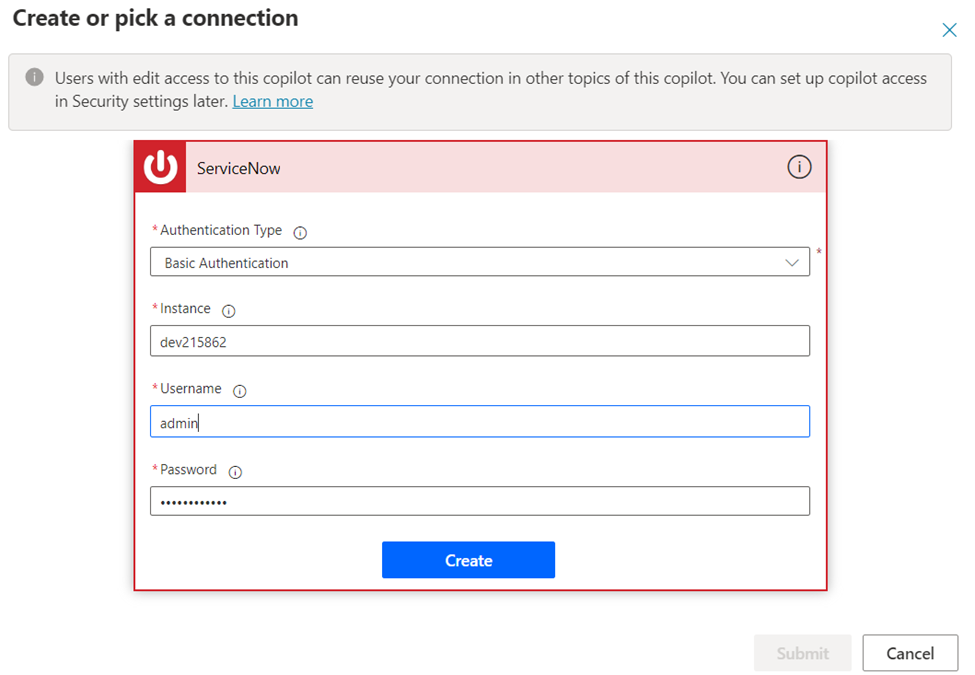
- System validates the connection and provides the Connection.
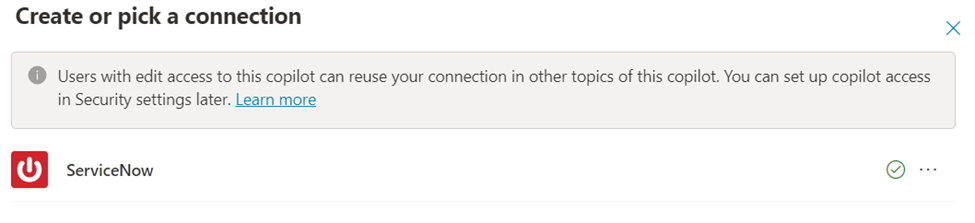
- Once connection is established, the Connector Action is added to the Topic.
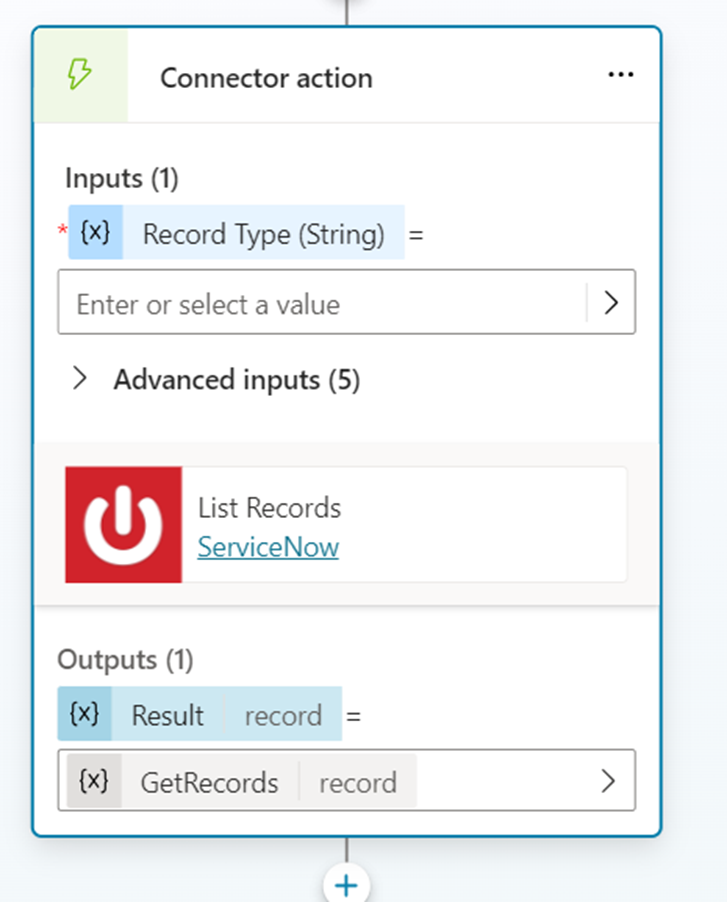
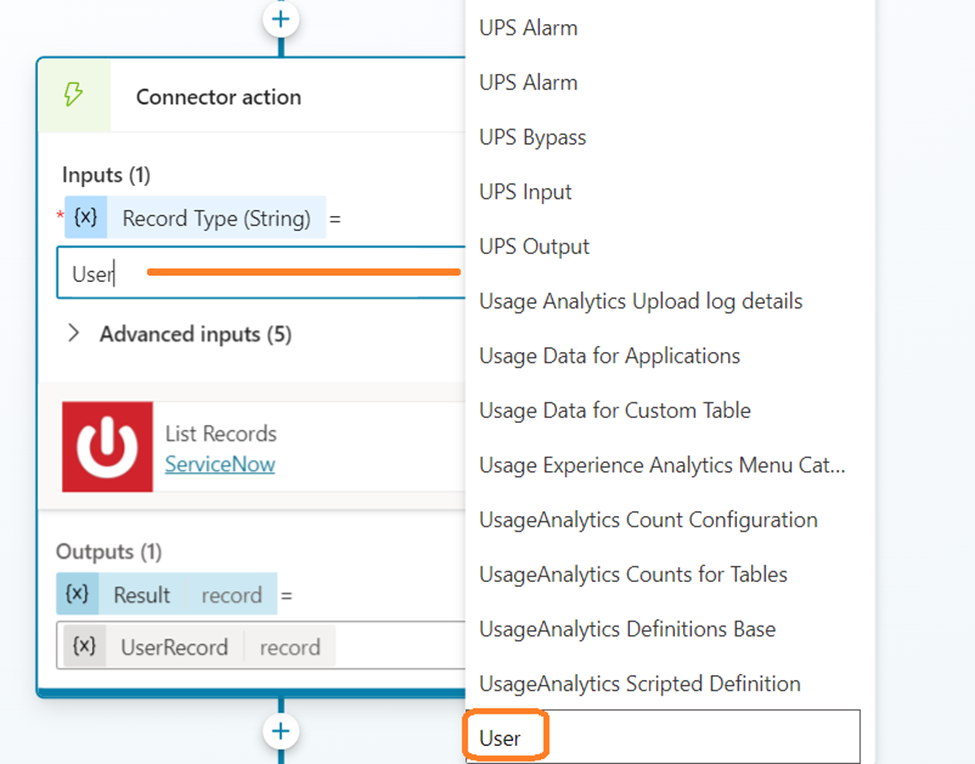
- In the Record type, look for User Table. Select the User table to query the record.
- In the Advanced Input section, you can provide the details mentioned below. Few of the fields are just flags that we need to set to true.
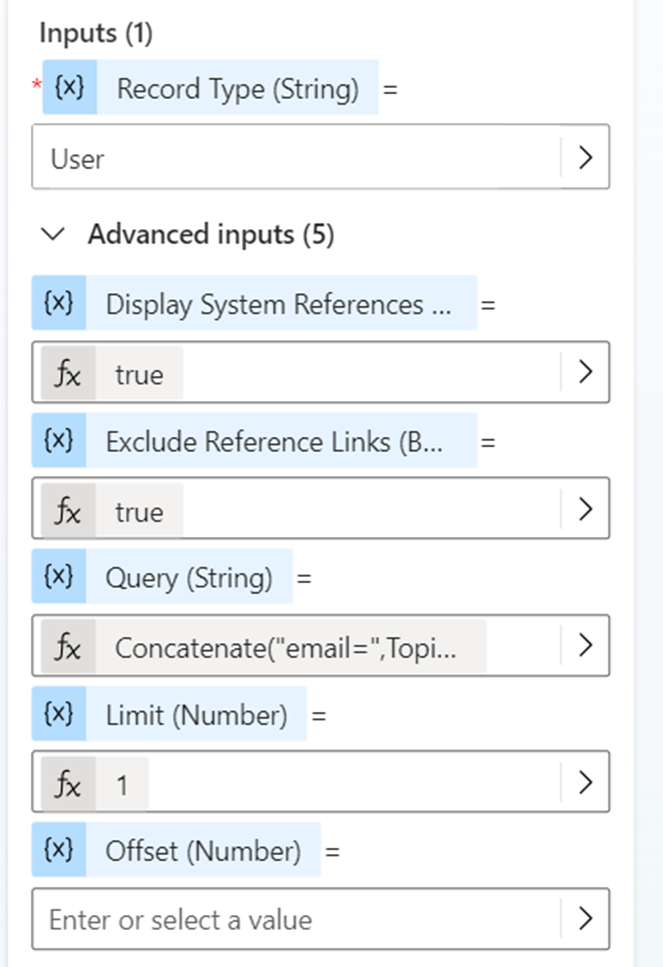
- Query String is the important field where we specify the query to extract the user from the User table.
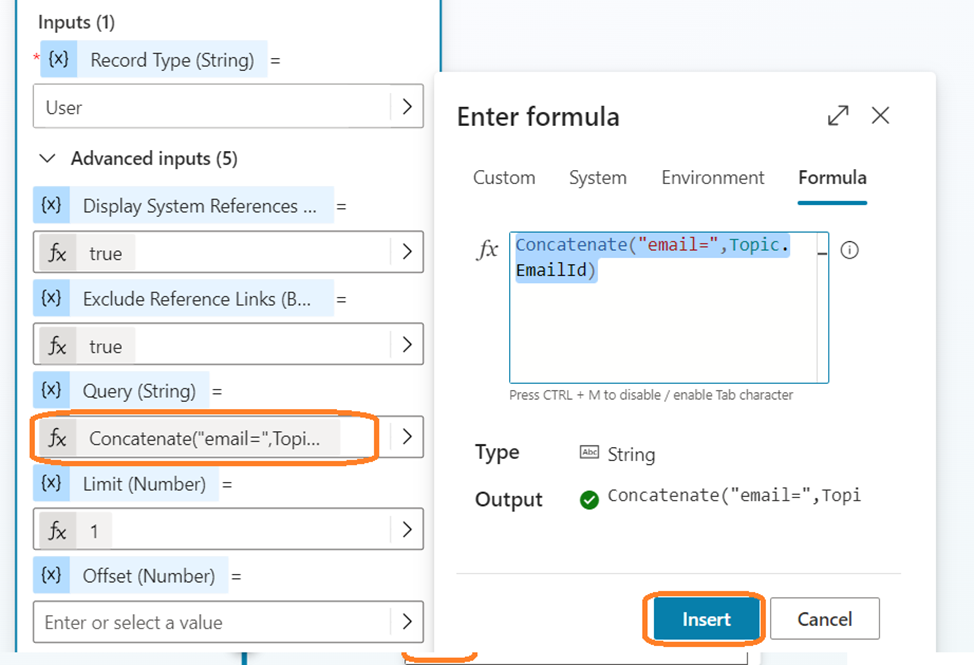
- We are just going to use a PowerFx formula to form the query as shown below.
Concatenate("email=",Topic.EmailId)
- Next step we are just going to get the Output from the List records and store it in a variable.
- Add a new step to Set a variable.

- We are going to set the variable name as UserName.
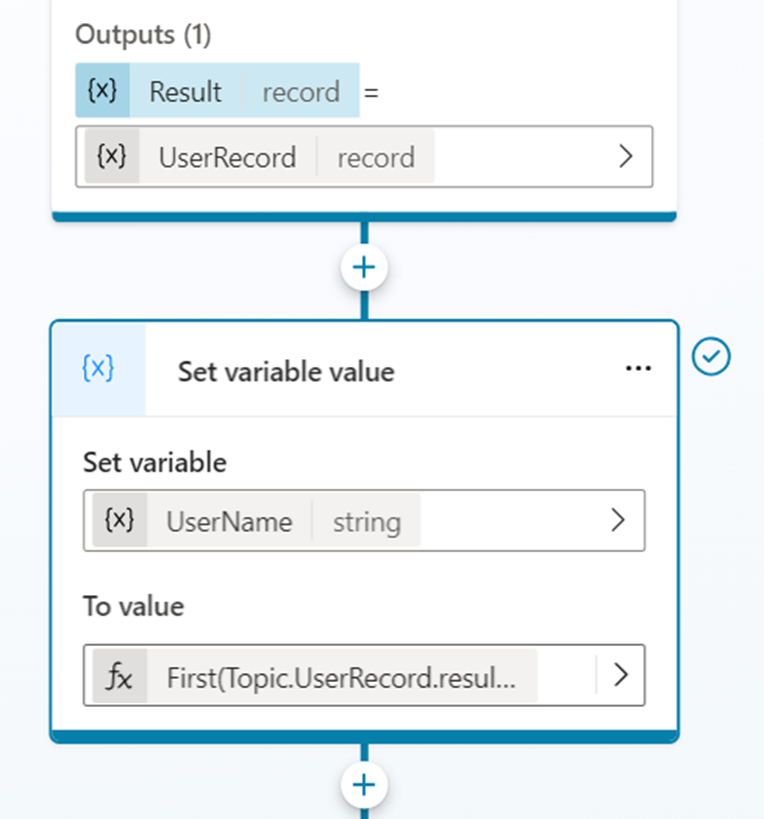
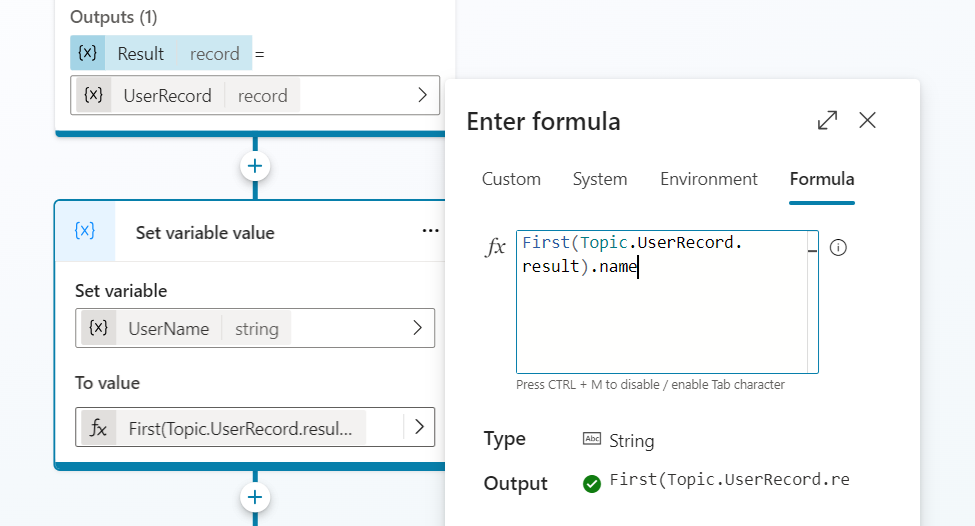
- Now we need to use formula to fetch the Name of the user from the Output of the list records.
- Since list records always gives us result as array, we will need to fetch the First record from the Result.
First(Topic.UserRecord.result).name
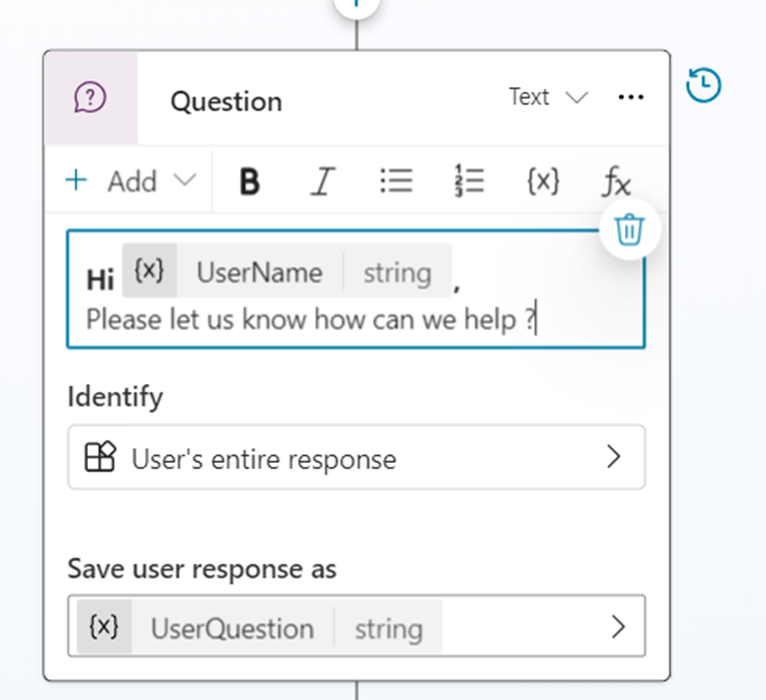
- Once done, we can just ask a Question to user to get the user input. User is expected to type in the issue statement or problem which he is facing.
- Now coming to the main part, connecting to the KB articles. In this scenario in real time, it is expected to connect to ServiceNow KB Articles and try to find proper response.
Check out the below Post for more details
https://msdcentral.site/copilot-studio-integrate-service-now-knowledge-base-using-connector-action/
- In case if the response is not received (or) the response is not satisfactory, we can ask the user if he needs to raise a new incident.

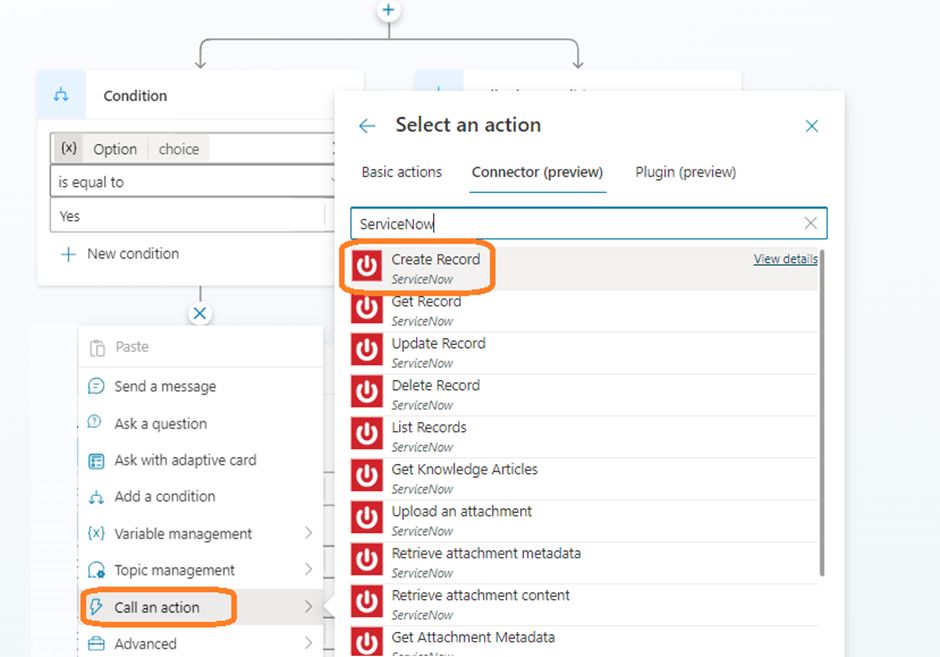
- If the User Clicks on YES, then we can proceed to create a new Incident.
- Add another Action to select the Connectors.
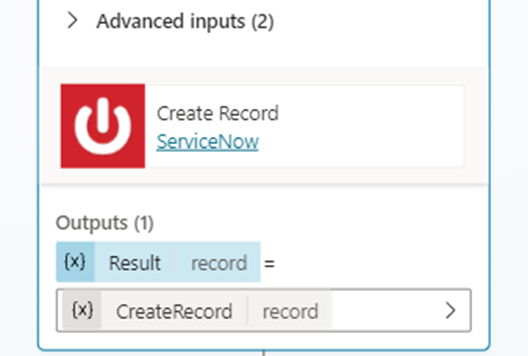
- Search for ServiceNow and select the “Create Record” action.
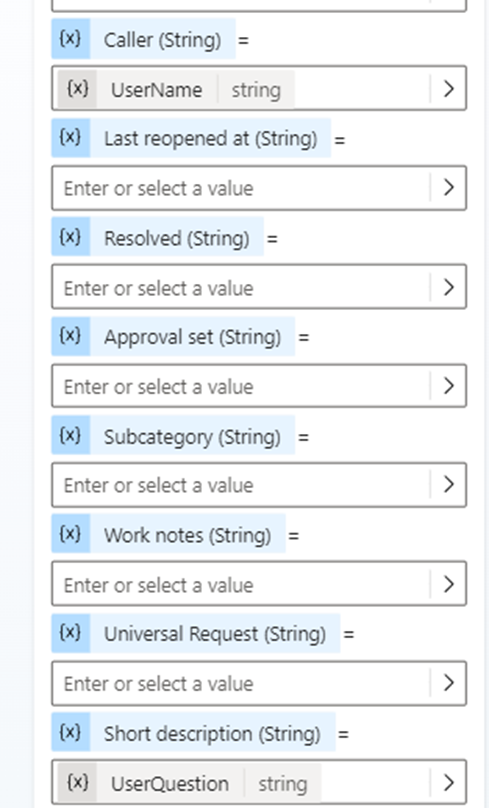
- Once the Connector Action is added, we need to specify the inputs.
- Record Type – Select the Incident table.
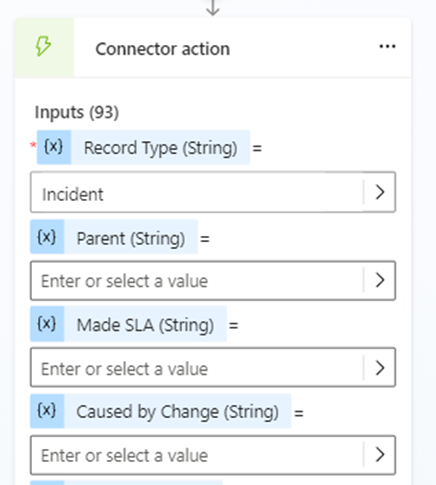
- Populate the required fields directly. Please make sure the datatype format for each column are matching.
- Once done, the Results will be saved in Output variable – CreateRecord.
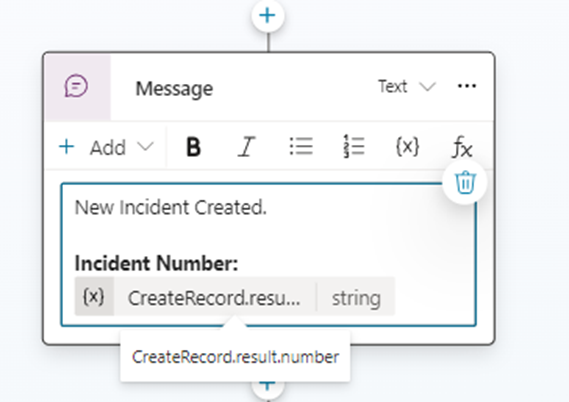
- We can just create a new Message node to display the Incident number to the User.
- Save and Publish the Topic.
- Now the Topic is configured. We can Test the Copilot.
- Just to trigger the topic, type as Enquiry or Doubts.
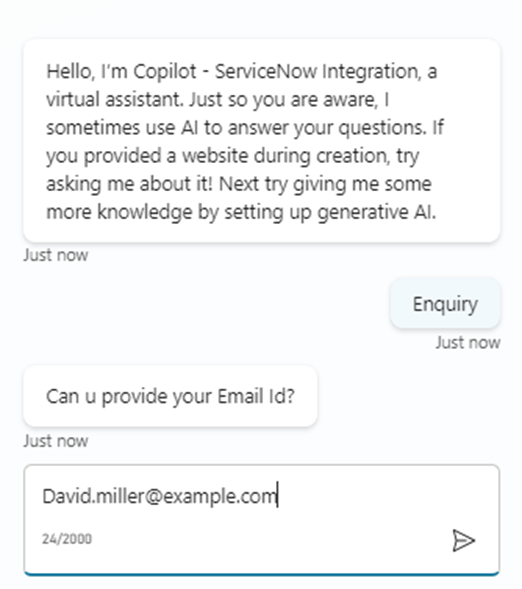
- Copilot asks the user to input the Email id.
- Enter the Email id.
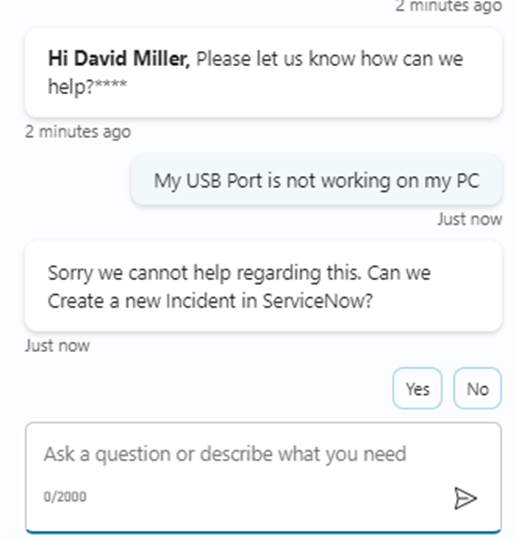
- Copilot fetches the Username from Service Now and provides the message.

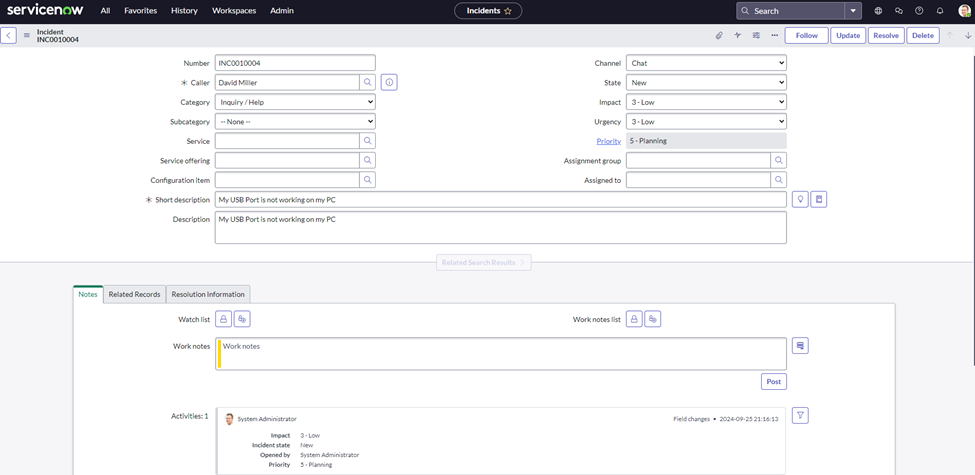
- Consider User Providing the below Query – My USB Port is not working on my PC.
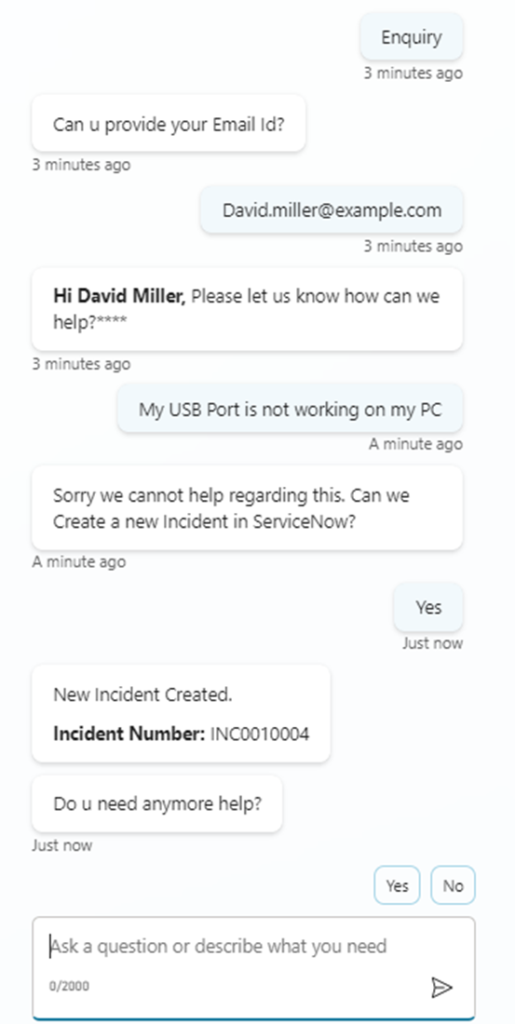
- The user is Prompted to confirm if he needs to raise an Incident in ServiceNow.
- Copilot auto creates an incident inside ServiceNow. Provides the Incident number in return.
- The Response from Copilot is received as shown above.
- To verify further, even we can check the Incident number inside ServiceNow.

Happy Copiloting !!!