Integrating ServiceNow with Copilot Studio using a connector allows you to automate workflows and enhance bot capabilities. You can leverage the ServiceNow connector in Copilot Studio to perform actions like creating, retrieving, or updating service tickets.
In this Post, we will be learning on how to integrate to ServiceNow Knowledge base by using ServiceNow Connector Action that is available in built in the system.
In Short, below are the Steps to be followed.
- Create a Trial Instance for ServiceNow (For Demo Purpose). This step can be ignored if you already have a Live ServiceNow Instance.
- Create a Topic in Copilot Studio to perform the process.
- Use Connector Action (In-built) and establish connection to ServiceNow.
- Connector Action retrieves the KB articles that are relevant to the user queries.
- Compose the Output from the Connector Action as a Table.
- Use Generative Answer and pass the Output from the Connector Action as Custom Data Source.
Creating a ServiceNow Trial Instance:
Please find the below steps to create a Trial Instance for ServiceNow.
- Navigate to the developer site.
https://developer.servicenow.com/dev.do
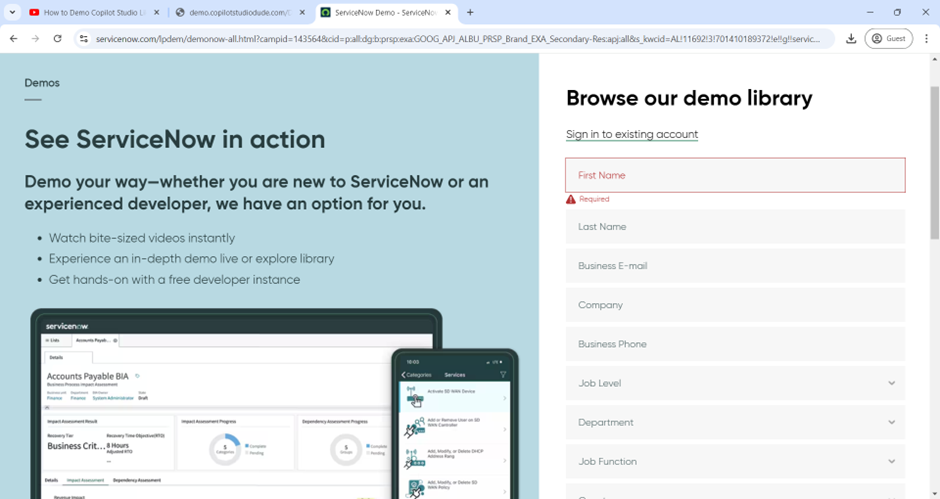
- Enter the required details to Sign up for the instance.
- Once done, the instance will be setup in few minutes. Wait until the Instance is ready.
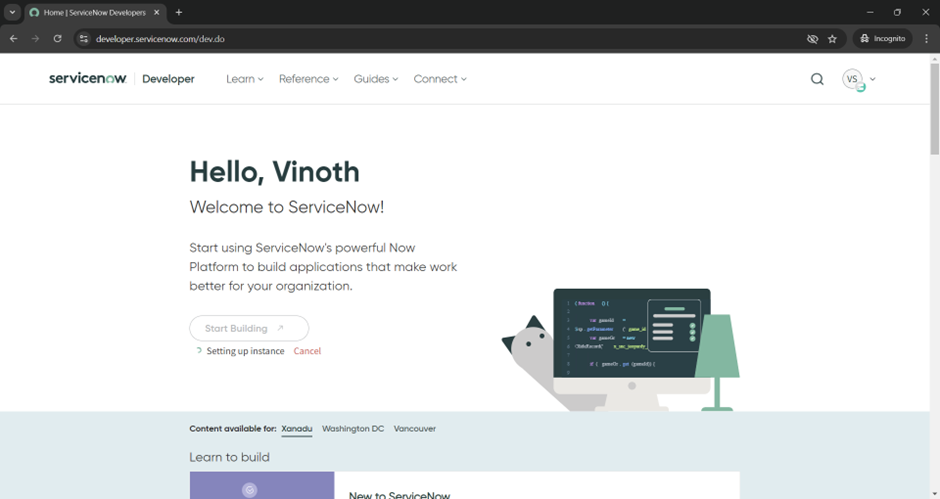
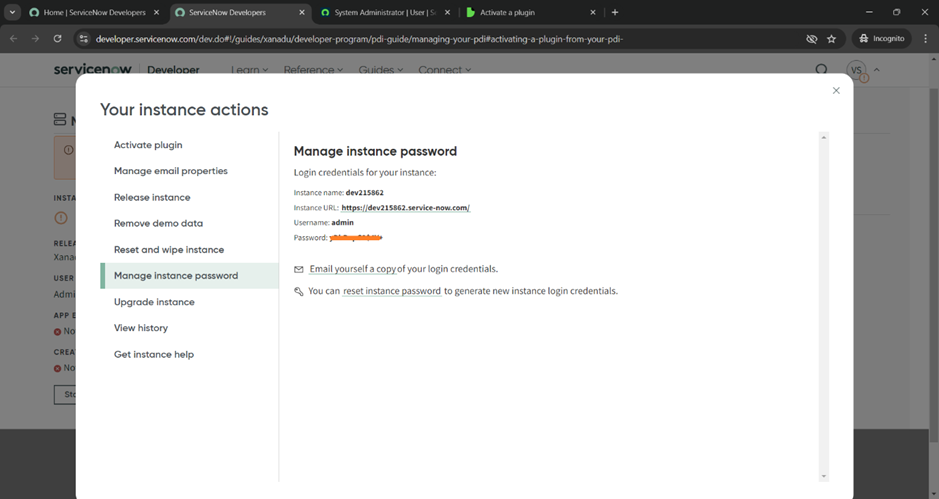
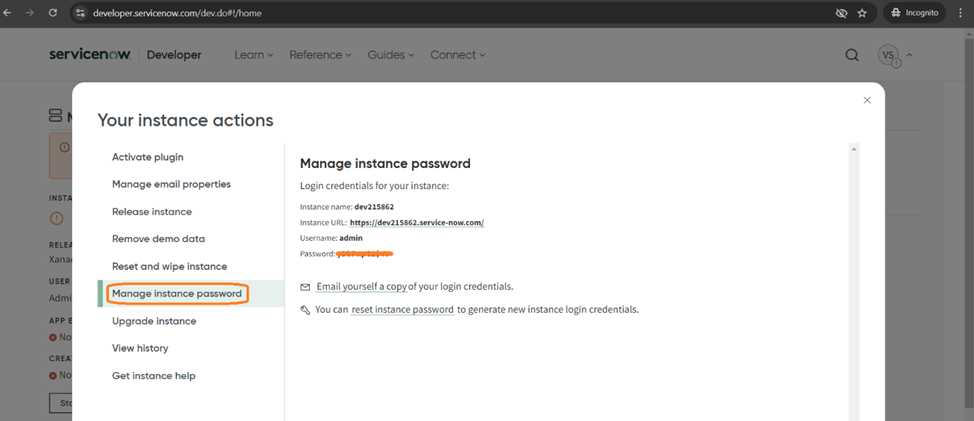
- When the Instance is ready, you can navigate to profile section and click on Manage Instance Password. We will get the Instance details as shown below.
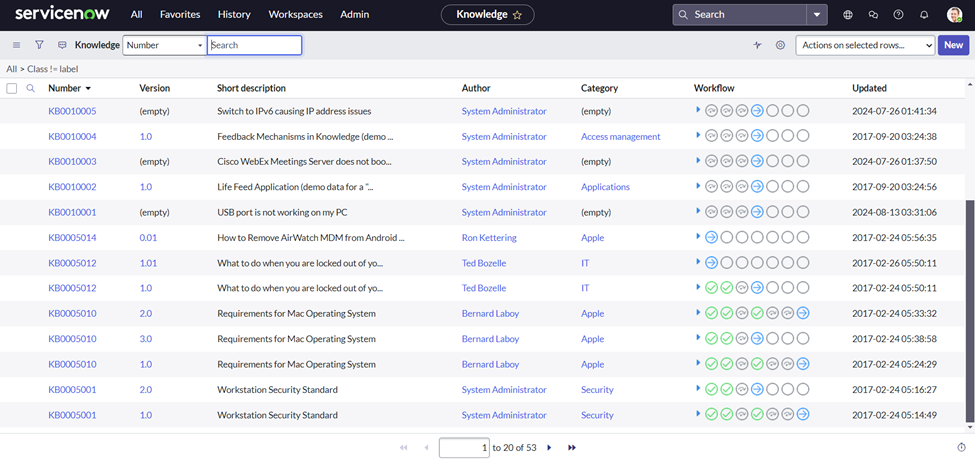
- You can open the instance, click on All to search for the required.
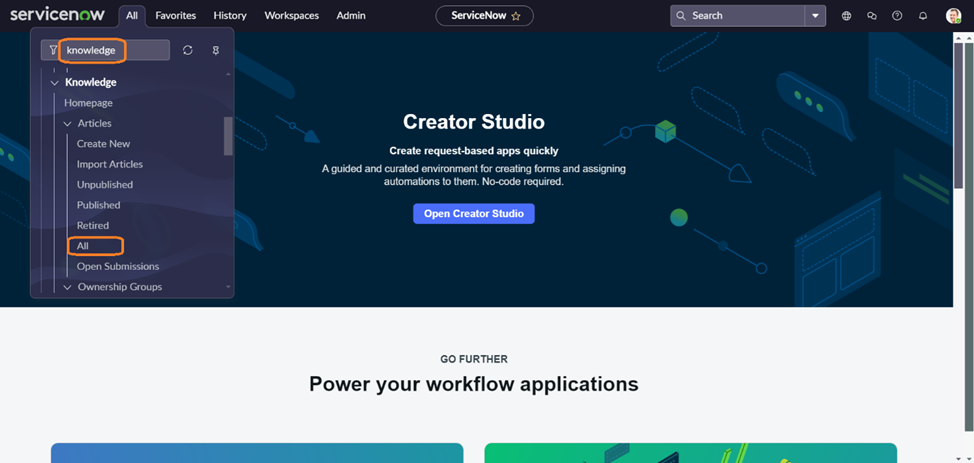
- In our scenario, we just make sure KB articles are available. You can also add your own KB articles according to your scenario.
- We need to Perform one final step before proceeding to Copilot Studio. Need to Enable the Knowledge API.
- Search and Look for Plugins inside ServiceNow.
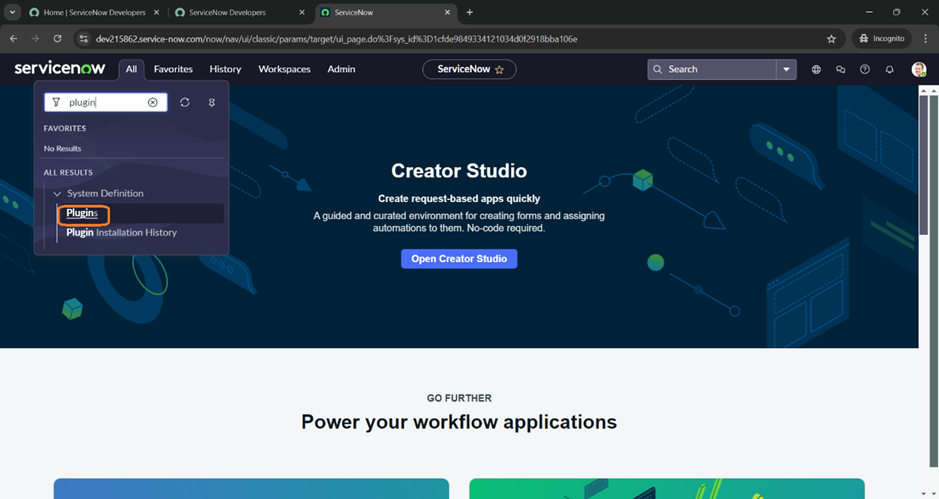
- Search for the Knowledge API Plugin and Install the Latest version.
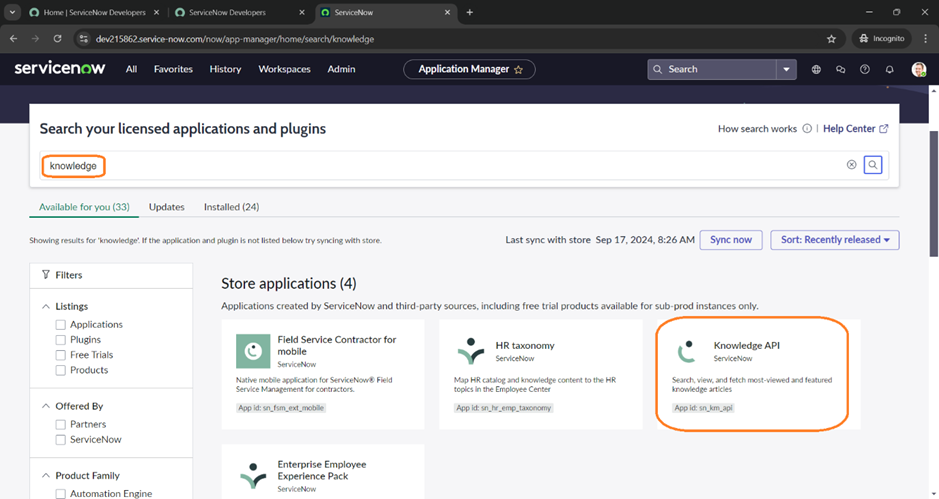
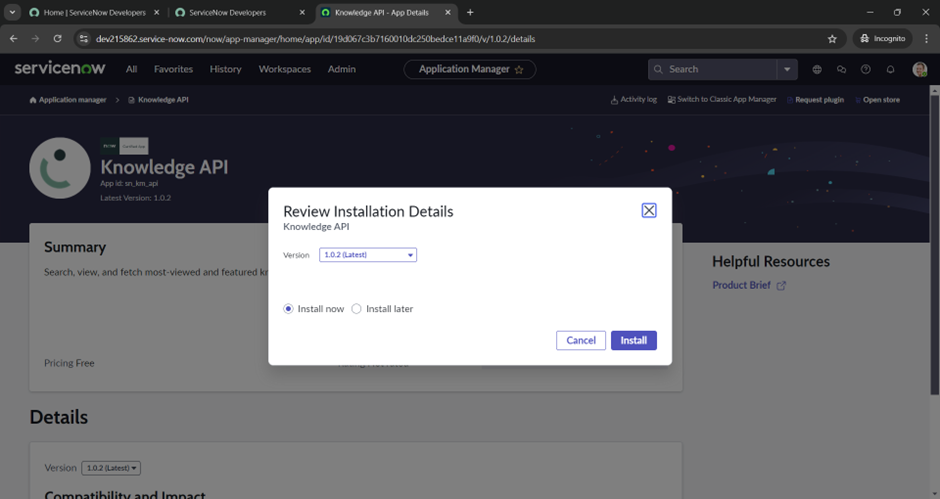
- Install the Latest version of the API inside ServiceNow.
Using ServiceNow Connector Action in Copilot Studio:
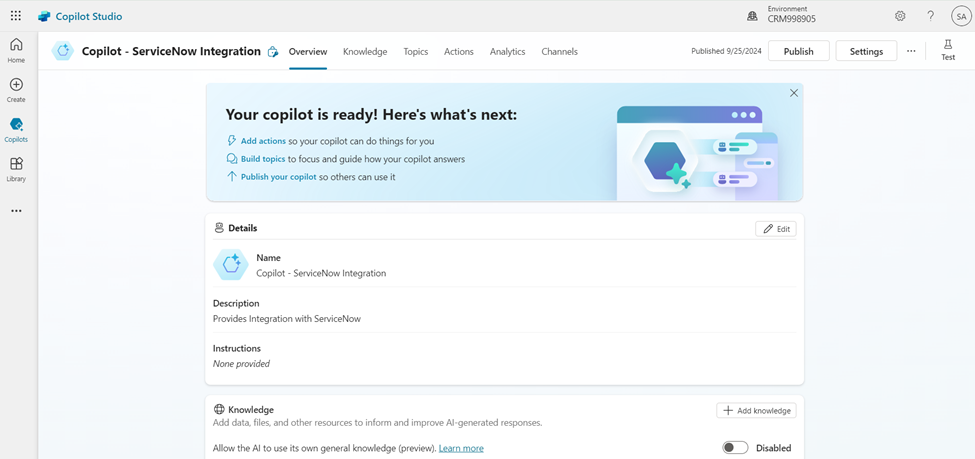
- Navigate to the Co-Pilot Studio (https://copilotstudio.microsoft.com/).
- We can develop a basic Co-Pilot to test the ServiceNow Integration.
- Create a new Topic. We can Start from a blank or can also describe to Co-pilot which helps in creating the skeleton.
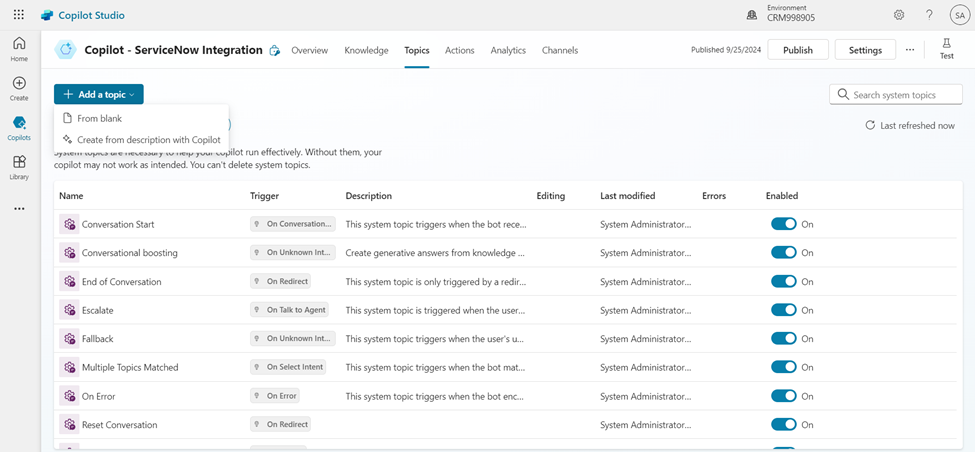
- Provide a valid name to the Topic. Now we can Start with editing the Trigger Phases.

- In this Scenario, we can just provide trigger phases as KB or KB Articles etc.
- This is a very simple scenario and so we just test the trigger based on the Trigger Phrases. In real world, we can Use Generative AI to respond with the best combination of actions, topics, and knowledge.
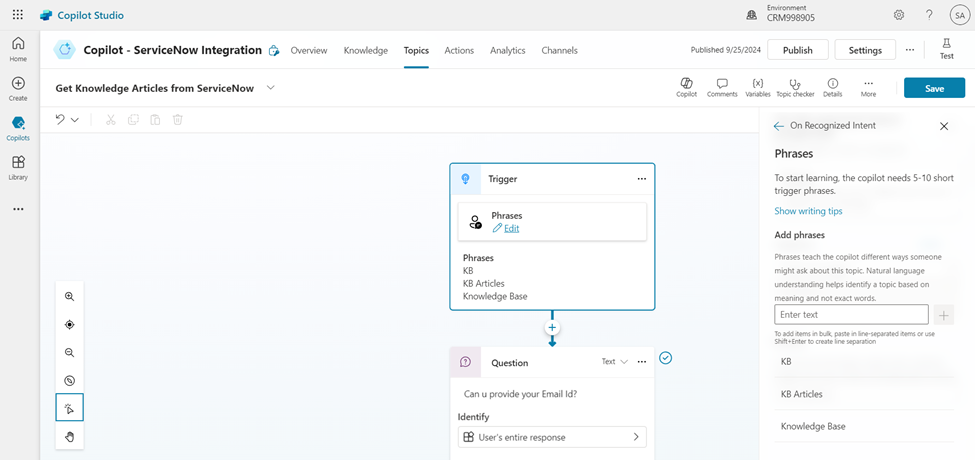
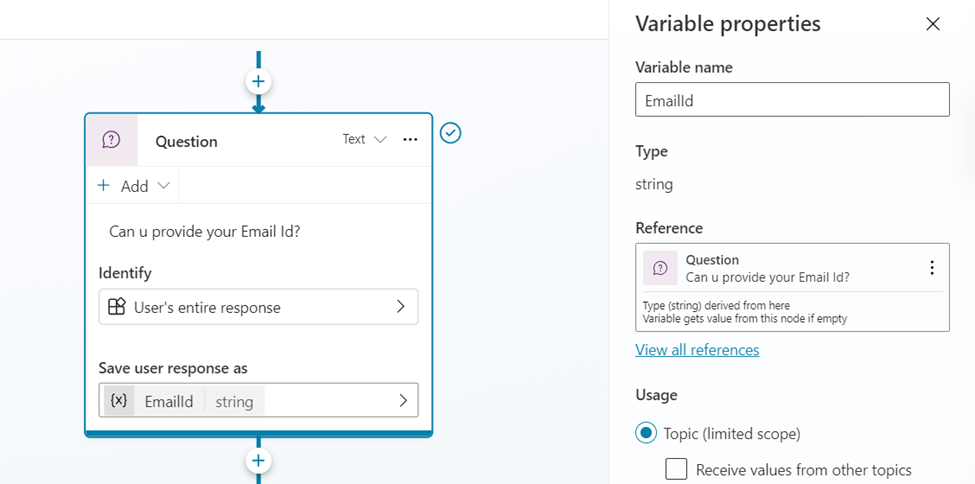
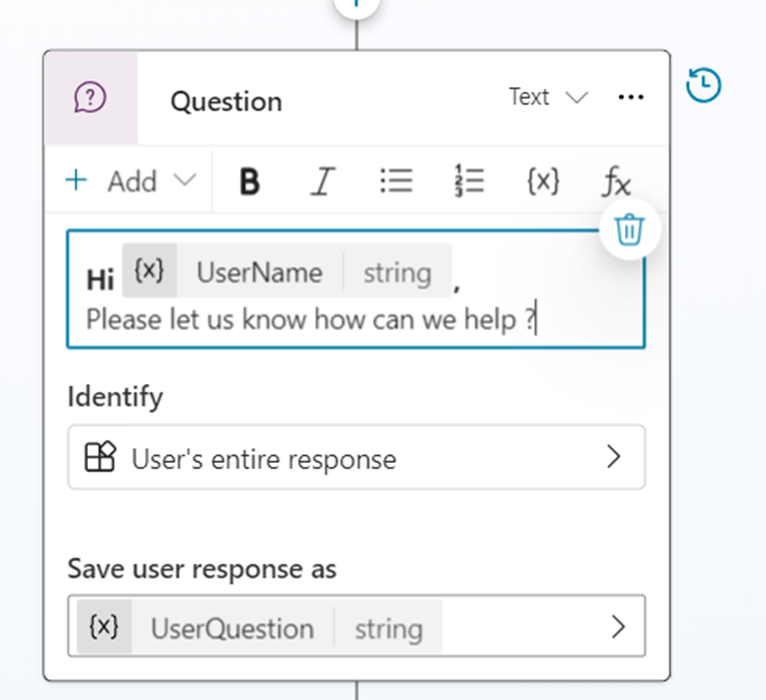
- Next step we add a Question action to get the Input from the User. The user is expected to provide the Email id in this step.
- Store the User Response in a Variable (EmailId).
- Now we shall use the Email id of the user and try to find if the user has access to Service Now. For this Post, let me show you how to retrieve the User Name from User Table inside ServiceNow.
- In real scenario, in this point we can validate of the user (if he has access to Service now or not).
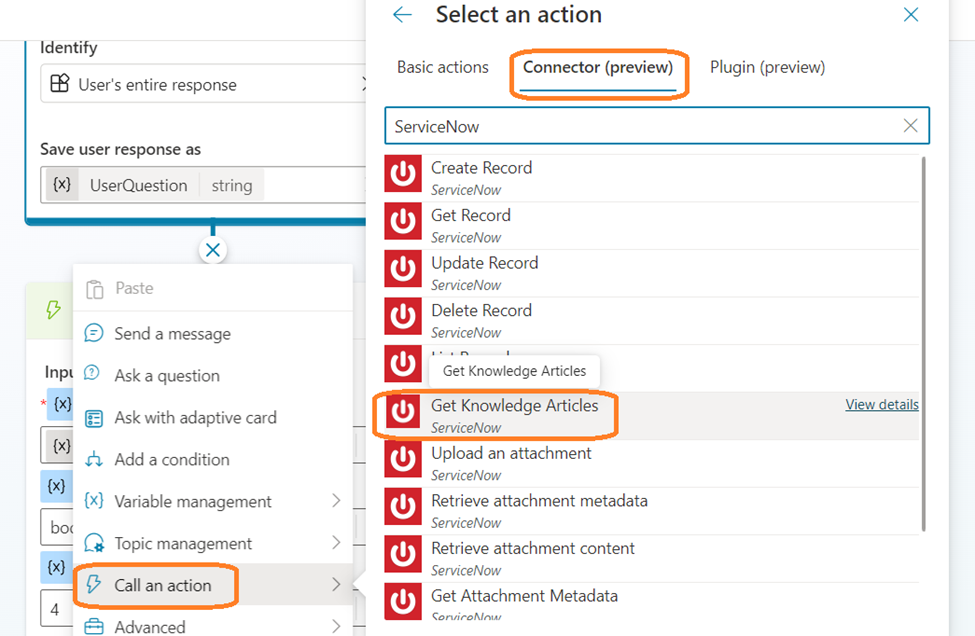
- Next step, we will Call an Action. In the actions menu, click on Connector (preview).
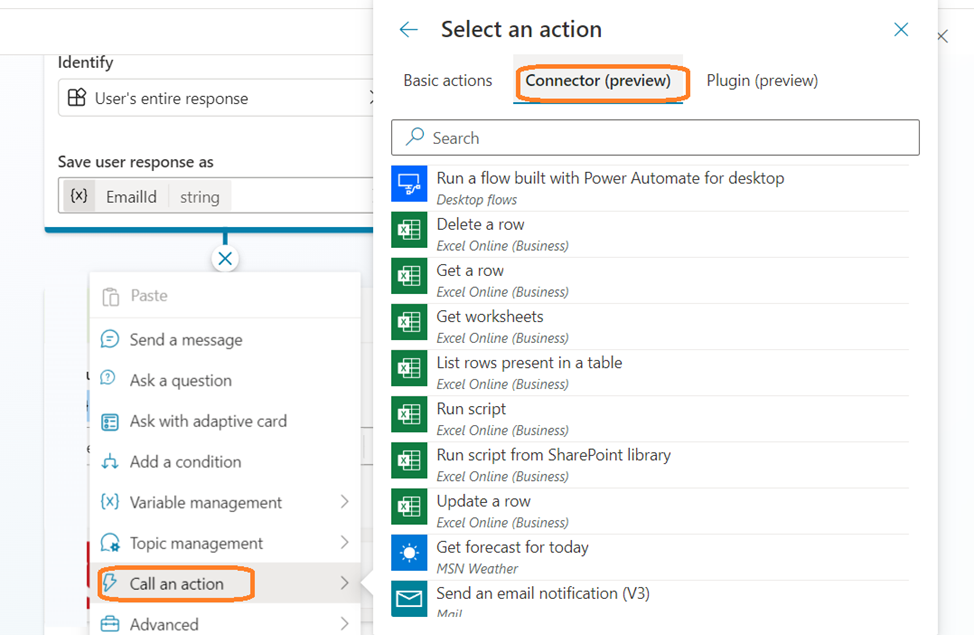
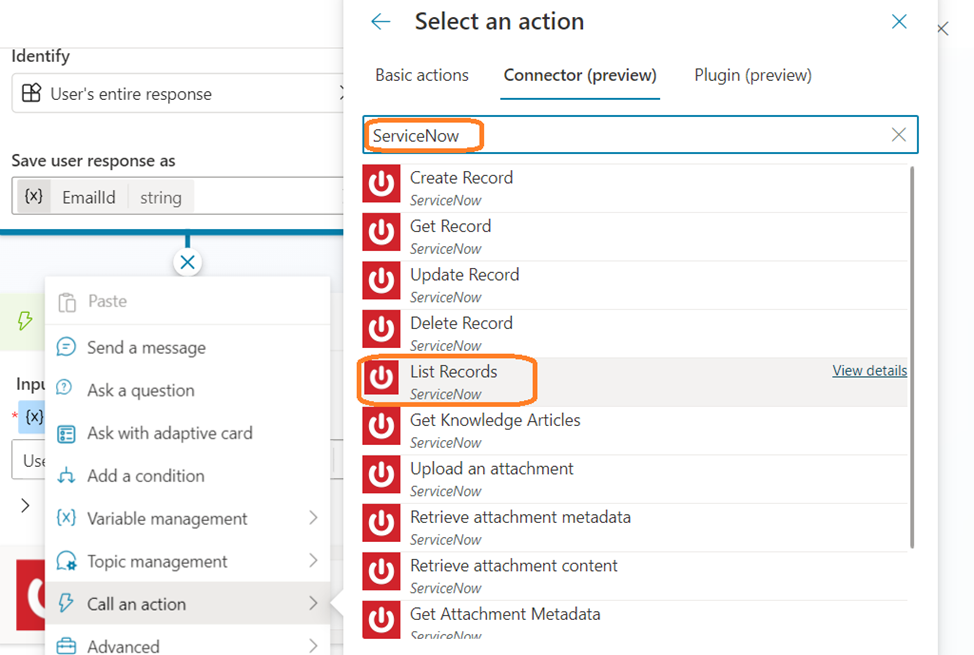
- Search as “Service Now” and select the “List Records” action.
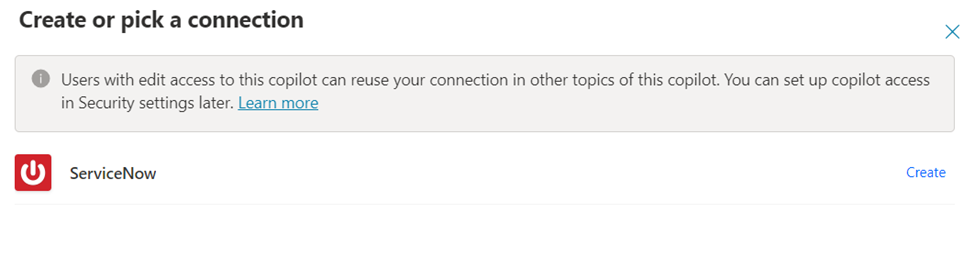
- Since this is the first time connection, we can see the below popup appears.
- Click on the Create icon.
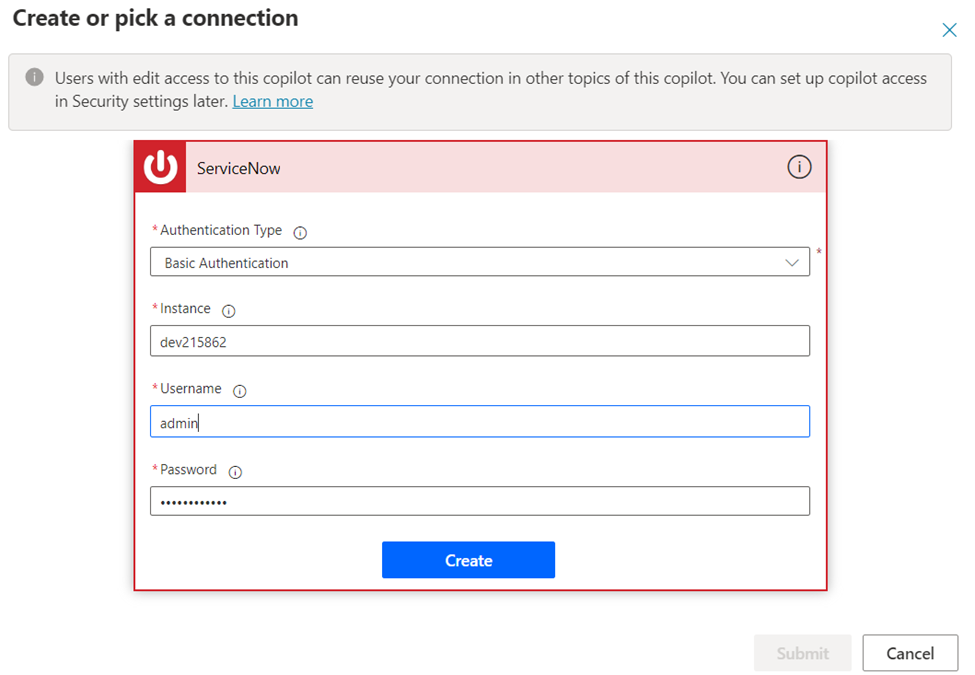
- This is the place where we set up the connection to ServiceNow. We need to provide the credentials to connect to ServiceNow.
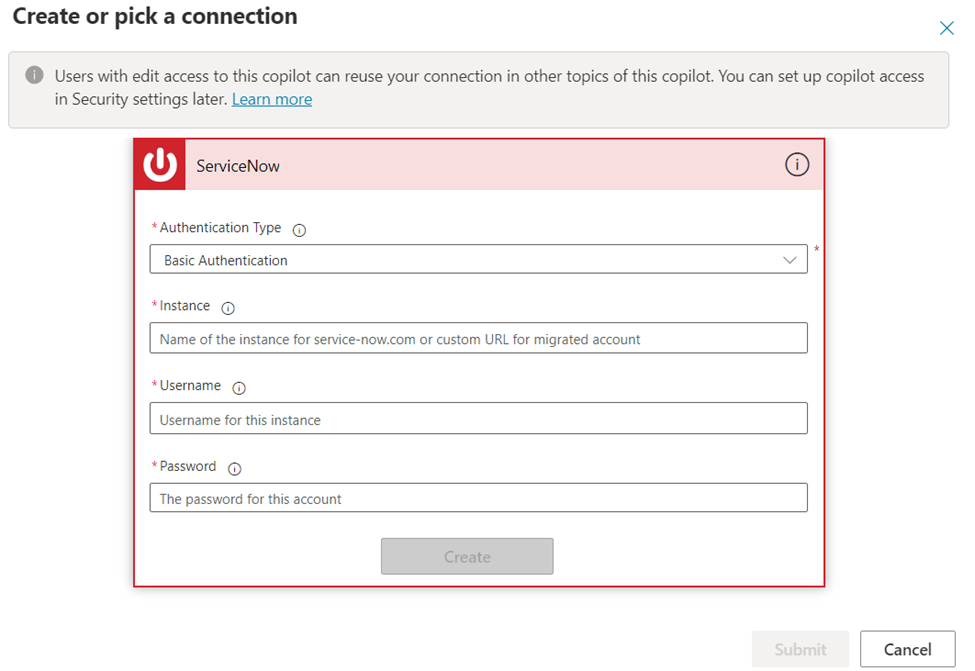
- To Find the Instance credentials, you can go to the Profile section. Click on “Manage Instance Password”.
- Provide the required credentials and click on “Create” button.
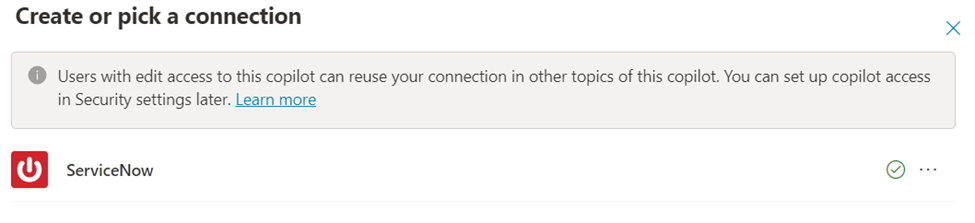
- System validates the connection and provides the Connection.
- Once connection is established, the Connector Action is added to the Topic.
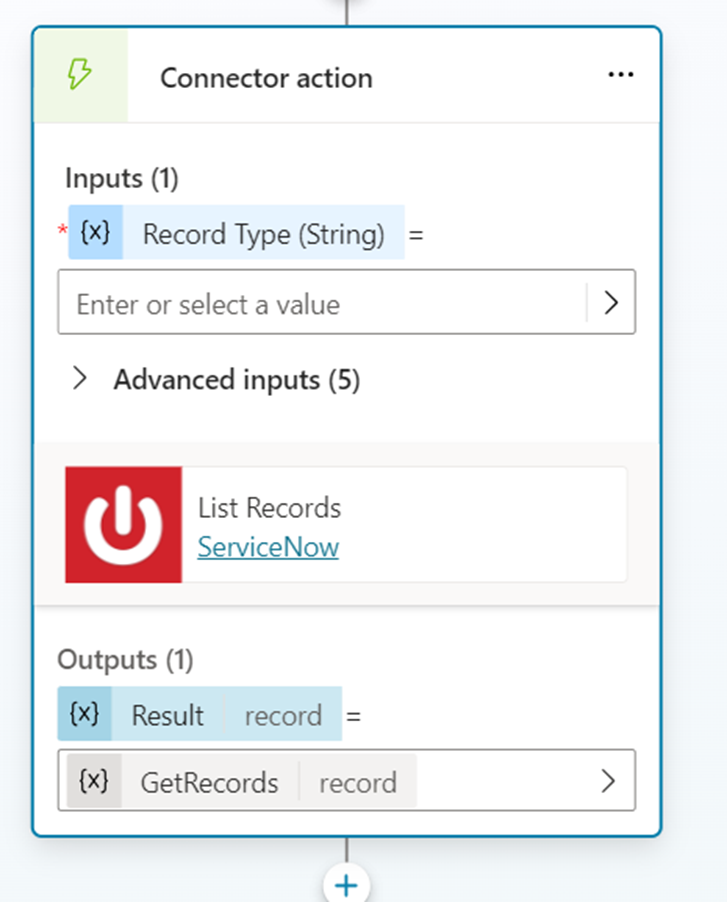
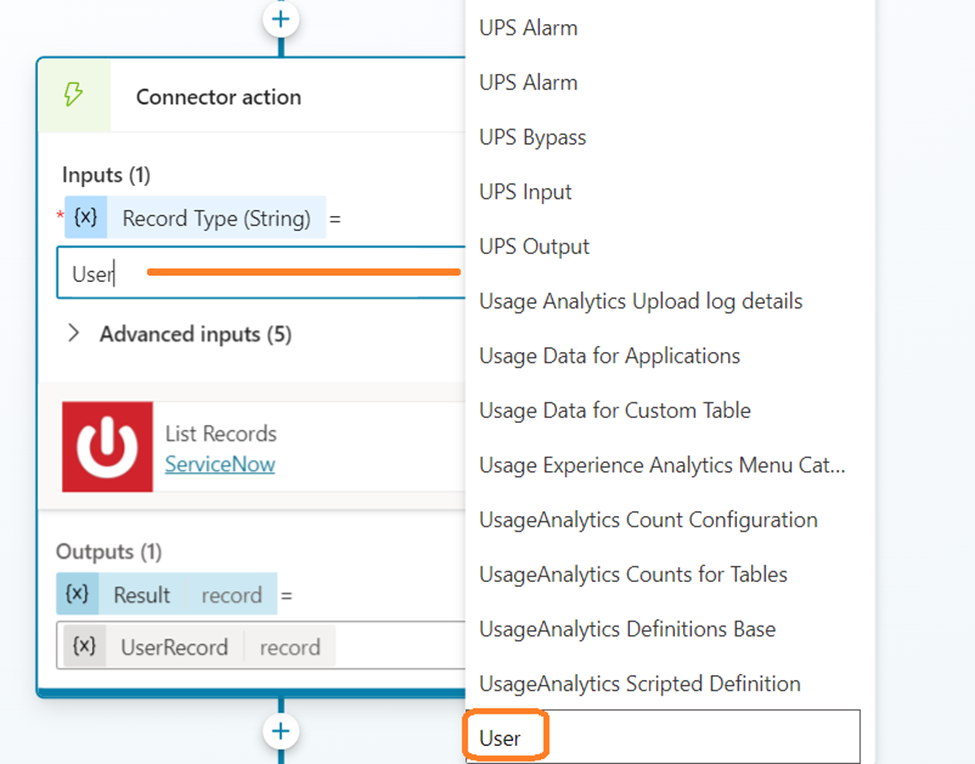
- In the Record type, look for User Table. Select the User table to query the record.
- In the Advanced Input section, you can provide the details mentioned below. Few of the fields are just flags that we need to set to true.
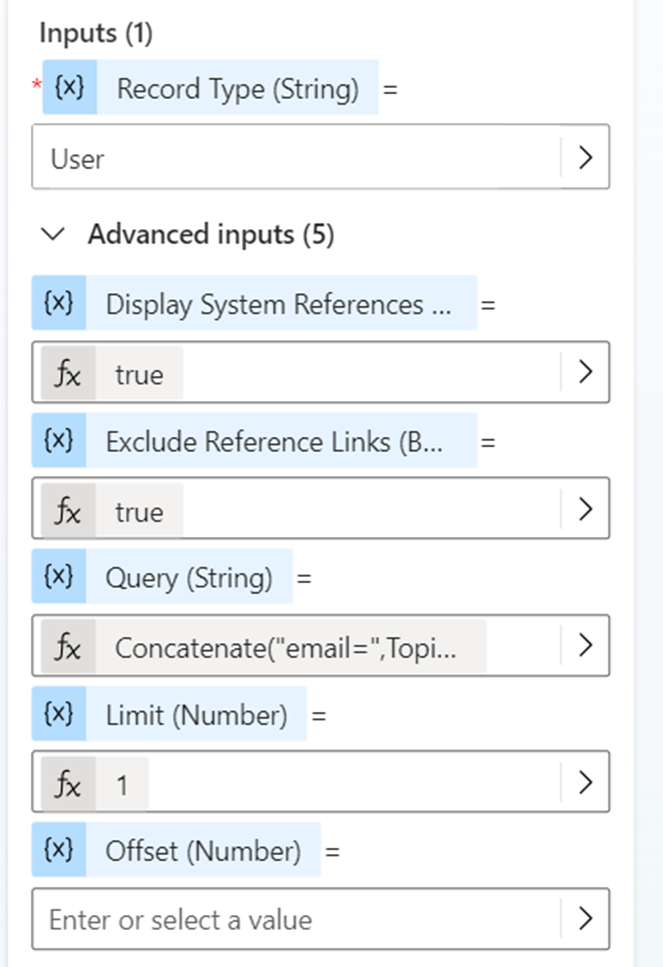
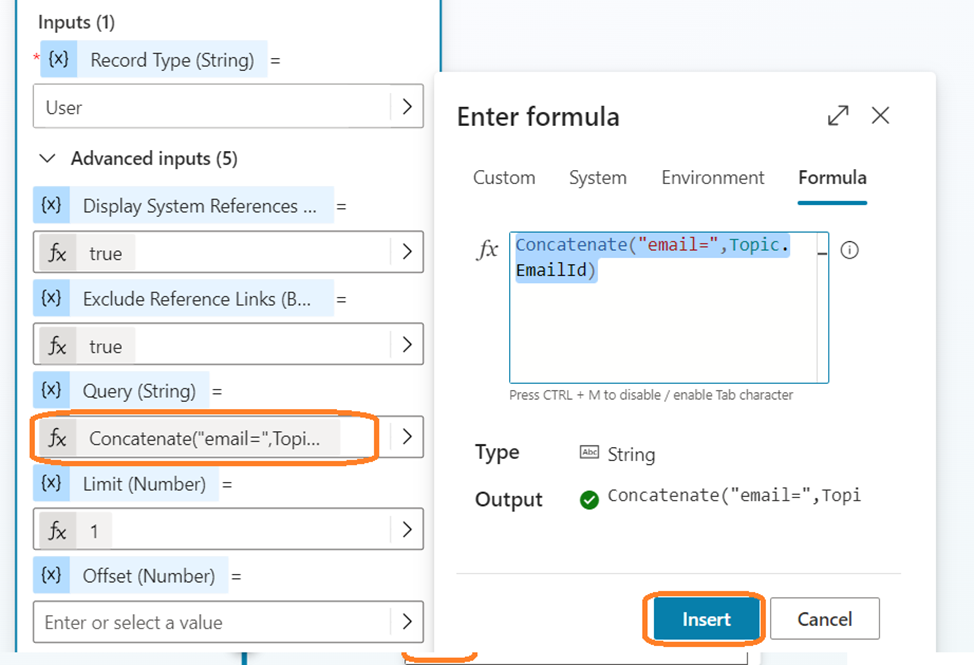
- Query String is the important field where we specify the query to extract the user from the User table.
- We are just going to use a PowerFx formula to form the query as shown below.
Concatenate("email=",Topic.EmailId)
- Next step we are just going to get the Output from the List records and store it in a variable.
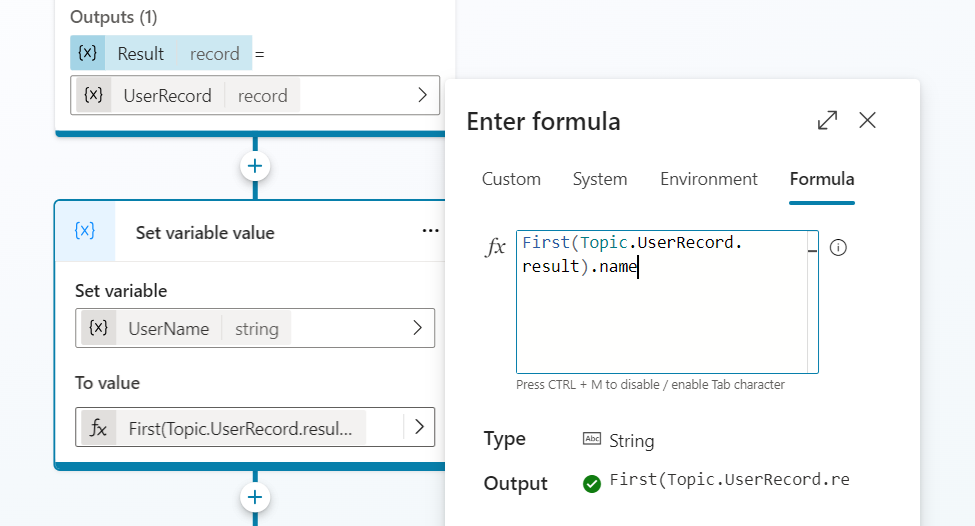
- Add a new step to Set a variable.

- We are going to set the variable name as UserName.
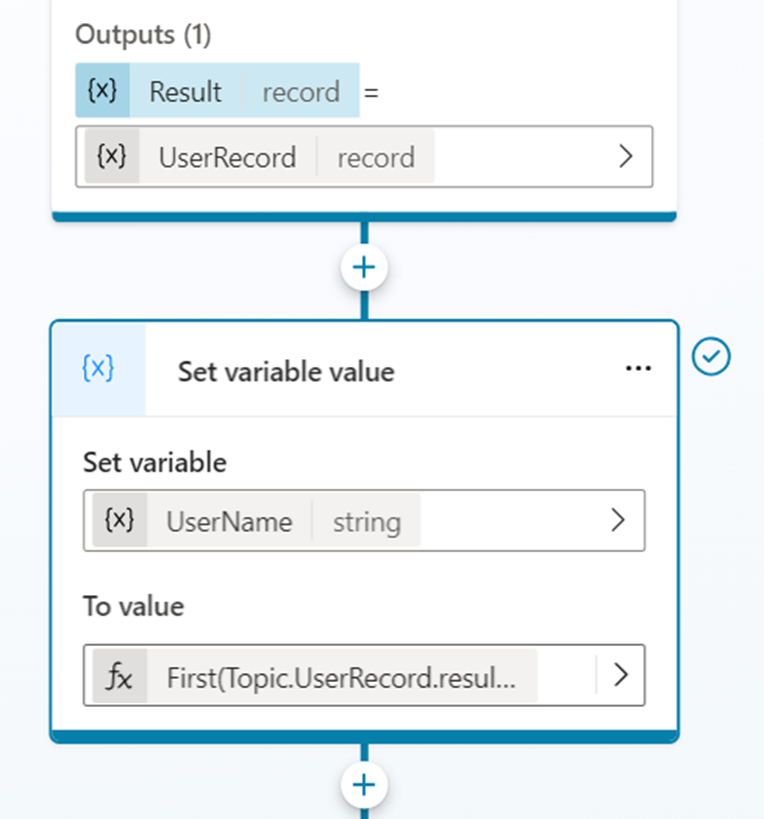
- Now we need to use formula to fetch the Name of the user from the Output of the list records.
- Since list records always gives us result as array, we will need to fetch the First record from the Result.
First(Topic.UserRecord.result).name
- Once done, we can just ask a Question to user to get the user input. User is expected to type in the issue statement or problem which he is facing.
- Now coming to the main part, connecting to the KB articles.
- Add another Action to select the Connectors.
- Search for ServiceNow and select the “Get Knowledge Articles” action.
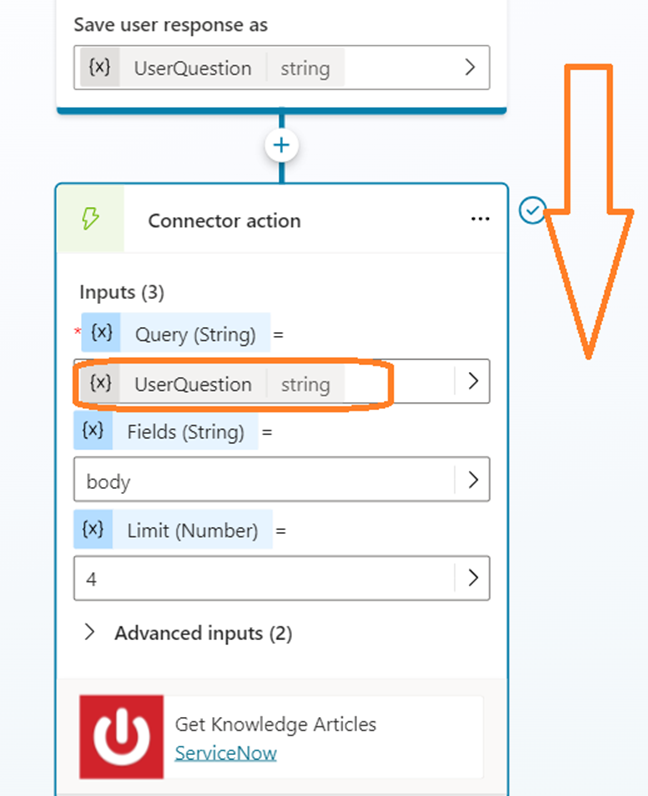
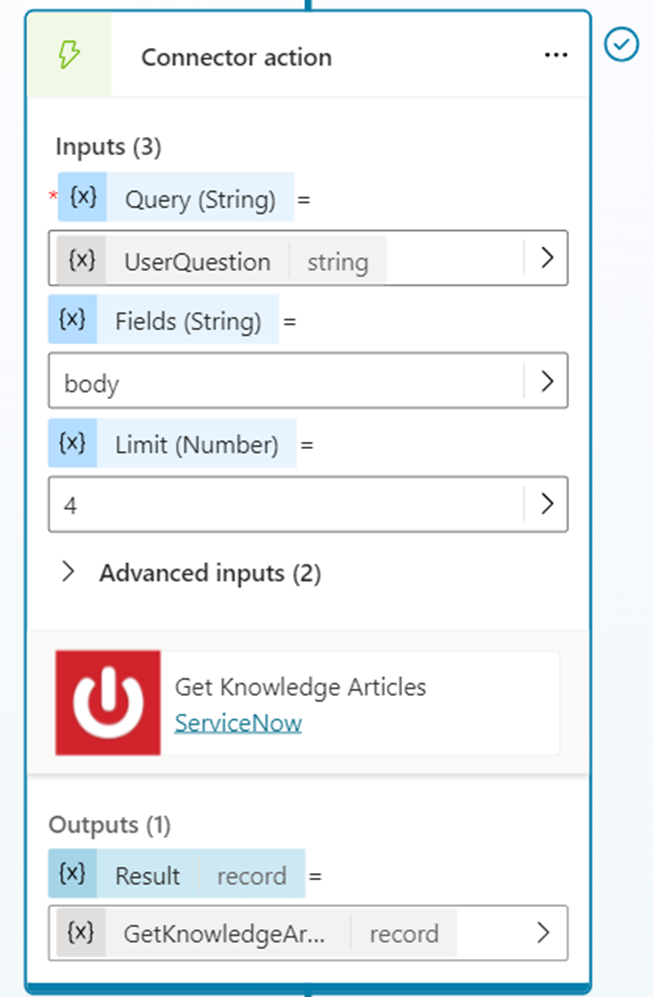
- Once the Connector Action is added, we need to specify the inputs.
- Query (String) field, set up the User Question directly.
- Fields – we require only body as of now.
- Limit – Count of relevant KB records that is returned from ServiceNow.
- Once done, save the Connector Action.
- Again, we Set a new variable to handle the output from the Connector Action.
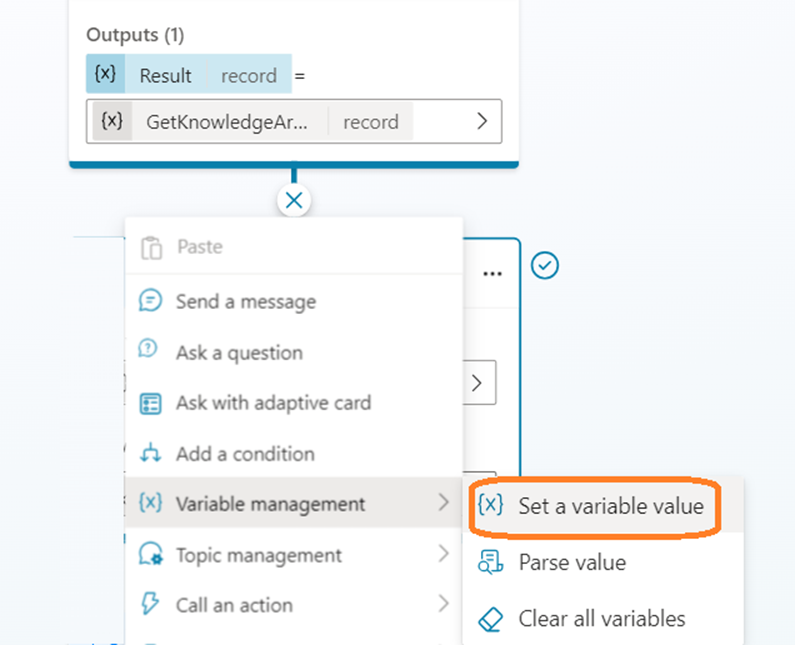
- Provide a name for the variable. In this example, we provide as “KBResults”.

- Now comes the most important part.
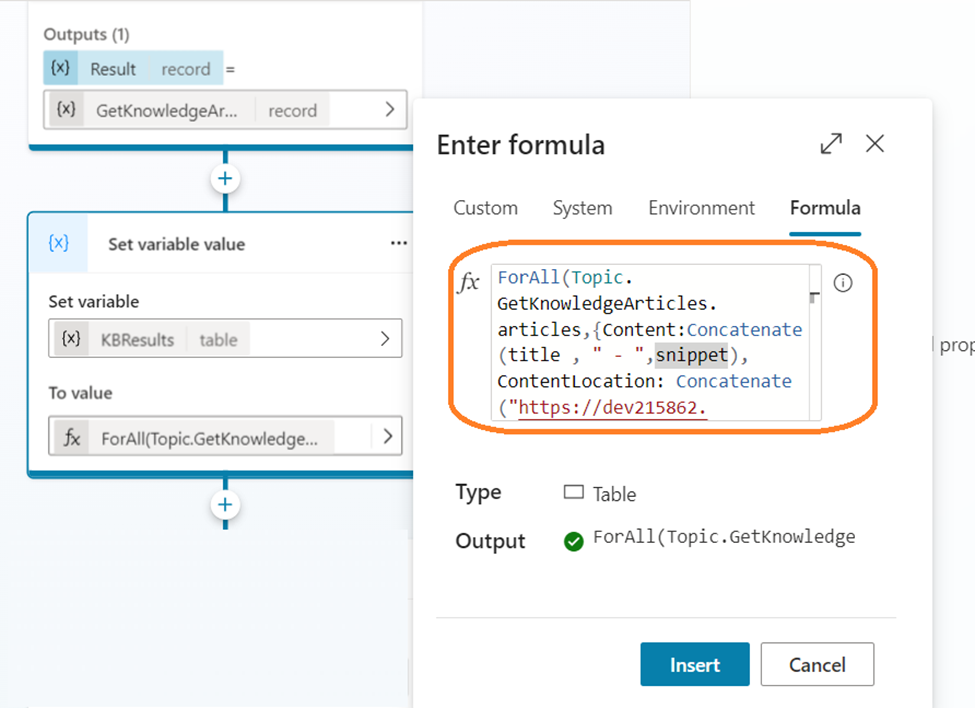
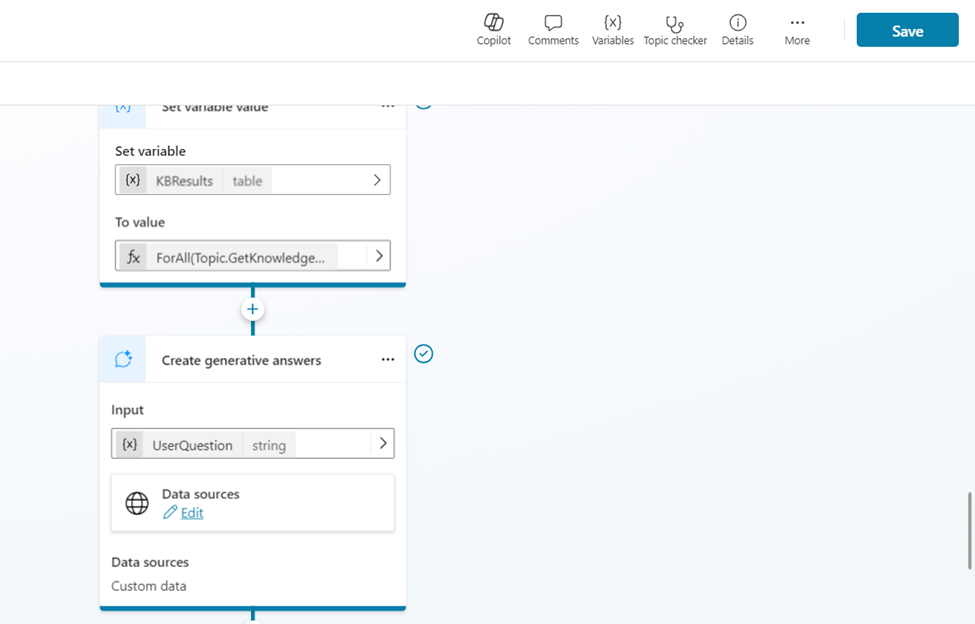
- We need to Set up a Variable that can hold the actual result in the form of Table. We will be using this variable to pass as a Custom knowledge source to Generative Answer.
Below is the expression for your reference:
ForAll(Topic.GetKnowledgeArticles.articles,{Content:Concatenate(title , " - ",snippet),ContentLocation: Concatenate("https://devXXXXX.service-now.com/now/nav/ui/classic/params/target/kb_view.do%3Fsysparm_article%3D",number)})
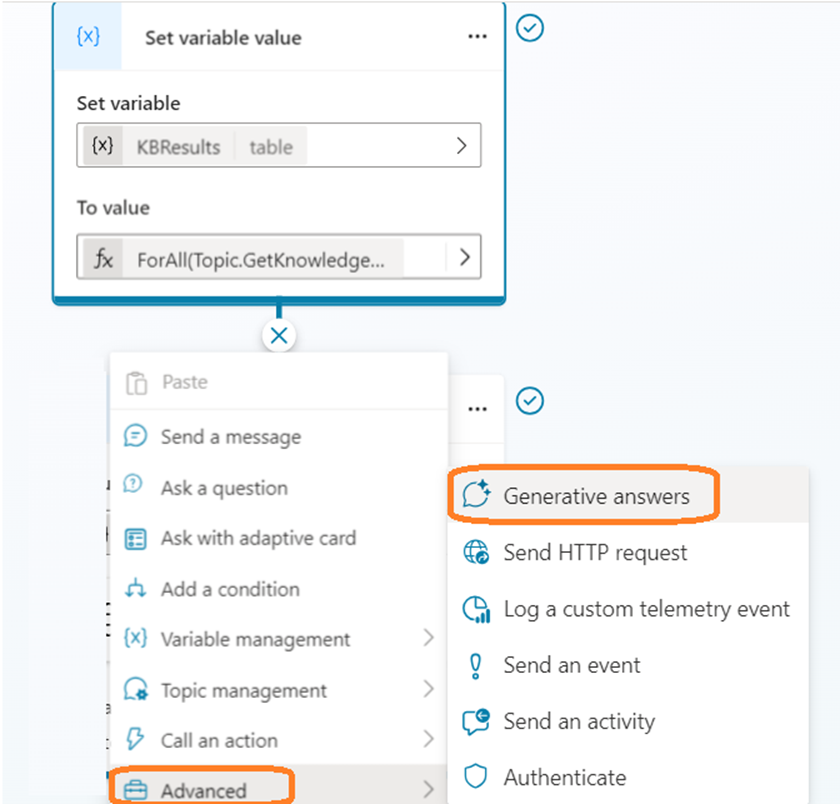
- Once done, the major part is completed.
- Next step we can add a Generative Answers step. This is where we are going to pass the knowledge to the Generative Answers.
- In the Input to the Generative Answer, provide the Question that user provided in the above step.
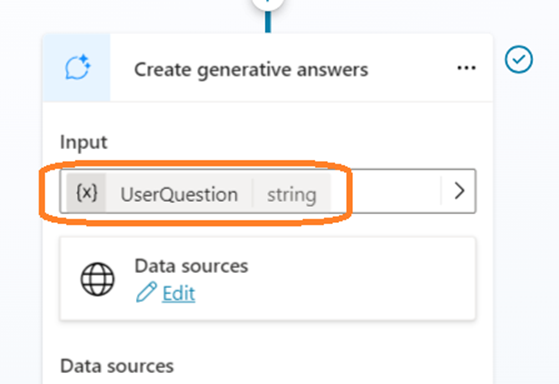
- We need to Edit the Data Sources.
- Open the Classic Data section where we can specify Custom Data.
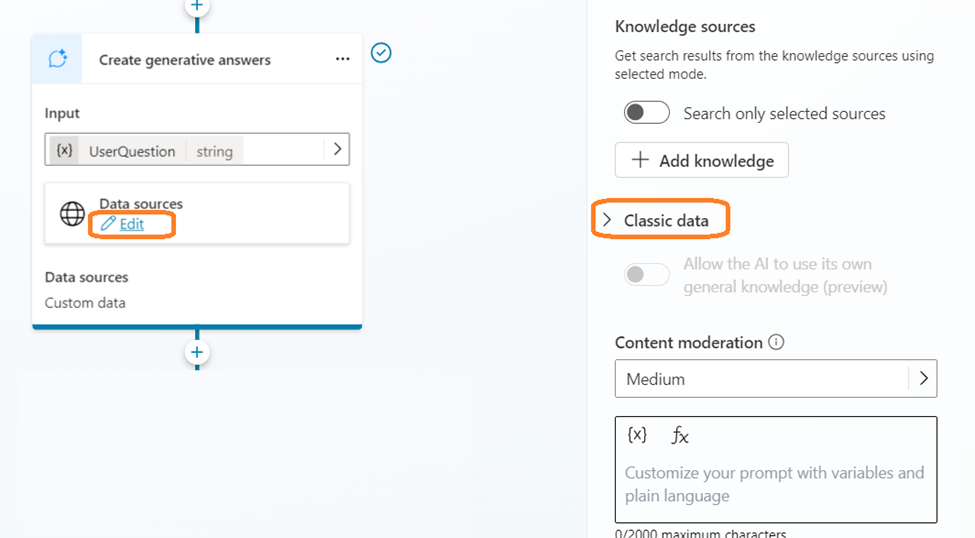
- In the Custom Data section, pass the KBResults output.

- Save and Publish the Topic.
- Now the Topic is configured. We can Test the Copilot.
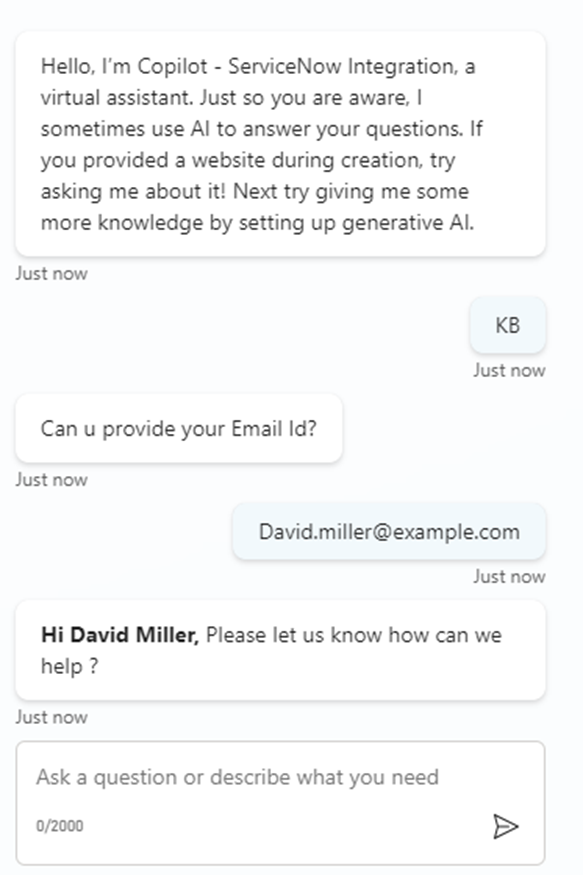
- Just to trigger the topic, type as KB or Knowledge Article.

- Copilot asks the user to input the Email id.
- User enters the Email id.
- Copilot fetches the Username from Service Now and provides the message.
- Consider User Providing the below Query – “USB Port is not working on my PC”.
- For testing purposes, we are giving the prompt similar to the KB Article that is available in ServiceNow.
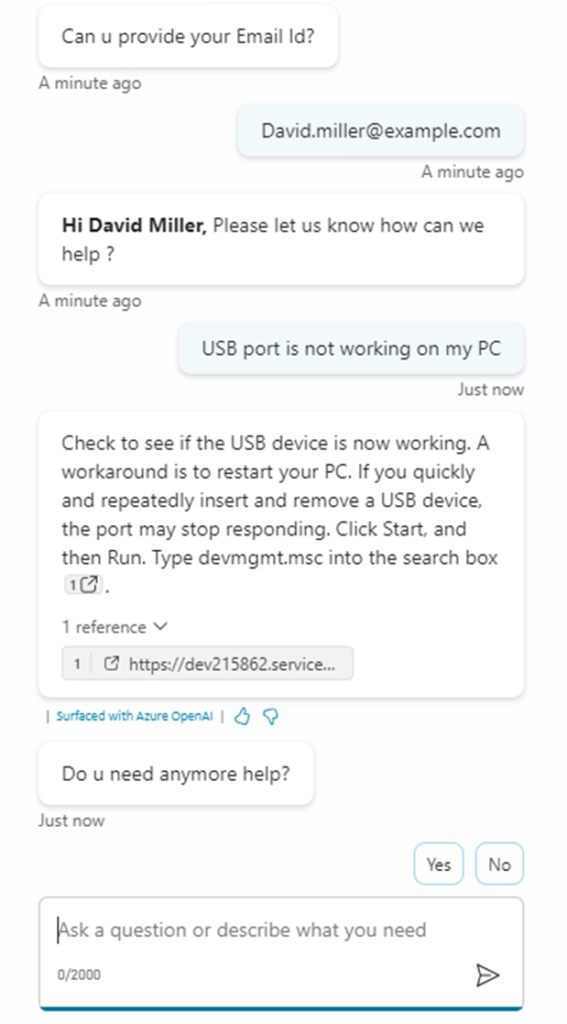
- The Response from Copilot is received as shown above.
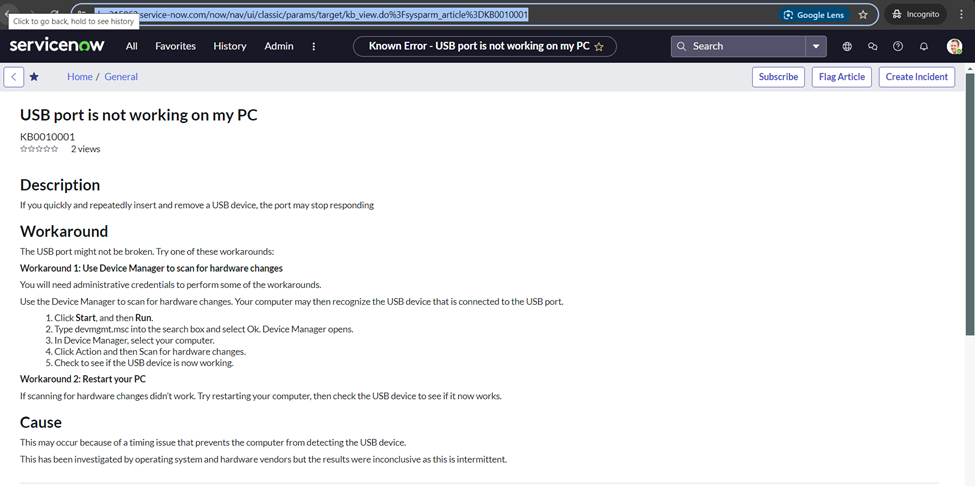
- We can also verify the link provided in reference.
https://devXXXXXX.service-now.com/now/nav/ui/classic/params/target/kb_view.do%3Fsysparm_article%3DKB0010001
- We will try again by changing the prompt a little more.
my USB port is not working. Please help
- Copilot still provides the expected result from the same KB article in ServiceNow.
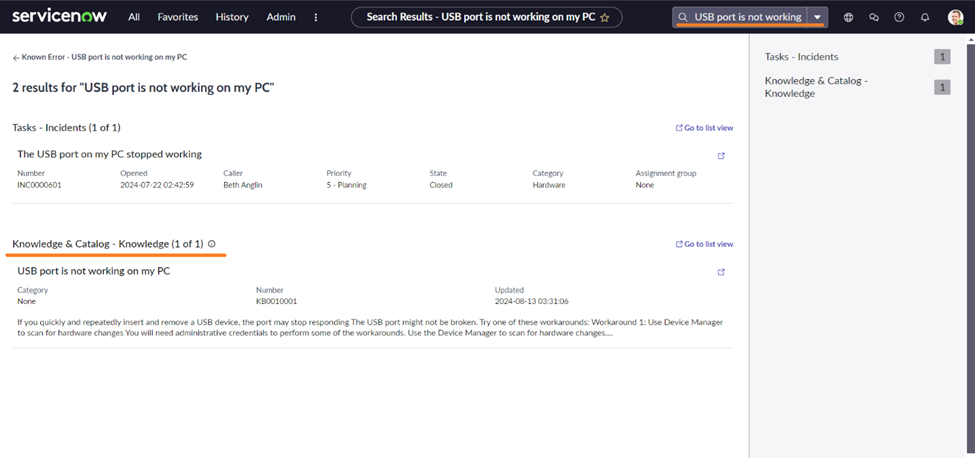
- To verify further, even we can check by Searching the same prompt inside ServiceNow.
- The Result displays the same KB Article which Copilot provided in response.
Happy Copiloting !!!
I would like to user copilot ‘end user’ credentials instated of using Basic Authentication like User name and password for ServiceNow , there is other option in dropdown for ‘Microsoft Entra ID User Loin’ but I’m unable to find full configuration doc how to use this option like configuration needed in 1. Azure App registration and Also how to configure in 2. ServiceNow side configuration.