Azure AI Search enables intelligent, AI-powered search capabilities inside Copilot Studio, allowing bots to retrieve relevant information from structured and unstructured data sources. By integrating Azure AI Search, Copilot can search, rank, and return precise answers from documents, FAQs, policies, and other knowledge bases.
Advantages
- AI-Powered Search – Uses semantic & vector search for relevant answers.
- Handles Large Data – Searches PDFs, Word, and text documents efficiently.
- Fast & Scalable – Provides quick responses for enterprise-level use.
- Seamless Integration – Connects easily with Copilot Studio & Power Automate.
- Secure & Compliant – Supports role-based access and data privacy.
Pre-requisite Assumptions before proceeding to create Azure AI Search Service:
- Azure Portal has the required subscriptions, Storage account, containers etc.
- Files are uploaded and available in Azure Blob storage.
- Azure OpenAI service is configured and enabled.
You can refer to this blog to understand more on the above pointers.
Click to View the Post
Create an Azure AI Search Service
What is Azure AI Search?
Azure AI Search (formerly Azure Cognitive Search) is a cloud-based search service that enables AI-powered search over structured and unstructured data. It provides features like full-text search, filtering, ranking, semantic search, and vector search using AI models like OpenAI embeddings.
- Search for “Azure AI Search” and select it.
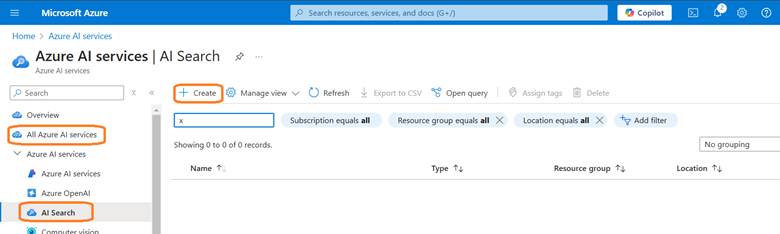
- Click + Create to create a new search service.
- Subscription: Choose your subscription.
- Resource Group: Select an existing one or create a new one.
- Service Name: Provide a unique name (e.g., mysearchservice).
- Region: Choose a supported region (e.g., East US).
- Pricing Tier: Select Basic (or higher for AI-powered features).
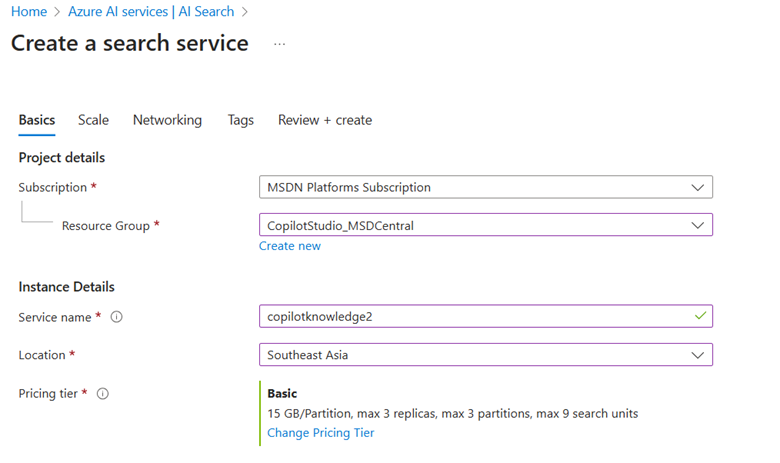
- Provide details on the other tabs to configure Scale, Networking and tags.
- Click Review + Create, then Create.

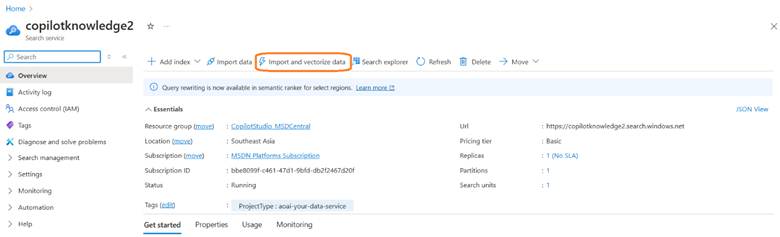
- Next step is to Import the data.
- In the Search Service, click on “Import and Vectorize data”.
- Select Azure Blob Storage in the Data connection.
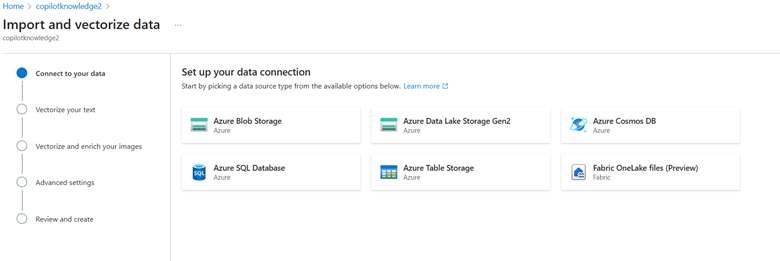
- Choose an existing Storage Account which we created in the previous step.
- Select a Container where documents are stored.

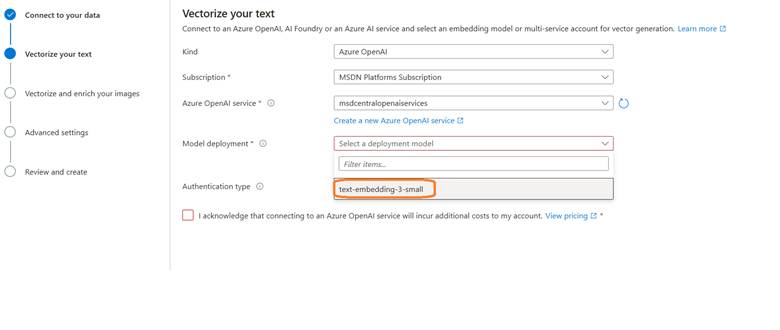
- Next step to Vectorize your text, Use the text-embedding-3-small model to create vector embeddings for text in blob storage.
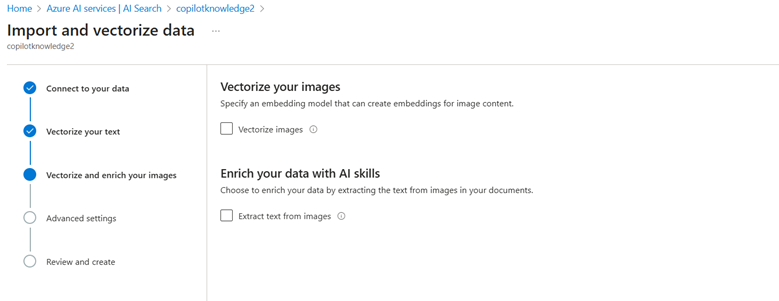
- In the next tab, you can Vectorize the images in case if the content of our files has images associated with it.
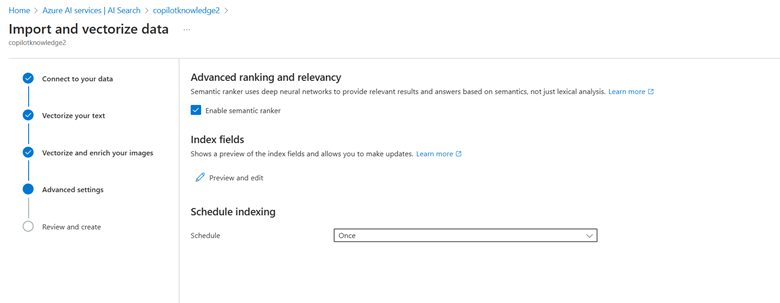
- In Advance setting, we need to setup the scheduling of the Index. How frequent we need to refresh the indexes for our files.
- At this point, we are just keeping it once.
- As the last step, we can review the details and click on Create.

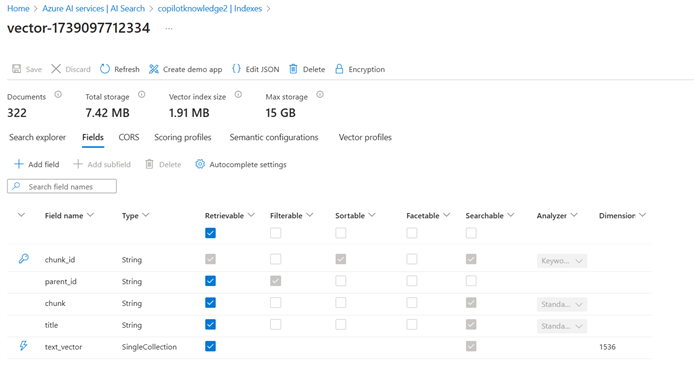
- Once we vectorize the data, we will be able to check the indexes as shown below.
Get the Azure AI Search API Key & Endpoint
- Open Azure AI Search in Azure Portal.
- Navigate to Settings and Keys.
- Copy the Primary Admin Key.
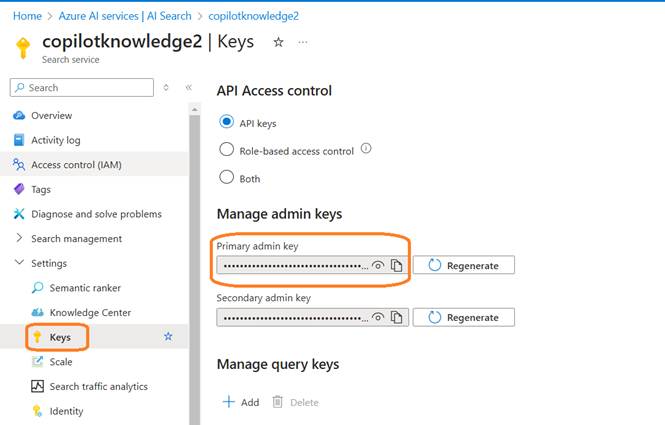
- In the Overview page, copy the URL.

Integrate Azure AI Search inside Copilot Studio
Azure AI Search can be integrated into Microsoft Copilot Studio to enable AI-powered knowledge retrieval. This is useful for searching documents, FAQs, policies, or any indexed data in Azure AI Search.
- Navigate to the Copilot Studio (https://copilotstudio.microsoft.com/).
- You can create a new Agent or even use the existing Agents.
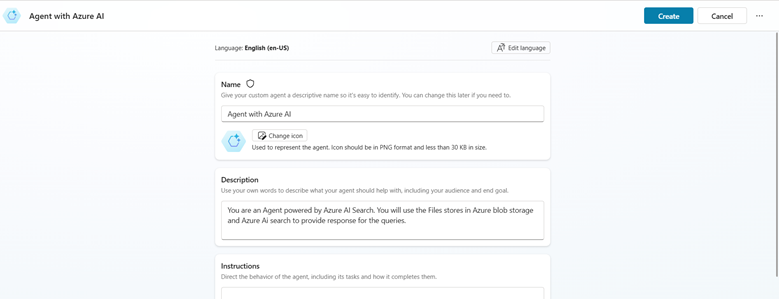
- Navigate to the Settings -> Generative AI option. Enable the Generative (preview) option which uses the Gen AI to respond with the nest combination of Actions, topics and Knowledge.
- In the Knowledge source, we can disable the Copilot to use its own general Knowledge. This is just to make sure the response come through the knowledge that we specify.
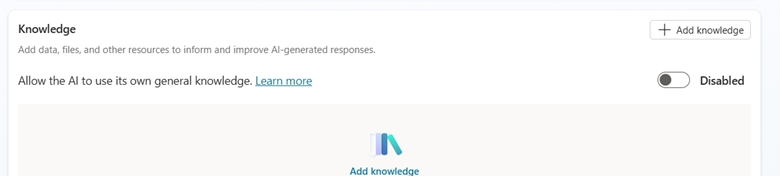
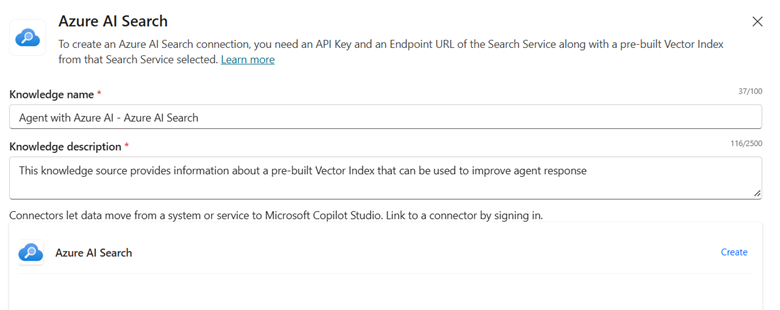
- Click on ‘+ Add Knowledge’ and select the Advanced Tab.
- We can see the “Azure AI Search” option.
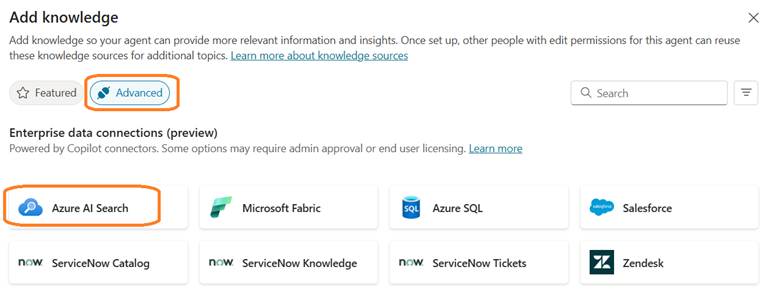
- Selecting the option will open the below pop-up.
- Next we need to create a new Connection to Azure AI search.
- Click on Create.
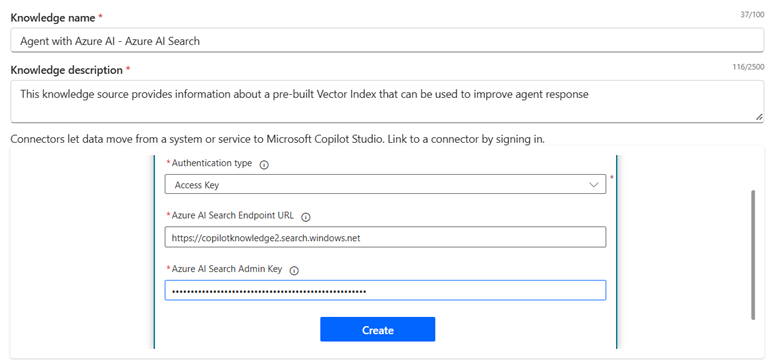
- Choose the Authentication type as Access key.
- We have already extracted the Endpoint URL and Search Admin key from the Azure AI Search service.
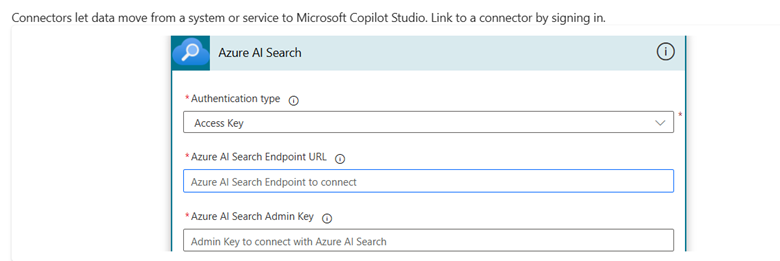
- Fill up the required details and click on Create button.
- Next, we will need to choose the vector index.
- We can use the same that we created during the Azure Search.
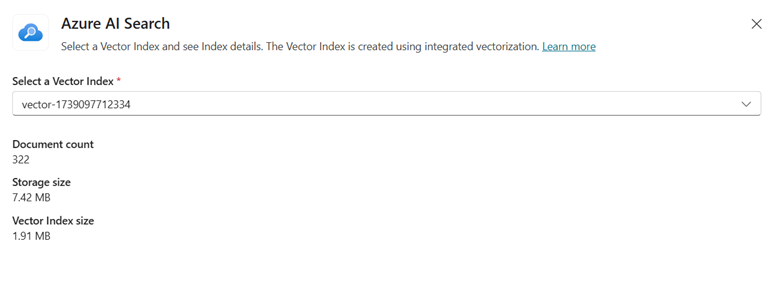
- Once one, the Knowledge is successfully added inside the Copilot.

Now its time to test our Copilot Agent.
- We don’t need to create any new topics at this point, since copilot has the ability to use the knowledge source based on any unknown intent also.
- Try to give a Prompt based on the data that is present in our Azure Search.
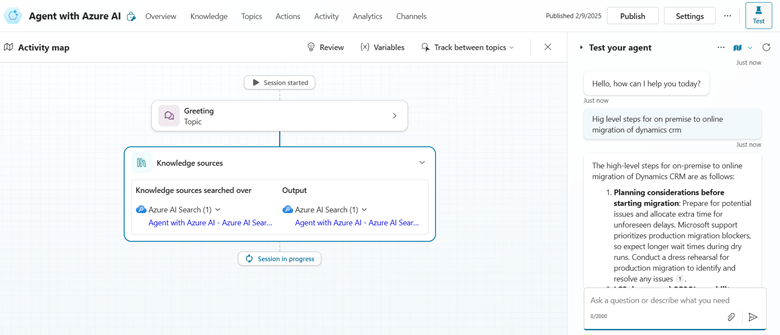
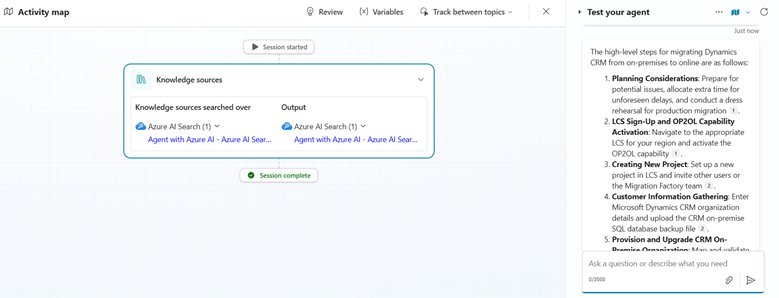
- To verify, I have enabled the Activity Map to find out the knowledge source how the response is received.
- Copilot able to provide the response as expected.
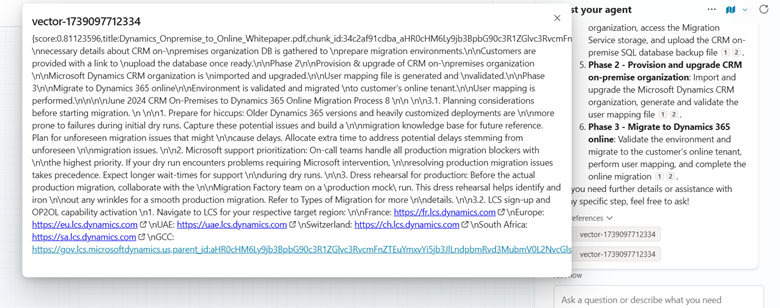
- We can also see the different vector references. Click on the vector to see the source from where the data is retrieved.
Happy Copiloting !!!!