Microsoft Copilot Studio is a platform within the Microsoft ecosystem that allows users to create custom AI-driven experiences and workflows. AI Builder is a key feature within Copilot Studio, offering pre-built and customizable AI models that enhance automation and decision-making processes. By integrating AI Builder into Copilot, users can embed AI capabilities directly into apps and workflows, driving smarter business operations. AI Builder in Copilot Studio offers a powerful yet user-friendly way to integrate AI into everyday business tasks, driving efficiency and reducing manual workloads.
How to Use AI Builder in Copilot Studio:
- Choose the AI Model Type from AI Builder.
- Build or Customize AI Models.
- Access Copilot Studio.
- Integrate AI into Copilot Studio (or) Workflows.
- Test and Deploy.
The First Two Steps are already discussed in the previous blog. Kindly read through the below post before proceeding to the next steps.
https://msdcentral.site/co-pilot-studio-introduction-to-ai-builder/
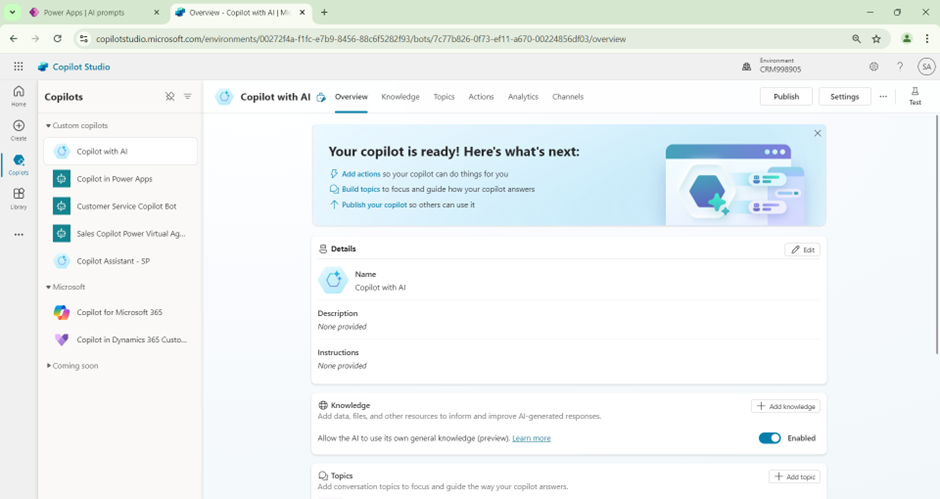
- Navigate to the Copilot Studio (https://copilotstudio.microsoft.com/).
- We can develop a basic Copilot to test the AI Integration.
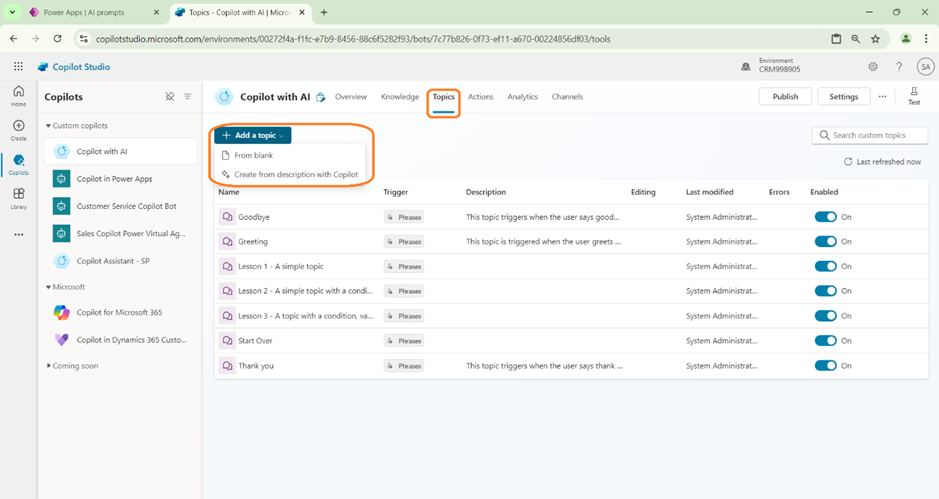
- Create a new Topic. We can Start from a blank or can also describe to Copilot which helps in creating the skeleton.
- Now we can Start with editing the Trigger Phases. In this Scenario, we can just provide it as Feeback Or provide Feedback.
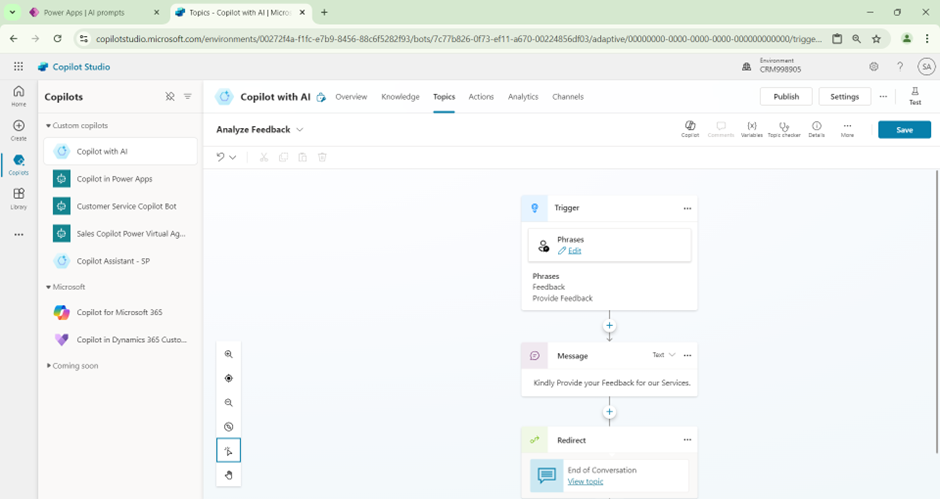
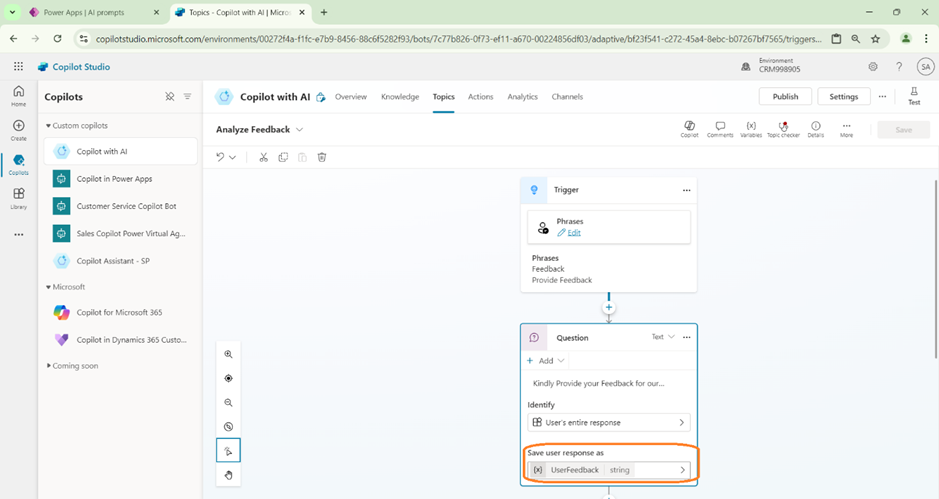
- Next step we add a basic Question action to get the Input from the User. The user is expected to provide the Feedback in this step.
- Store the User Response in a Variable.
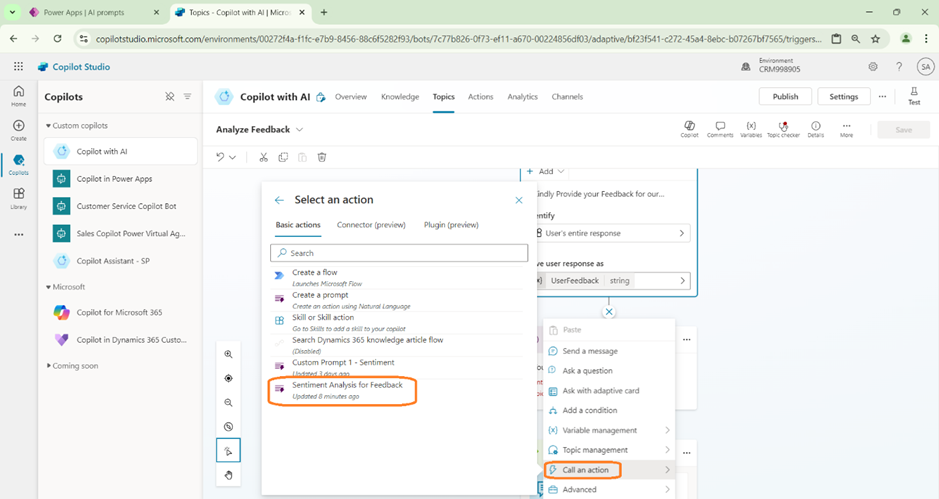
- Now the Most important step of adding the AI builder into the Co-pilot.
- Add a new step -> Call an Action. We can see the Custom Prompt that we just created.
- Select the Custom prompt.
- Now we need to set the Input and output variables. We will pass the User Response (Feedback) as input to the Prompt.
- The Response from the AI builder is stored in another variable (in this case we define as SentimentOut).
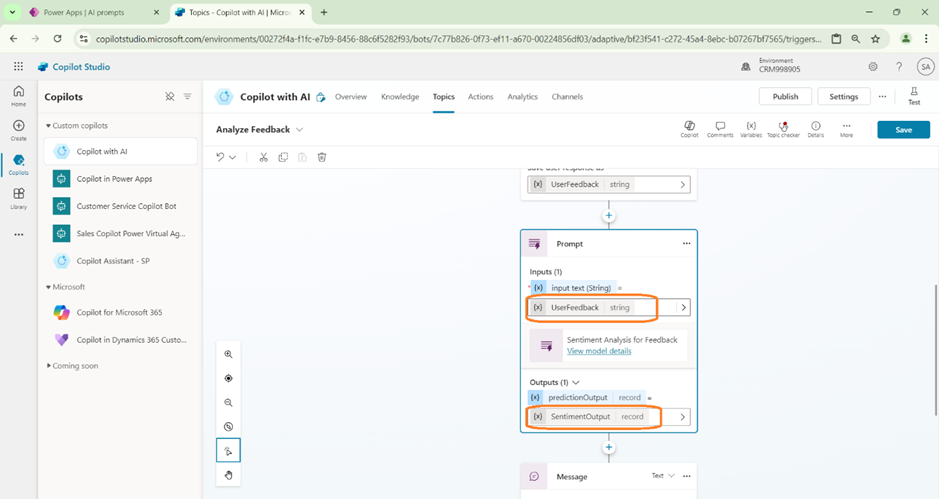
- The Response that is stored, is displayed as a message action. We are adding this step just for testing purpose to make sure that we get the expected response from AI Builder.
- In Real life scenarios, we can use the response form AI builder to add more conditions to perform different tasks based on the Sentiments. (I shall put up some real business scenarios in my future blogs).

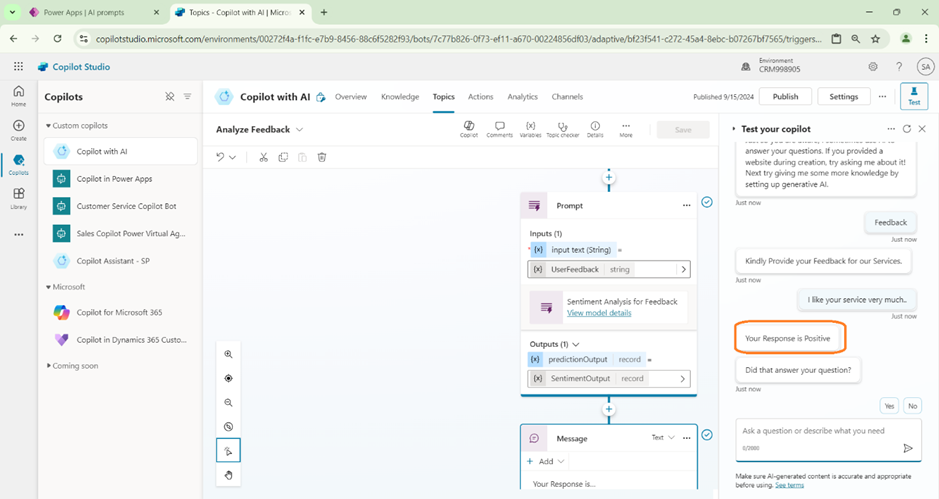
- Once done, we can Publish the Co-pilot and Proceed to Test.
- Trigger the Co-pilot topic by prompting Feedback. Then provide a Positive or Negative comment.
- The Co-pilot should be able to provide the Sentiment about the Feedback as shown below.
Happy Copiloting!!!