AI Builder in Copilot Studio can be integrated with Microsoft Dataverse to harness the power of AI on your business data stored in Dataverse. Dataverse serves as the underlying data platform for Microsoft Power Platform and Dynamics 365, storing structured data like customer information, sales records, and more. By integrating AI Builder with Dataverse, Copilot Studio enables AI-driven insights on structured business data, enhancing decision-making and automation across your organization.
In this Post, we can take up a simple scenario of getting the Case details from Dataverse, but the Copilot summarizes and presents the data in a particular format using AI Builder.
Building the Custom Prompt
- As a first step, navigate to the Power Apps maker portal (https://make.powerapps.com/).
- The AI Hub might not be displayed since it is not Pinned from the Menu. To make it visible, click on the More button and pin the AI Hub option.
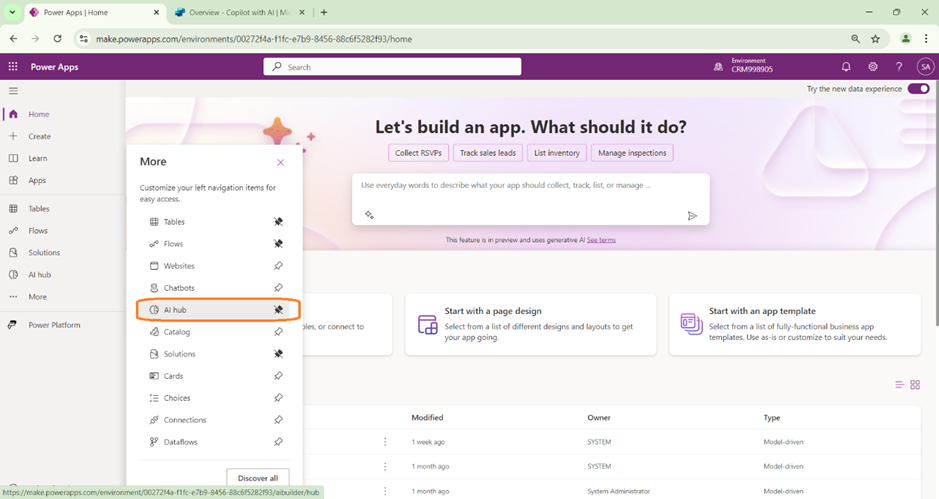
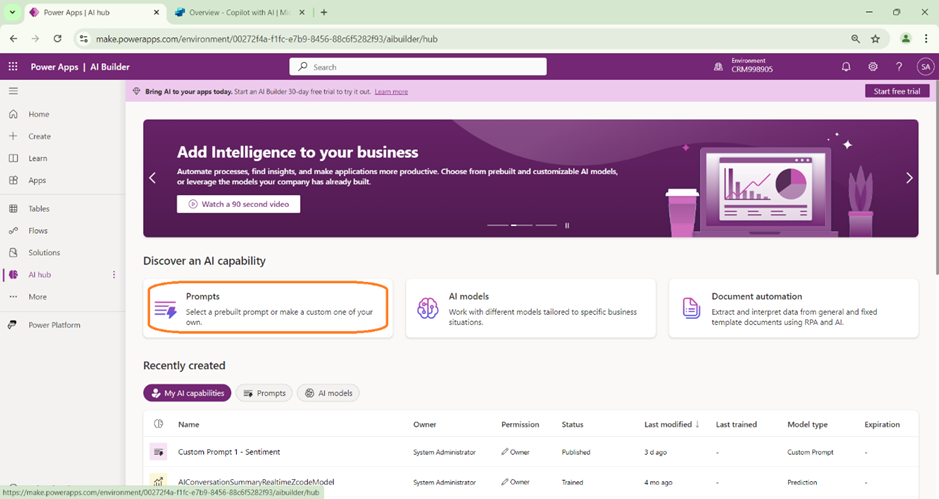
- Click on the AI Hub option. The AI builder page opens as shown below.
- In this exercise we are going to try Prompts.
- The Prompts page is displayed where we can find the list of Pre-Build AI models that are available.
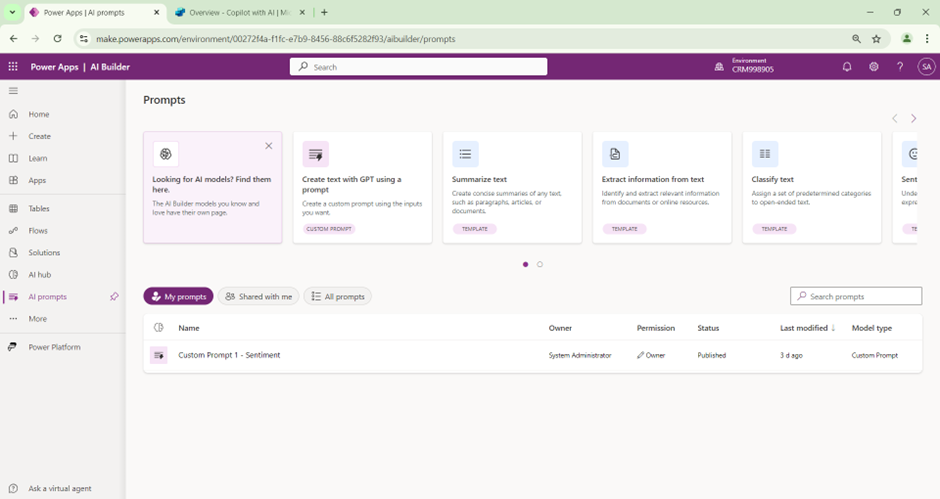
- You can see few different options available by default which can be used for our Prompt. I would suggest everyone to try each thing separately.
- In this scenario, we are going to go with “Summarize text”.
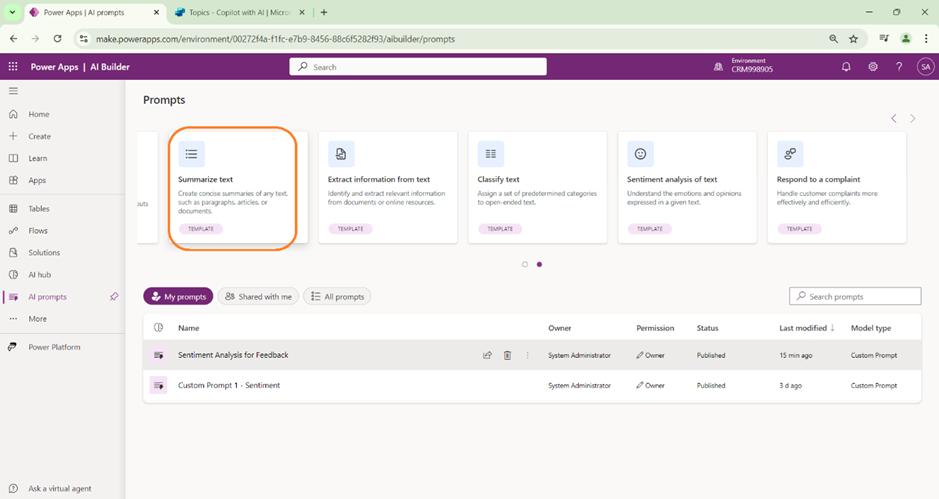
- In this scenario we are planning to use the Dataverse knowledge and summarise the data. For example, we can consider summarizing the Case details according to our format that is required.
- So we can just clear the existing Prompt that is available by default.
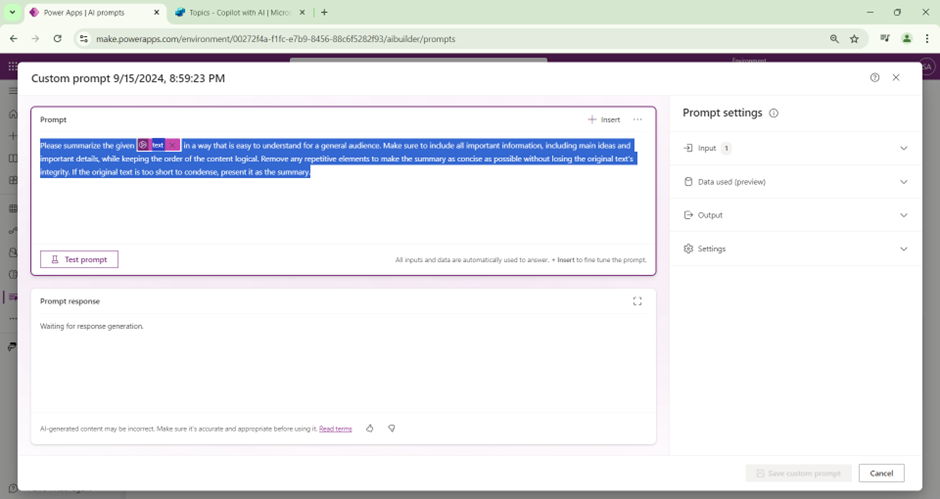
- In this case we can type in our own Prompt that will be displayed.
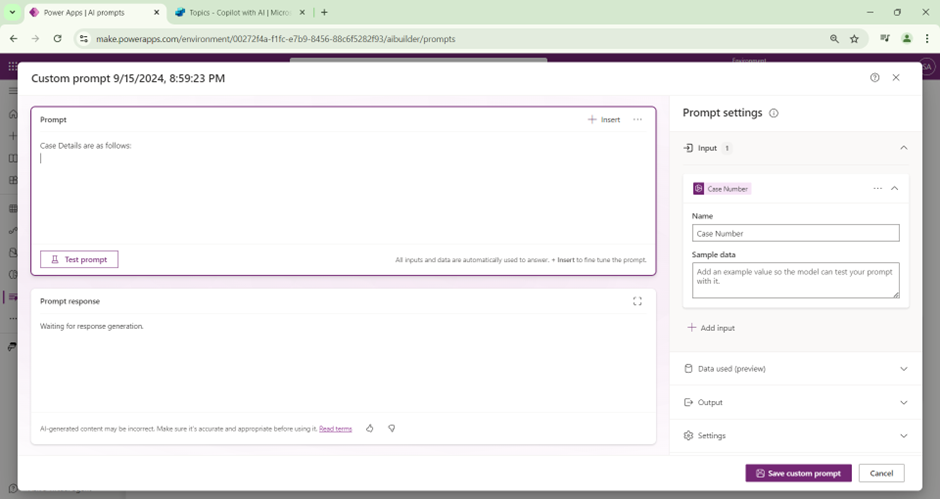
- Now coming to the most important step, of providing the Data Input.
- We are going to connect to Dataverse table.
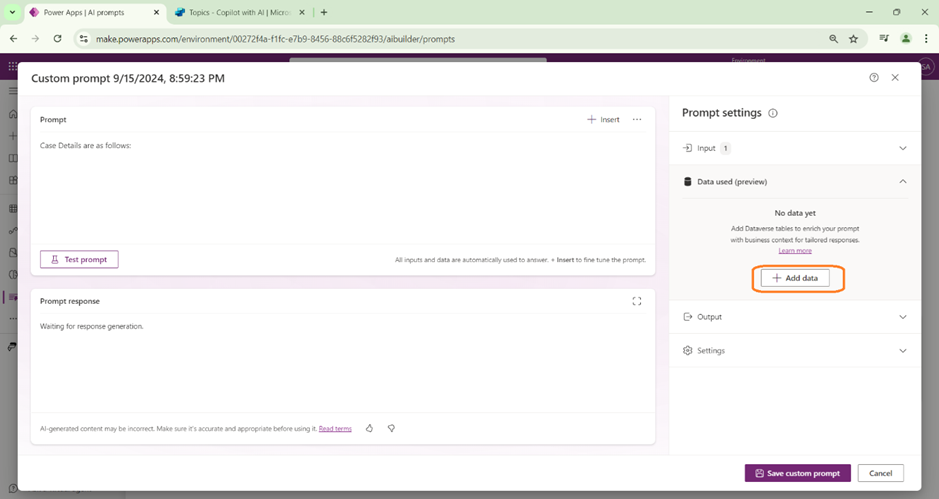
- Click on the “+ Add Data” button.
- You can see the list of tables that are available in the Dataverse.
- Here we are going to choose the Case Table. Provide the filter condition such that the Case Number input form the user will be filtered from the list of case records.
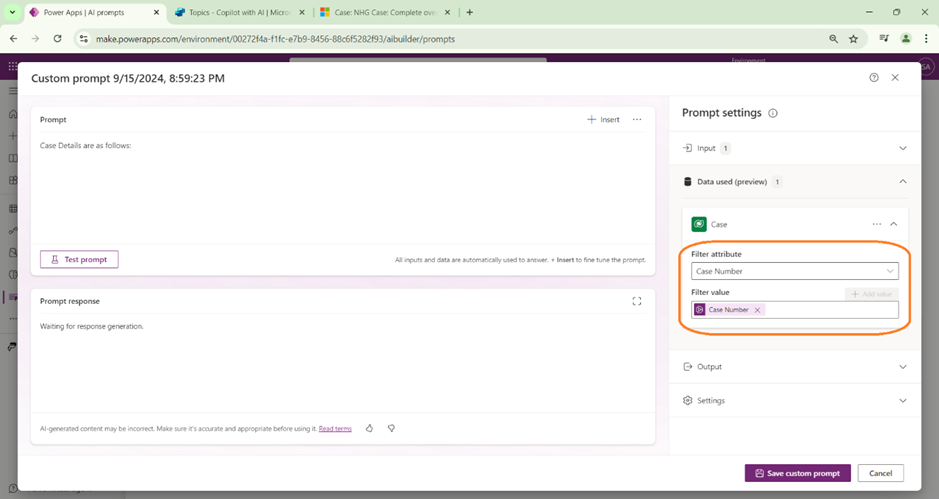
- Once the Table is selected, you will be able to add the fields present in the table.
- In the Prompt section, click on the “+Insert” button. We can choose the required fields that needs to be displayed.
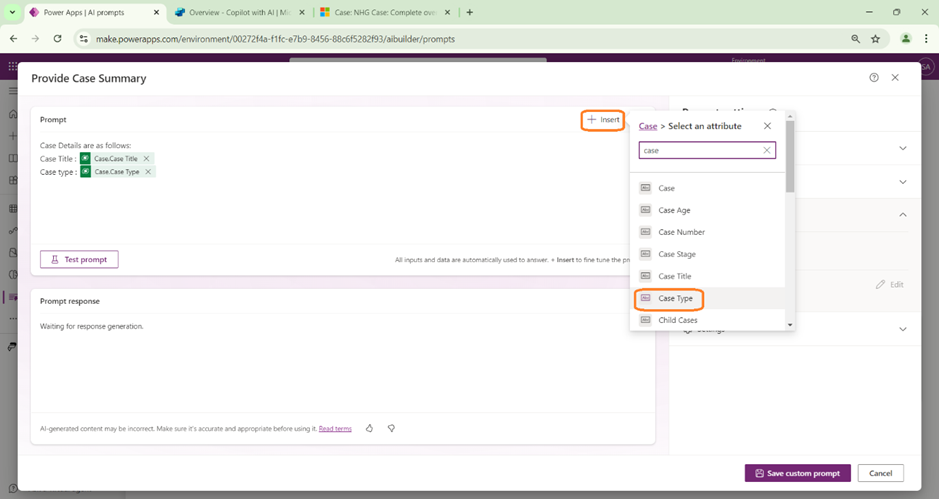
- The best part here is that we can even choose the fields from the Related Entities as required.
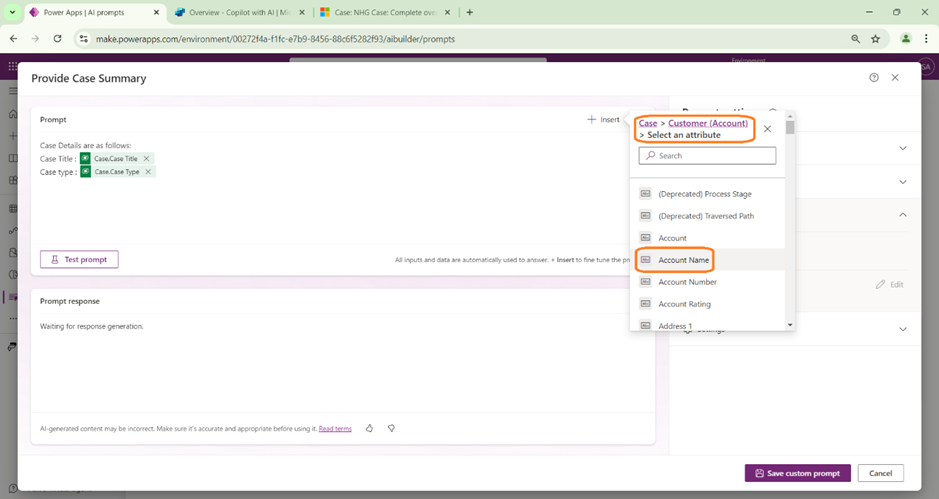
- Click on Insert and can Select the Related Lookup Entity (Similar to what we use in Advanced find in D365). It will display the list of fields in the Related Entity.
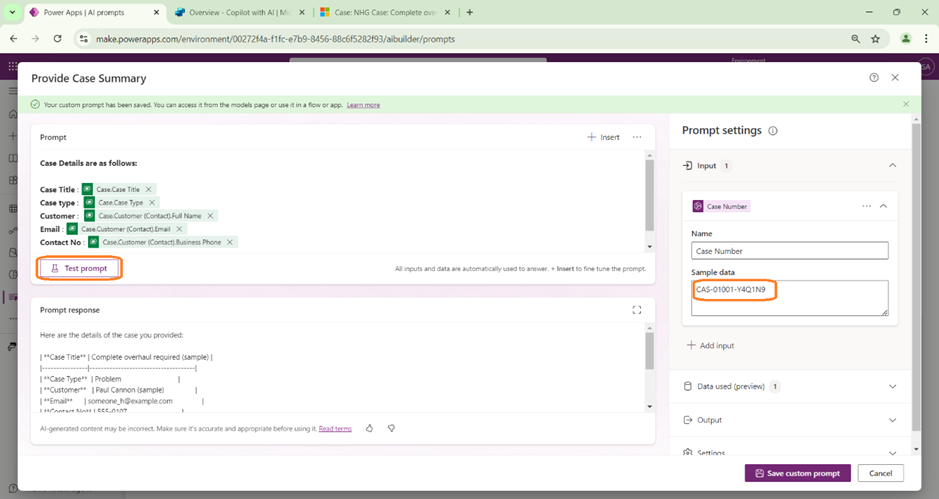
- We can add the required fields from the related Customer (Contact) as shown below.

- You can provide a sample case number and Test the Prompt as shown below.
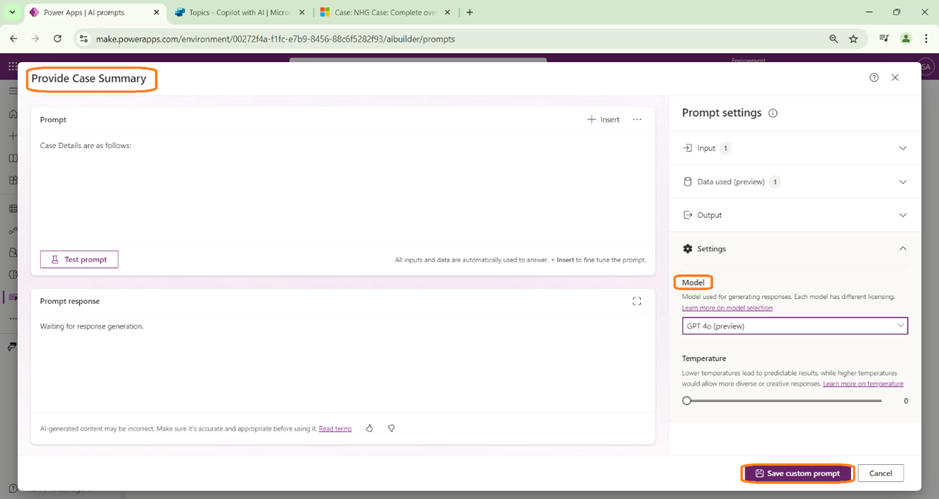
- Once done, you can also choose the GPT model that can be used. By default GPT 3.5 is enabled. Choose the model, provide a name to prompt and Click on Save Custom Prompt.
Use the Custom Prompt in Co-Pilot Studio:
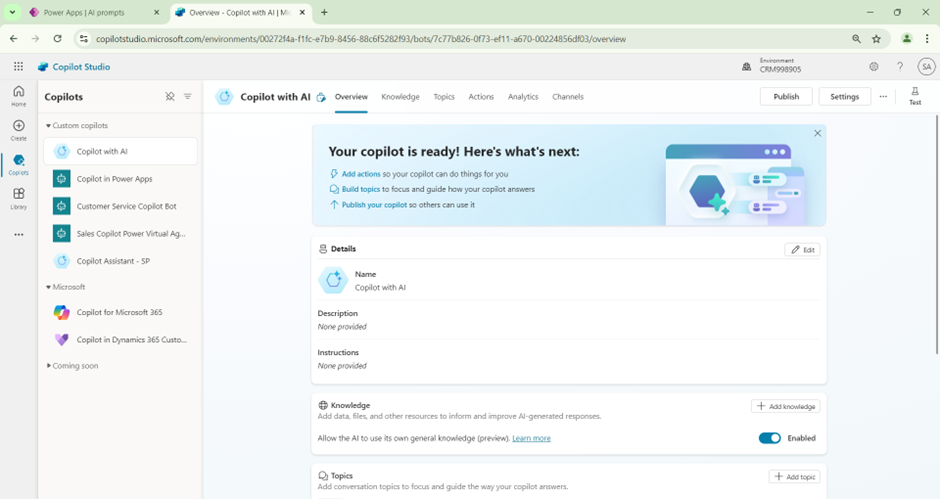
- Navigate to the Co-Pilot Studio (https://copilotstudio.microsoft.com/).
- We can develop a basic Co-Pilot to test the AI Integration.
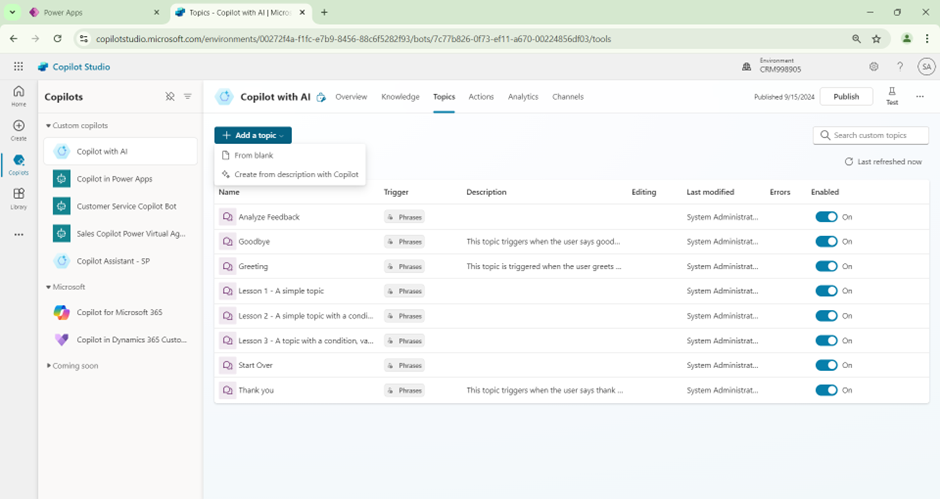
- Create a new Topic. We can Start from a blank or can also describe to Co-pilot which helps in creating the skeleton.
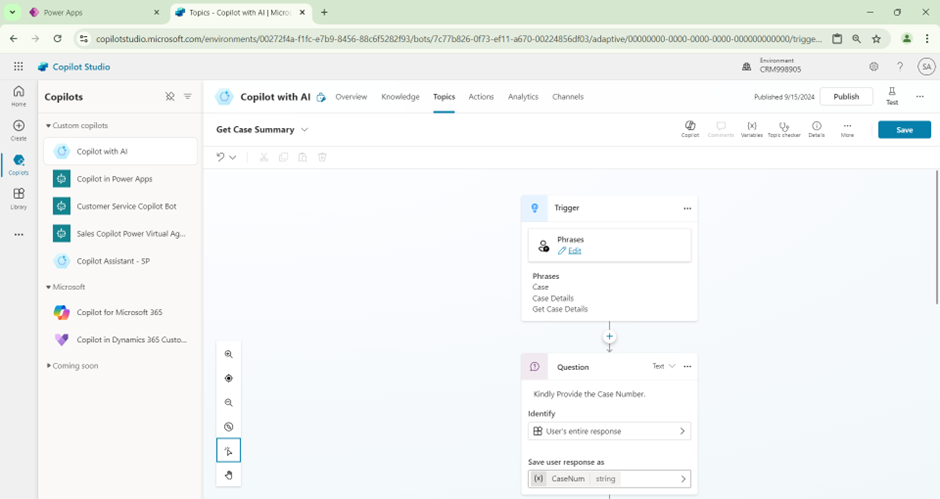
- Now we can Start with editing the Trigger Phases. In this Scenario, we can just provide it as Case Or Case Details.
- Next step we add a basic Question action to get the Input from the User. The user is expected to provide the Feedback in this step.
- Store the User Response in a Variable (CaseNum).
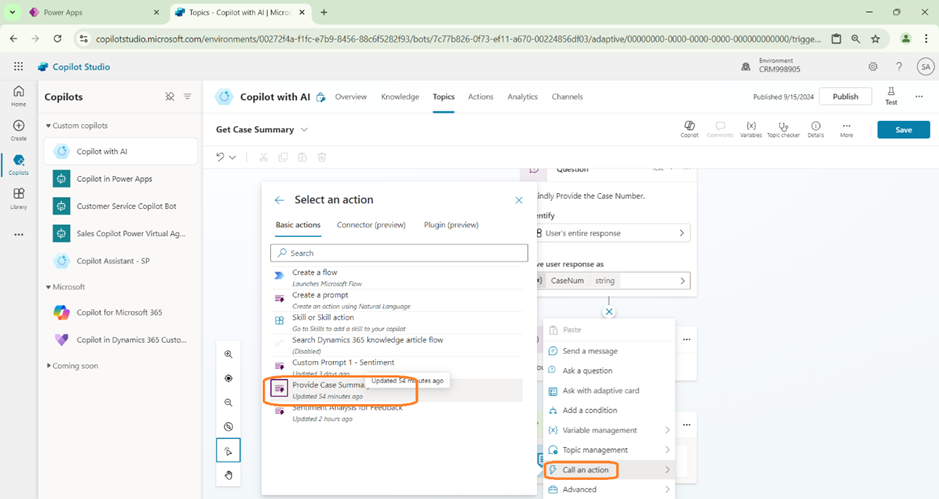
- Now the Most important step of adding the AI builder into the Co-pilot.
- Add a new step -> Call an Action. We can see the Custom Prompt that we just created.
- Select the Custom prompt.
- Now we need to set the Input and output variables. We will pass the User Response (CaseNum) as input to the Prompt.
- The Response from the AI builder is stored in another variable (in this case we define as caseDetails).
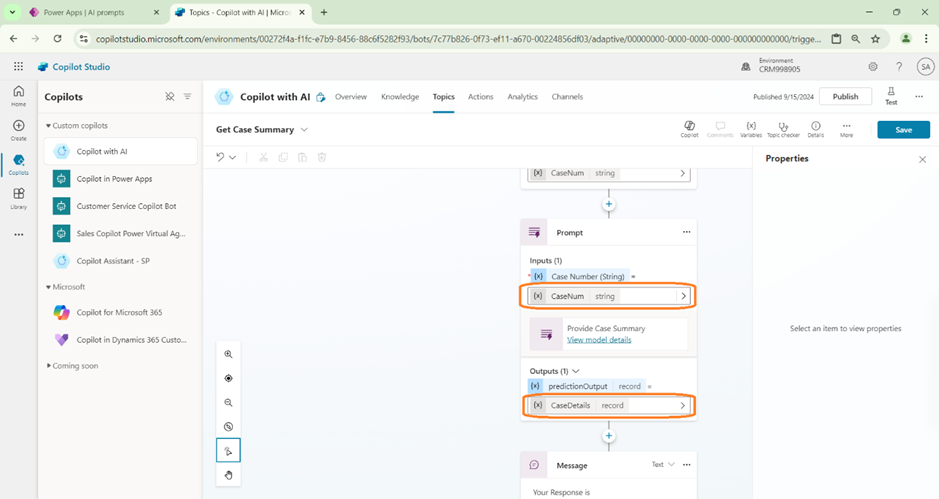
- The Response that is stored, is displayed as a message action. We are adding this step just for testing purpose to make sure that we get the expected response from AI Builder.
- In Real life scenarios, we can use the response form AI builder to add more conditions to perform different tasks based on the Output. (I shall put up some real business scenarios in my future blogs).

- Once done, we can Publish the Co-pilot and Proceed to Test.

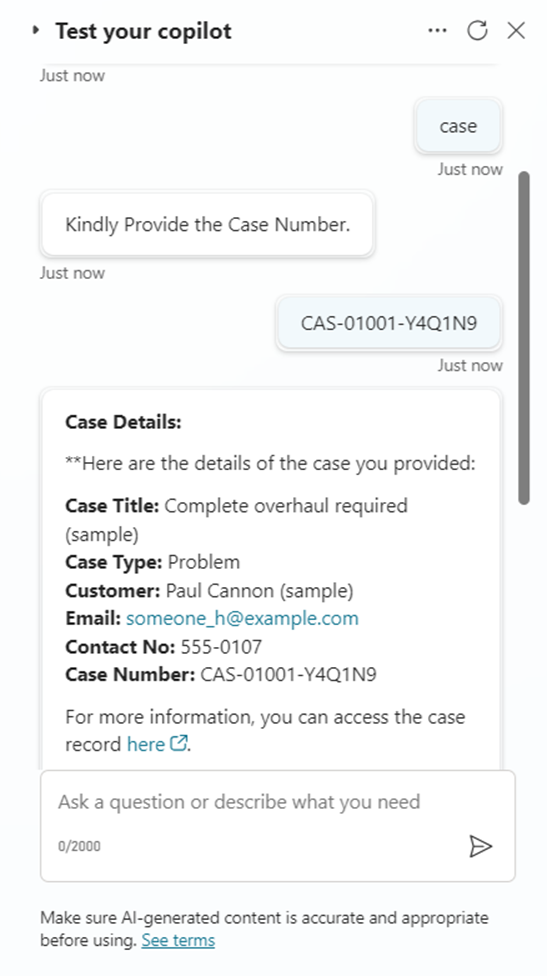
- Trigger the Co-pilot topic by prompting Case or Case Details. Then provide a sample case number from D365 to verify.
- The Co-pilot should be able to provide the Case details based on how we designed in the AI builder.
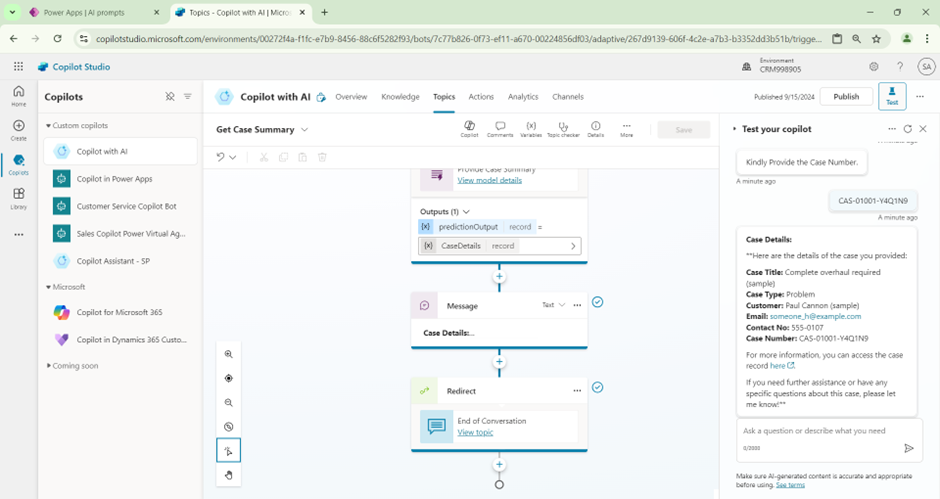
- Looking at the Response from the Co-pilot, it is evident that we have the flexibility to design the response as per the user requirements. Using Generative Answers provides its own Co-pilot response. But using AI builder, we can still customize as we need it.
- The best part here is that the co-pilot response also provides direct link to the records from Dataverse. You can click and view them in the response.
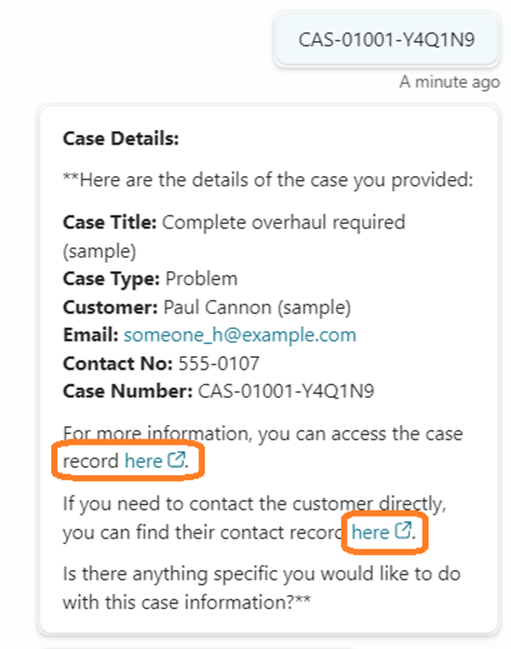
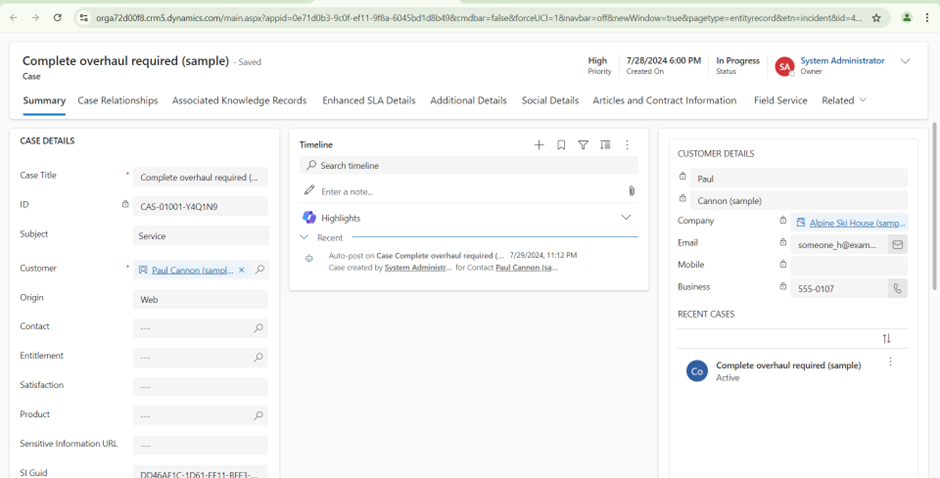
- Clicking on the Link Navigates us to the Actual Case record. Since we have also used the related entity Contact (Customer), another link is also provided to directly access the contact record in D365.
Happy Copiloting!!!
[…] You can refer to this link to understand more on how to Build a Copilot that can integrate the Dataverse Knowledge using AI Builder.https://msdcentral.site/co-pilot-studio-how-to-use-ai-builder-integrate-with-dataverse-in-co-pilot/ […]